Friday, September 17, 2021

Removing DeLorean exhaust manifold and studs

 I have read horror stories of broken exhaust manifold studs and the nightmare of drilling and tapping new threads. It seemed that a lot of the pain associated with that was due to the inaccessibility of the studs while working on the exhaust with the motor still in the car. 

Since I already pulled the motor on my car for some unrelated work, I had extremely easy access to each one of the studs. As far as heating tools go, I didn't have anything better than a propane torch to heat up the studs to break through the corrosion.

After much internal debate, I decided to fork over around $180 for an induction heater from Amazon. This tool is AMAZING and I have already found several uses for it as I have continued to disassemble the car. It heats up a bolt red hot in less than 30 seconds with no flame, thus eliminating any unintended damage to the surrounding areas. 

Here's a video I took during the process of removing one of the studs:


I was so pleased that this worked so well. After using the heater, I was able to loosen all 12 of the exhaust manifold studs without breaking any of them!


Off came the exhaust manifolds and gaskets. I'll have to clean up this mating surface before I put on the new exhaust. More to come!


Thursday, September 16, 2021

Refreshing the inside of the DeLorean's rear pontoon

 While disassembling the rear of the DeLorean in preparation for pulling the engine and transmission, I looked inside the rear opening of the rear pontoon to discover dirt, junk, and bolts that had been corroded to the point of almost being unrecognizable:

I started by vacuuming out as much of the junk that I could, when I found the body mount bolt that I thought was missing from the rear passenger side of the frame. The threads were completely gone and it looked like an old piece of hardware that was dug out of the ground:


Vacuuming out a lot of the junk revealed more bolts, which meant the stuff was around a half inch thick towards the front of the pontoon. There were 3 bolts in each rear pontoon and every single one of them snapped when I attempted to loosen them, which was fine by me since I had not intention of reusing them.

I went to my local hardware store and got stainless steel nuts, bolts, and washers of the same size  to replace them with, then proceeded to thoroughly clean and wipe down inside the pontoons. I then replaced the old hardware with the new and it looks brand new inside:


Of all the things I am dealing with on the car right now, this was an easy and quick win. On to the next part of the car.

Friday, September 10, 2021

Removing the DeLorean engine and transmission Part II

 After I removed the muffler, I needed to then disconnect the main wiring harness and the other odd and end electrical connections, some vacuum connections, the feed and return fuel lines, the coolant and heater lines, the wiring to the starter, the O2 sensor wire, the two wires coming off the transmission, the throttle cable, and take off the A/C compressor. 

 I took many, many photos for reference for when it comes time to reassemble everything. Routing and connections of the main wiring harness and rear bulkhead connections:


Wiring and connections to the starter:

I also decided to remove the rear impact absorber as it was in need of a refresh as well. Before it came out:

After:

I discovered an old frame sticker from the factory of 2100. My VIN is #2087, so not too far off.

I also found another number on the inside of the rear frame on the driver side that appears to be 1779:


More wires to disconnect:

Reference for the routing of fuel and vacuum lines:

Reference to how the A/C compressor is bolted to the mounting bracket. I just took off the A/C belt, removed the bolts holding the compressor to the bracket, and laid the compressor on the rear pontoon so that I didn't have to take off the hoses and lose all of the refrigerant.


Heater hose valve reference photo:

Throttle spool connection reference and routing:


Wires connected to the manual transmission:


O2 sensor wiring in front of the rear driver side tire:

Main and return fuel lines being disconnected:


It was then time to lift the motor and trans out of the car together. I used a load leveler to help with the angles, hooked up the chains to the four lifting eyelets on the motor, and also had a floor jack on the ground in case I needed it. It was fairly straightforward. I scraped the trans on the heat shield under the rear bulkhead as it was coming out, but it was minor.

As I started lifting out the motor, I found one ground wire that I failed to remove. That was the only thing I missed:

In the process of being lifted out:


After I got them out successfully, I was able to take more detailed and up-close photos of key things, such as the starter wiring:

First look at the frame after the motor and trans were out. The frame cradle was a mess. It was clear how long and how bad some leaks were, most likely from the rear main seal:

One thing that makes this job more manageable is SPACE. I am fortunate to have plenty of room behind the car in the garage to work on this.


I then separated the trans from the motor. It was touch to get them apart as they were married together for 40 years. After taking out all of the bolts, a combination of a pry bar and physically pulling the trans finally got them apart.

More evidence of the leaking rear main seal inside the nasty trans bell housing:

It's clear that this is the original pressure plate and clutch.


Next, I start taking more things apart and add to my parts purchase list, which is growing quickly.

Friday, September 3, 2021

Removing the DeLorean engine and transmission Part I

In my attempt at making the car better by replacing the rotten motor mounts, I snapped one of the bolts holding the passenger side mount to the frame, leading me down the path of pulling the motor to be able to fix it. First, I didn't have an engine hoist, load leveler, or engine stand, but found a local guy selling all three, plus a second engine stand, all for a decent price. I snagged them up and felt ready to dive in on the DeLorean.

I found an extremely useful and well-written guide to help walk me through the process so that I didn't miss any crucial steps and would highly recommend checking out this walkthrough if you find yourself going down this rabbit hole like me. 

First, I wanted to do whatever I could to ensure that I wouldn't get stuck or flustered when it came time to reassemble pretty much any part, so I did my best to document the placement and routing of just about everything I could think of, including vacuum hoses, electrical connections, fuel lines, etc.

I started by removing the rear fascia, followed by the rear closing panel. I knew that most of the lower studs on the rear fascia that connect to the rear fascia lower support bracket were going to snap off as I had already broken one off years earlier when I thought I would attempt to replace the original support bracket. The rest of the rear fascia came off without much incident.

Here's the crusty lower support bracket for which I have had a replacement from the previous owner for over 10 years and never bothered dealing with it. I expected the rear impact absorber to look worse than it did, but it will still need to be refurbished as the original protective coating is cracking and flaking off.

The rear closing plate had a lot bolts, cables, and wires that needed to be taken off or disconnected before I was able to take it off. One surprise to me was that two bolts on the driver side were holding in the antenna bracket in the rear pontoon, so the antenna is now sitting loosely in the pontoon when I had it aligned and working perfectly to come out of the hole in the rear quarter panel.


You also have to disconnect the engine cover release cable, the rear side market lights, all included in the guide I referenced earlier. I took a few photos along the way to make sure I remembered how it all looked and went together. I also did the unusual (for me) step of putting nuts and bolts in baggies with labels on where they went so that I didn't end up with just a mess of nuts and bolts with no idea where they went. I HIGHLY recommend doing something like that.


Here's my grouping of ground wires that come together on the rear driver side.

The motor already appeared to be much more accessible once the rear closing plate came off.

As I went along, I also started a list of replacement parts that I knew I would want to order. Many of those parts would be replacing nuts and bolts with their stainless steel variety. Others would be to repair broken or worn out parts, such as the studs on the bottom of the rear fascia. Here's what the snapped off bolts looked like:


Here's the crusty lower support bracket after being removed from the car.

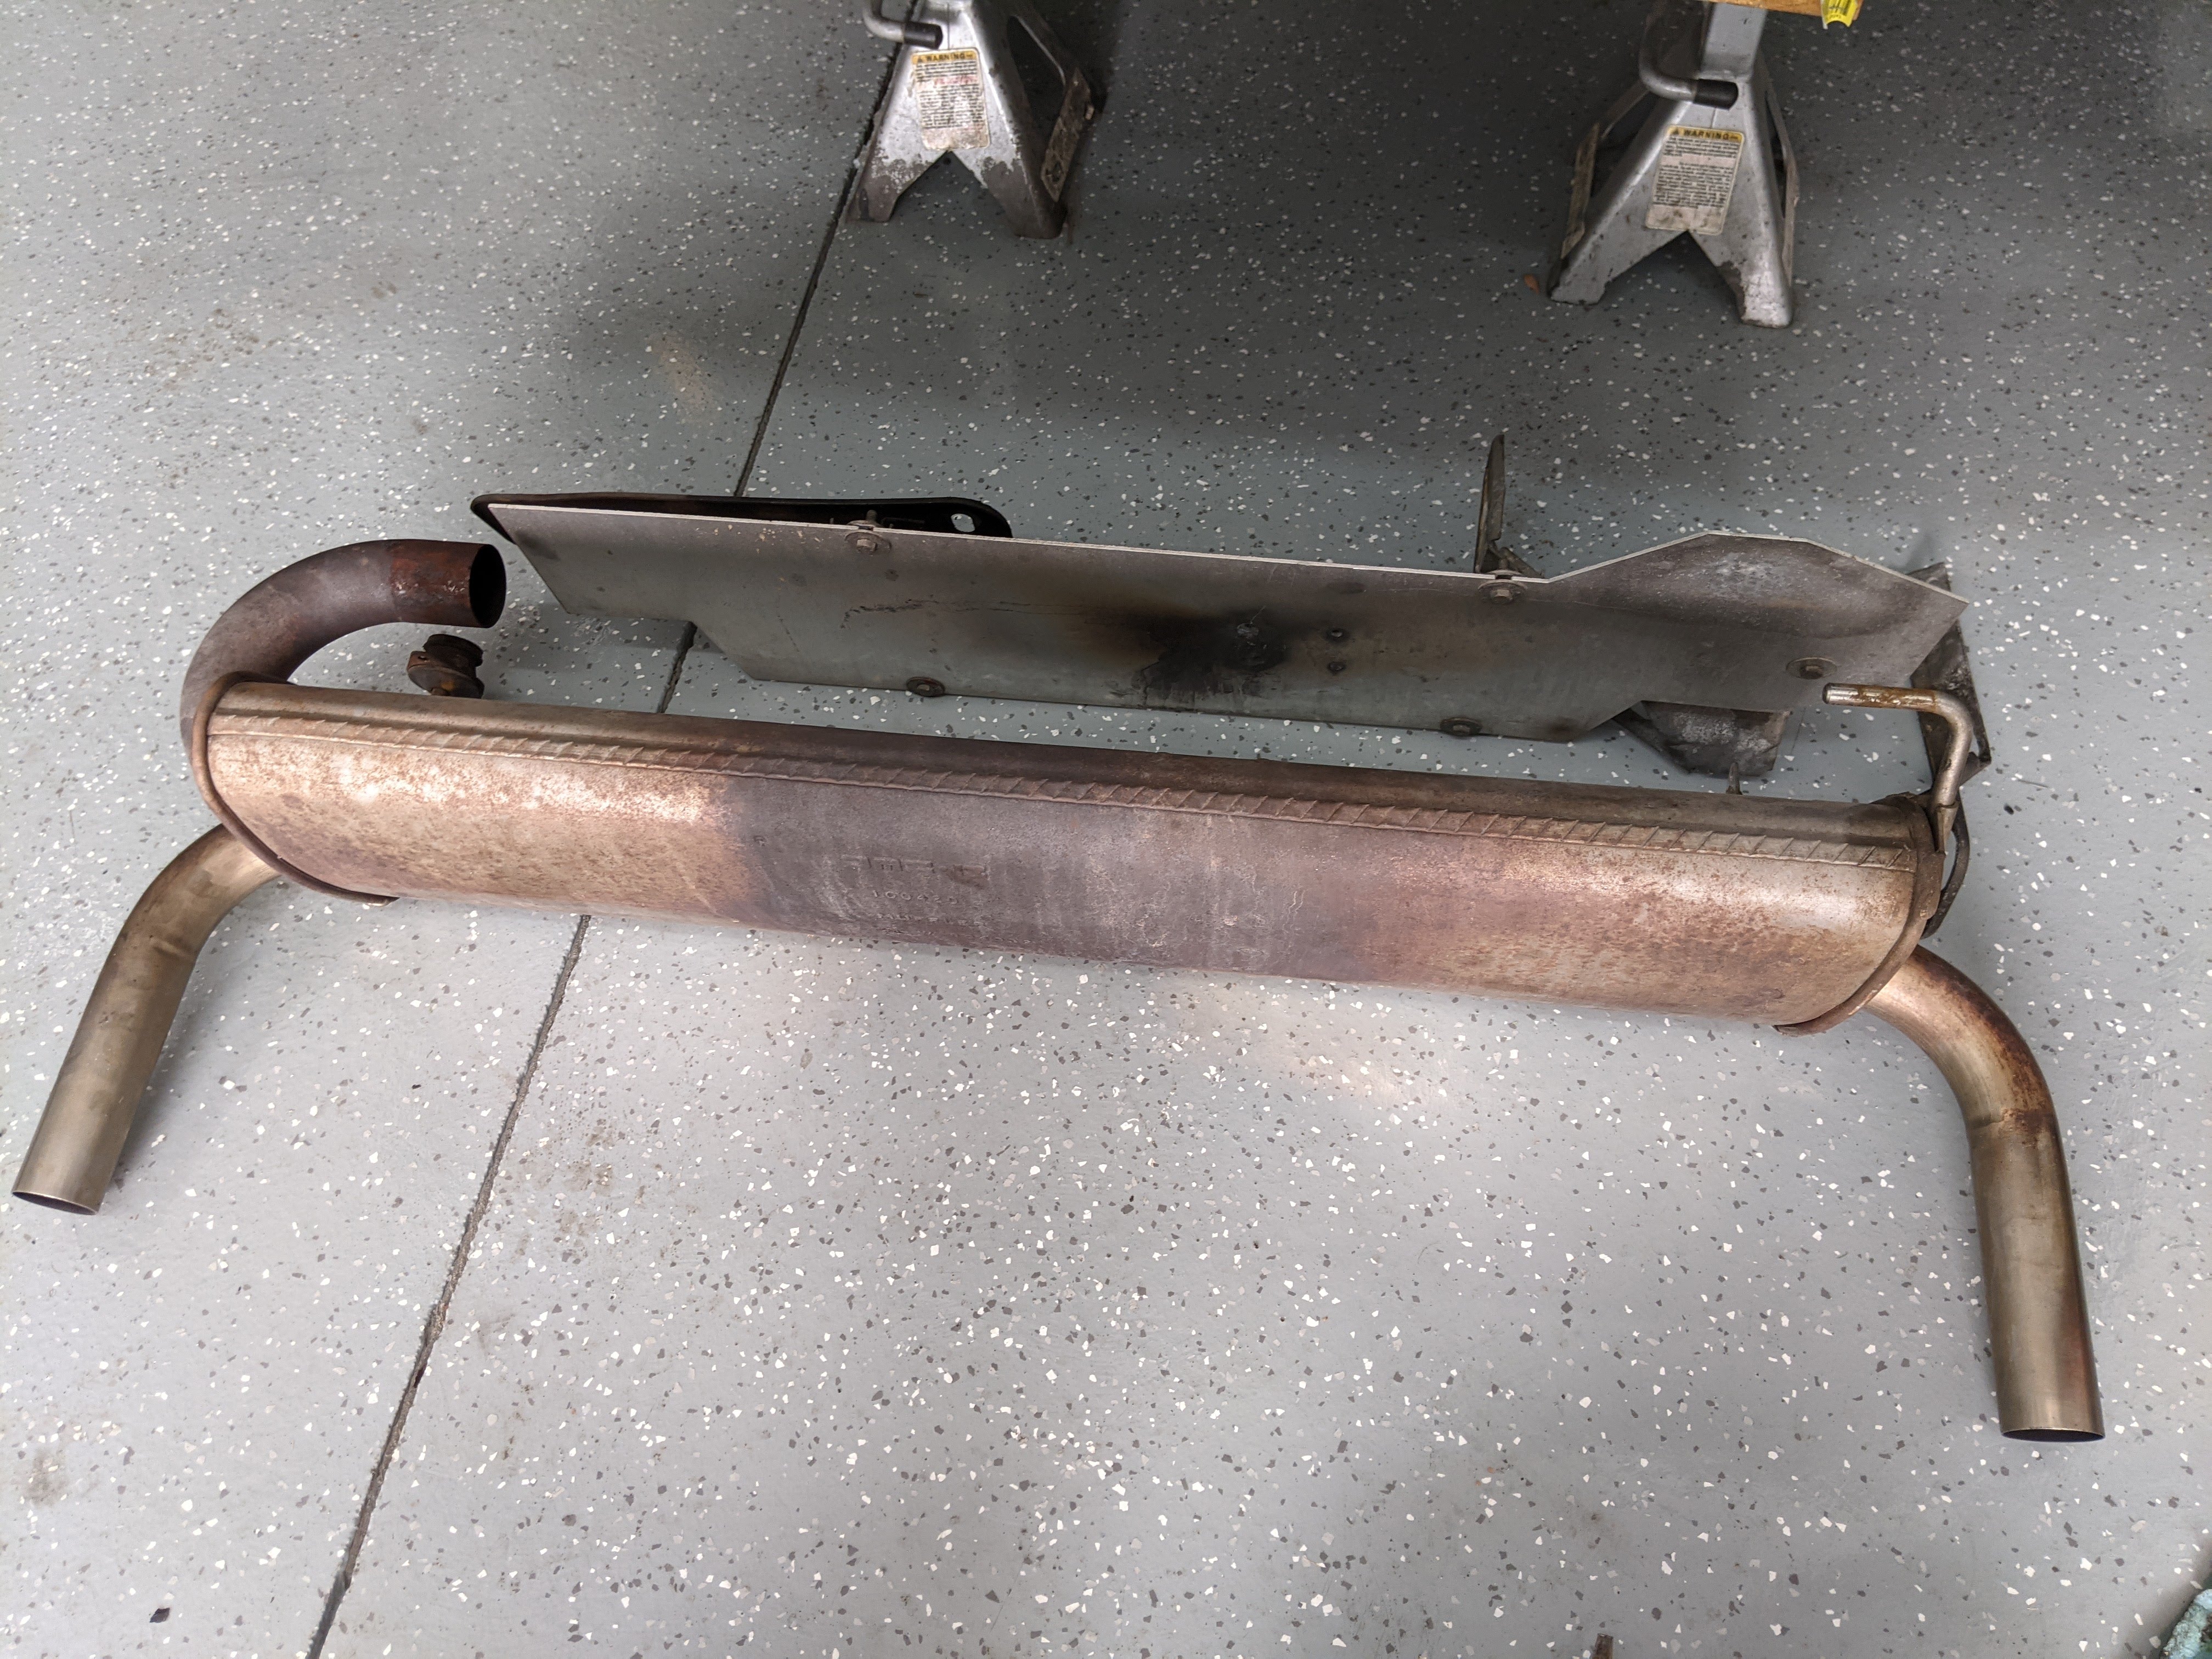
Better view of the stock muffler with the lower support bracket out of the way:

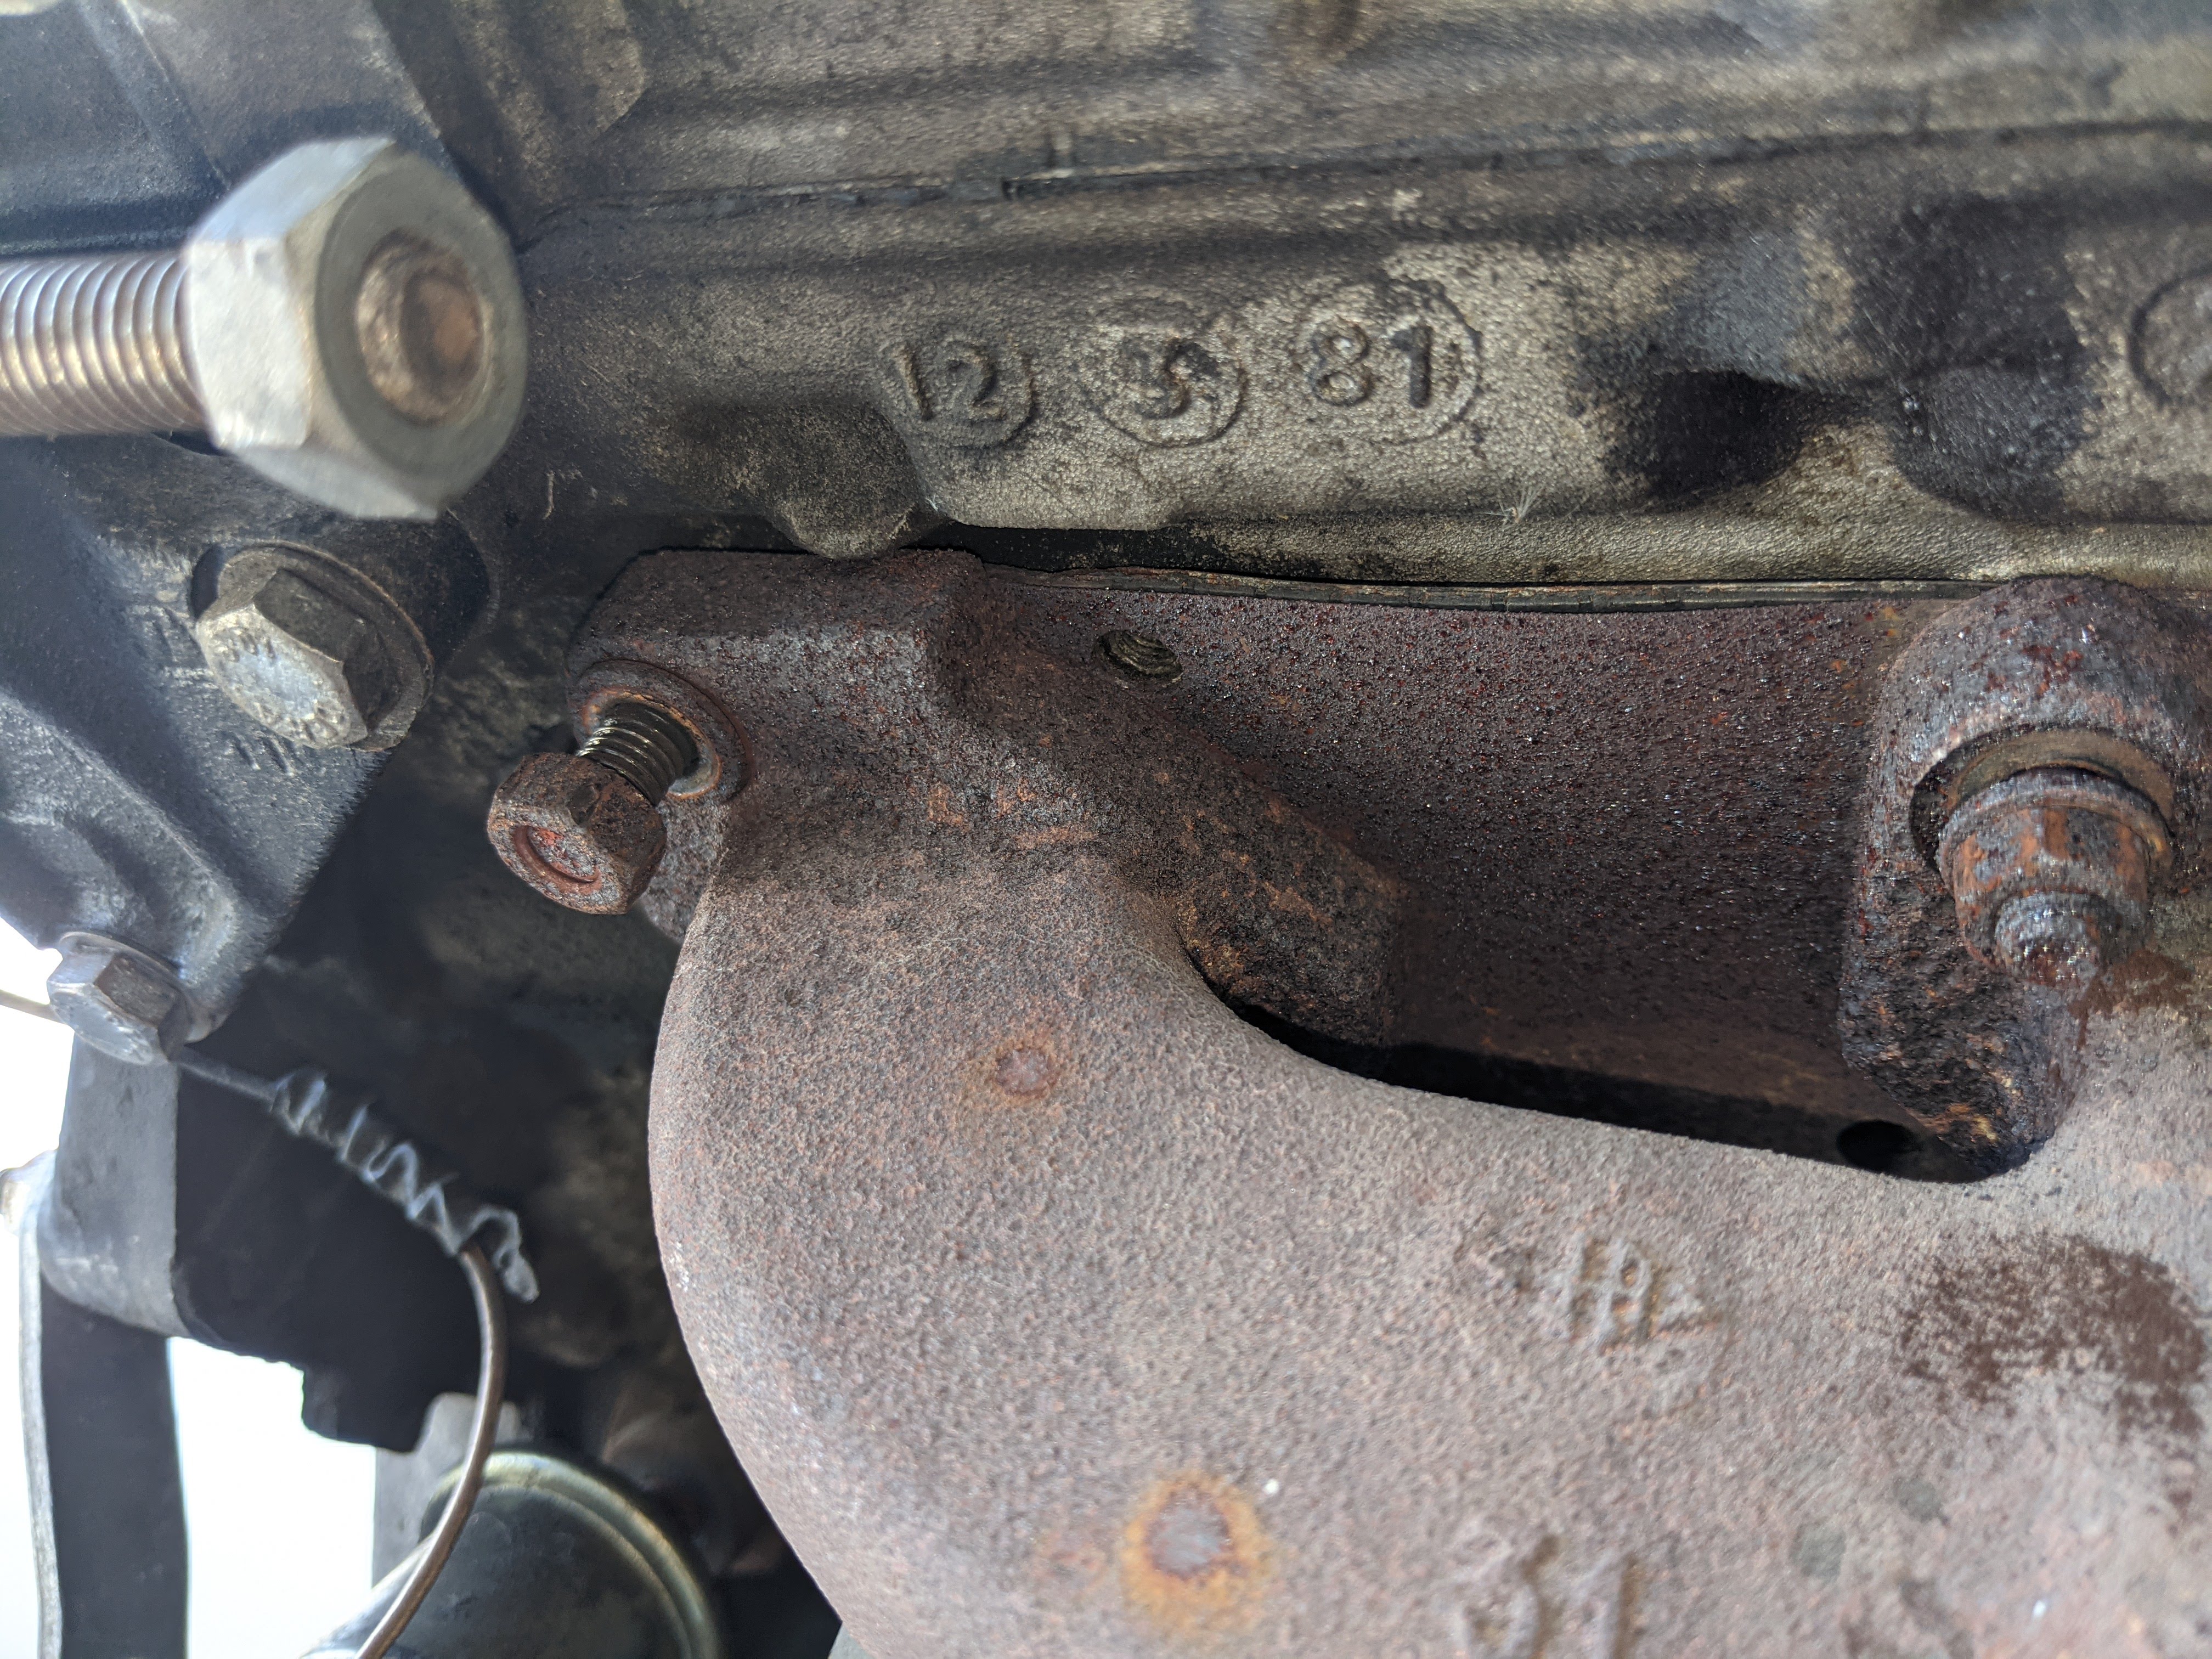
Strangely, I found some parts were just simply missing, even though I wasn't going to be touching some of those parts, such as this body mount bolt in the rear passenger area. I later ended up finding a completely rusted body mount bolt sitting in the rear passenger pontoon, but no captive nut. It was beyond usable, however.


Pictures of miscellaneous ground wires for future reference:


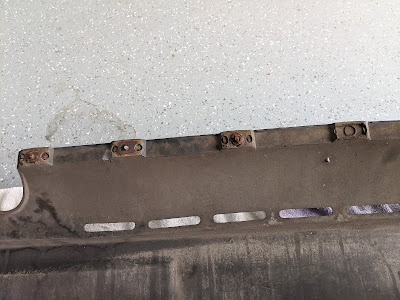
I found it cool to see the original tape still in place on these brackets. Taking off the tape was oddly satisfying:


I then removed the lower engine cover and the rear louvre. I did this all by myself, but it's a bit hard because of how awkward it is to loosen the bolts while trying to support the louvre at the same time. I imagine I'll need another set of hands to put them back on.


I was pleasantly surprised at how well the muffler came out of the car. I was afraid it was going to fight me, but the connections all came loose without issue and I was able to work it off of the car without much incident.


I was caught off guard when I took the muffler off that many small chunks fell out of the muffler's inlet side. Wrench is for size reference:


I figured it was from the catalytic converter, which it was. I was already toying with the idea of an aftermarket exhaust anyway, but I previously had zero signs or indications that there was a problem with the cat.

More to come...