Tuesday, February 21, 2012

Back on the Road

After taking a couple of months during the winter to tackle some rust repairs and clutch hydraulic repairs, I was able to button everything back together on President's Day and get the car on the road again. I realized that I have not taken very many pictures of my car since I bought it last year, so I snapped a few pics for the heck of it after the successful road test:
Photobucket

Photobucket

Photobucket 

I have significantly reduced my mental to-do list. Here are a few items that I will have to tackle soon:

Replace CV axle boots on drive axles (passenger side outer boot is torn)
Replace Thermo Time Switch to fix cold start issue
Replace non-functioning power antenna
Find and replace suitable spare tire (doesn't hold air)

Some possible to-do items:
Replace 30 year old transmission gear oil
Replace cracked dashboard
Replace motor mounts
Get an alignment
Fix interior lights to come on when door is opened

I'm sure there's more, but that's enough for now.

DeLorean Clutch Issues Resolved

As seen in an earlier post, when attempting to remove the clutch pipe from the slave cylinder, the clutch pipe snapped off right by the bolt connection on the end. I pulled the SS clutch line and hooked it directly to the slave cylinder, but the line was too close to the exhaust.

I bought a replacement clutch pipe from DMC Houston and installed it. When I went to bleed the system, the clutch pipe started leaking badly at the connection with the SS clutch line. I must not have tightened it enough. It now works flawlessly. Here is a picture of the new clutch pipe attached to the slave cylinder:

Much more space between the clutch pipe and the exhaust now compared to when the SS clutch line was hooked directly to the slave.
Photobucket

Here is a picture of the old clutch master and slave cylinders once they were removed:
Photobucket 
The DeLorean clutch master was a Girling and the slave cylinder says Bendix. The slave still worked great, but I decided to replace both since they were originals. I don't want to repeat this job for as long as possible.

Below is a picture of the new clutch master installed. This was taken after it had been there for a few months:
Photobucket

DeLorean Rust repair complete

This turned out to be a much bigger job than I originally anticipated. Once I started searching, I found patches of rust in various spots on the frame from the very front of the frame to the very back. The most obvious places were on the gas tank closing plate and the front frame extension. In earlier posts, I showed the before and in-process images of the gas tank closing plate.

After taking a wire wheel to get the epoxy off the rusted areas, I attacked it with a flap wheel grinder to get it even cleaner. I then wiped off all the dust and then applied two coats of POR-15. The gray color matches fairly well with the original frame color, so in many places I didn't even bother to top coat it wih Krylon Smoke Gray. It only fades in UV light, so since most of the frame never sees the sun it should be fine.

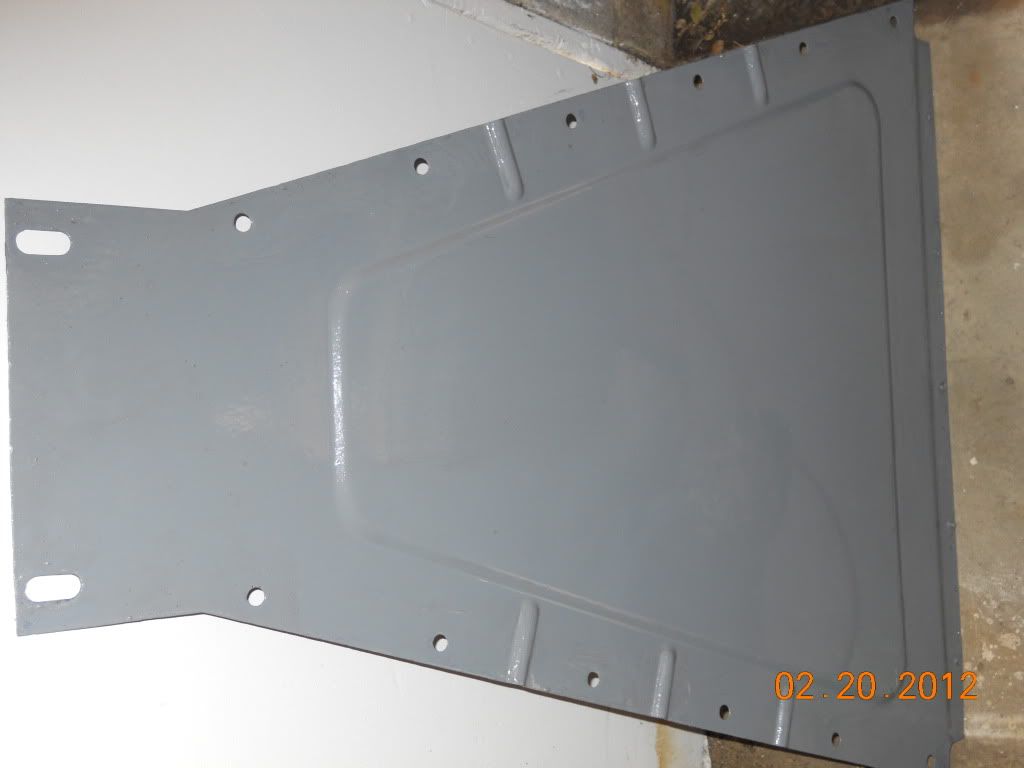
Here is what the bottom of the plate looked like after my repair job:
Photobucket 
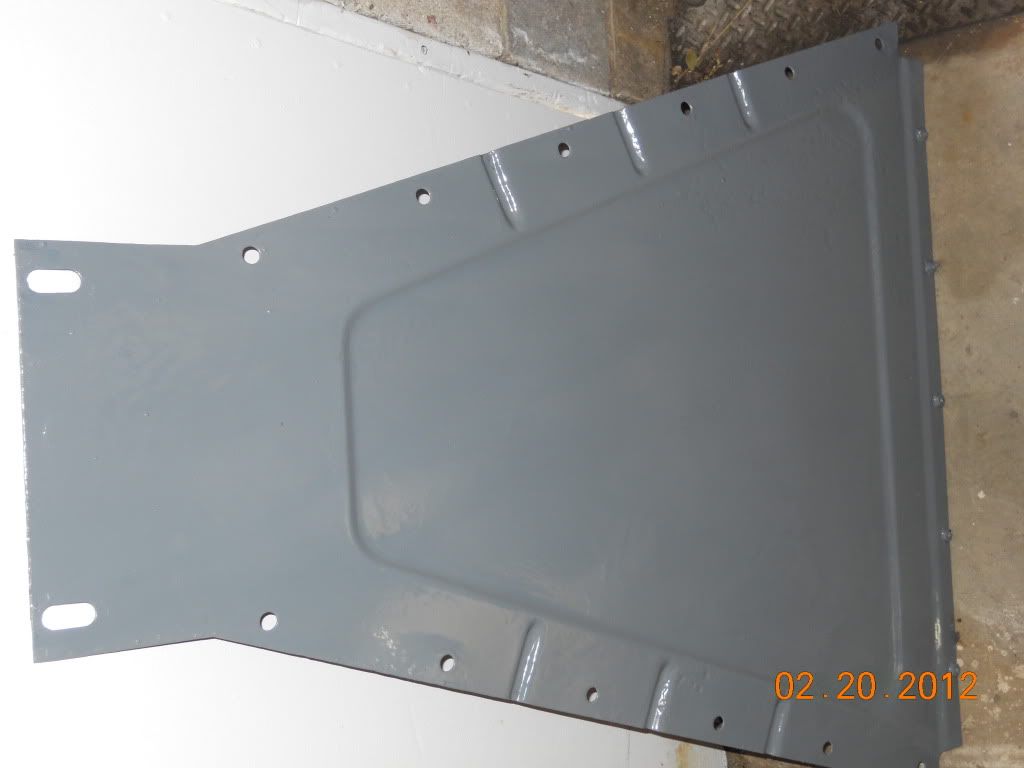
 The top part of the plate was where it was rusting the worst. This is what it looks like now:
Photobucket 
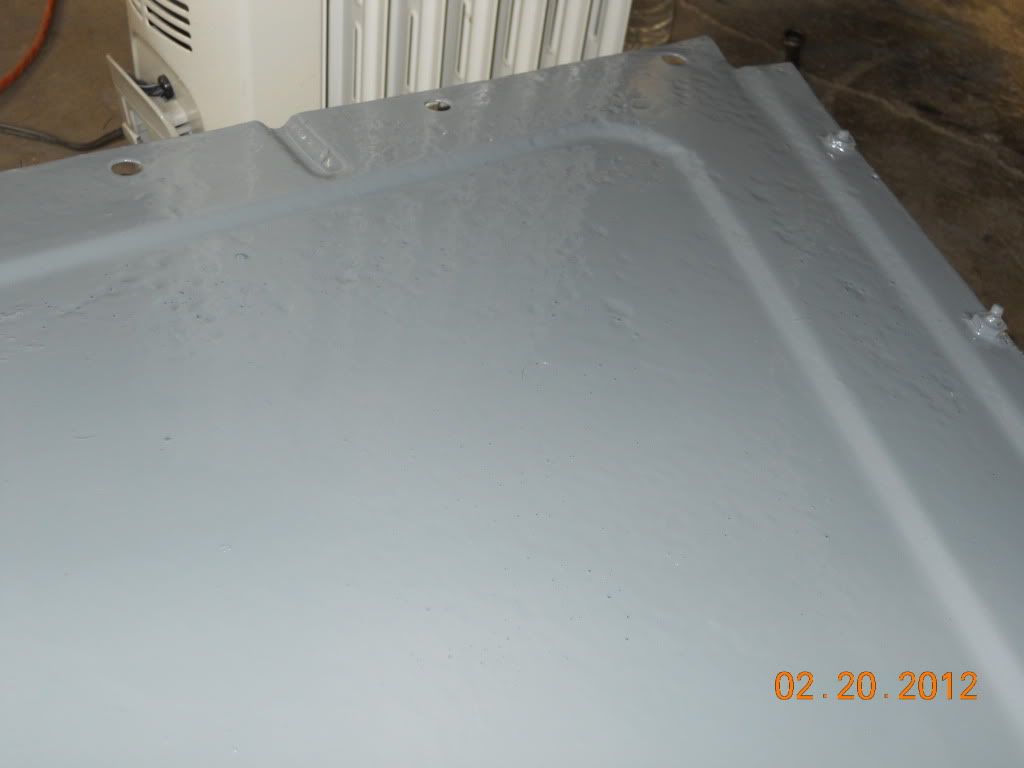
A closer look reveals the pitting that was occurring on the top side that is now painted over:
Photobucket 
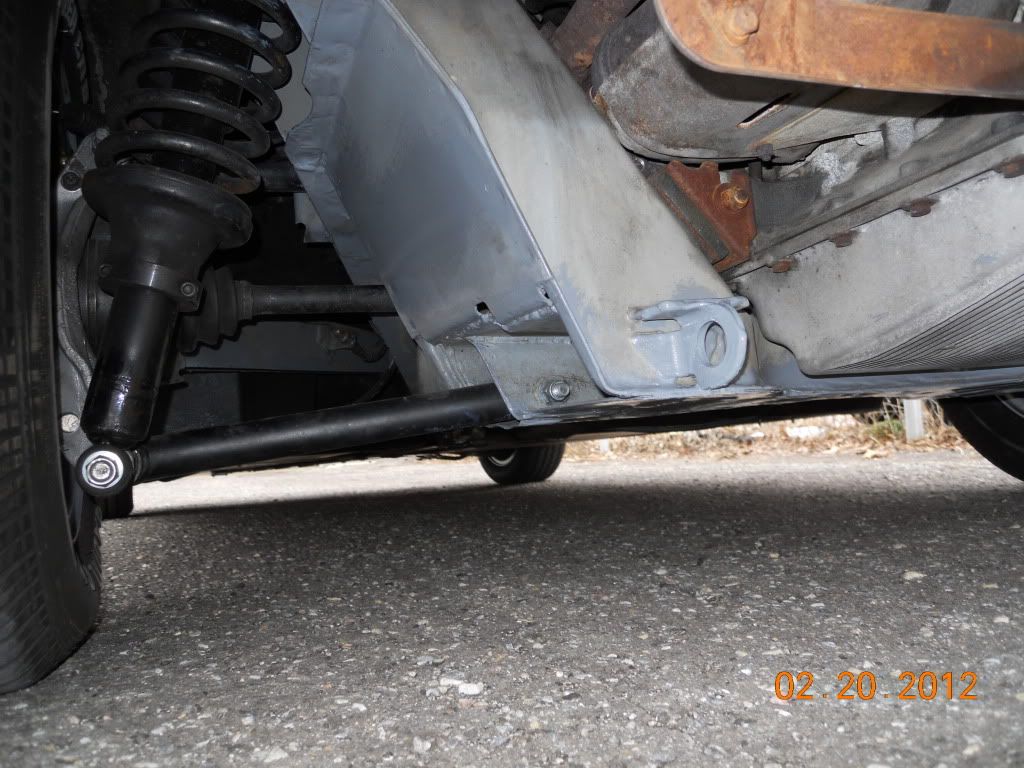
I also bought new bolts and washers as the old ones were old and rusty. Here is the plate almost completely bolted on again:
Photobucket 
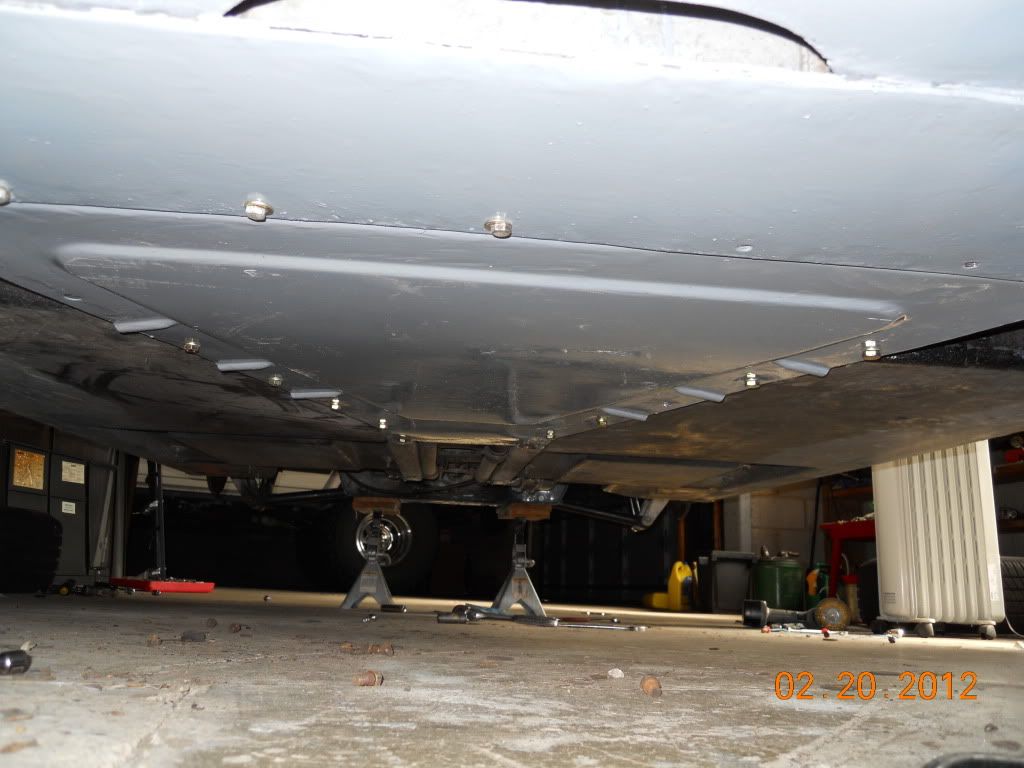
Here is more of the frame in the front all repaired and looking sharp:
Photobucket 
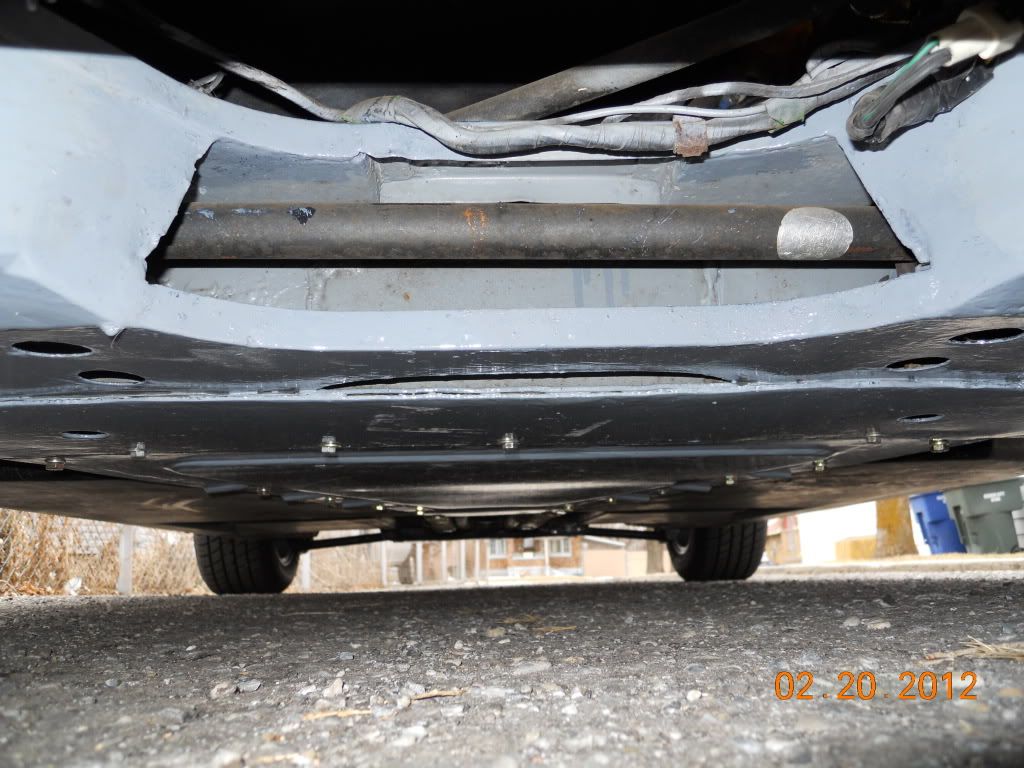
Here is the rear part of the frame. The rust wasn't bad here at all, except around the tow hooks:
Photobucket

Thursday, February 2, 2012

DeLorean rust repair begins

When I first bought the DeLorean and had my first peak at the underside of the car, I could see that there were places where the epoxy on the frame was peeling off, revealing the bare frame underneath. I knew that I would need to address this quickly. I started by removing the fuel tank closing plate from beneath the car. The bottom of the plate didn't look that bad, but when I saw the other side, this is what I found:
Photobucket
Liquid had pooled in this area sometime in the 30 year life of the car and much of the epoxy was bubbling and flaking off. I could peel a lot of it off just with my fingers. The frame itself looks to be in good condition and hopefully won't require a lot of work to touch up the problem areas.

I whipped out my trusty 6" grinder with a wire wheel and went to town on the plate. It was slow work. I discovered a lot of pitting on the top side of the plate, but the plate didn't rust through in any places. It is definitely salvageable. This is what the plate now looks like, with some close ups of the pitting:
Photobucket

Photobucket 
I have a can of POR-15 that I will be painting on all areas that I am repairing. I will then add a layer of the appropriate paint to match the rest of the frame. Good progress made for the first day.