One thing about owning a 40 year old car is that if you look hard enough, you'll probably find something that needs to fixed or replaced. Such was my recent experience as I was working on the car. I found a few extremely minor things that I thought I would take care of while I had them on my mind.
First, the rubber seal that goes around the fuel filler was cracked and looked pretty bad. Mind you, this is yet another part of the car that only I will likely see, so I would have been fine to have left it. But I like having things in as good of condition as possible, so I decided to replace it. This seal was around $13 new from DeLoreanGo, plus I got stainless nuts, bolts, and washers to swap it. The job appeared to be a very straightforward repair, so I dove right in.
There are just the 3 visible bolts that you see around the fuel filler. I removed the access panel in the trunk to be able to put a wrench on the nut on the back side so that I could loosen everything. There was a ground wire on one of the bolts on my car, though I don't know if that's standard.
Here's the original gasket and bolts after I took them out of the car:
Here's the seal removed, just before the new one went into place:
The hardest part of the whole job was getting the new rubber in place without it bunching. Here is the new seal in place with the new bolts:
In the engine bay, there is a small panel on the back and my car's panel was missing from the day I bought the car. It either fell off or one of the previous owners took it off for something and never put it back on. I got a stainless steel replacement panel and the screws and washers and put it on. I rarely noticed that it was missing, nor did it affect anything about the engine bay, so I didn't care to replace it until now.
On the interior, one of the switches is the defrost switch. Even though I have never used that switch before, the image on mine was worn away, probably just from the friction of occasionally cleaning the car. I bought a replacement from DMCH and the old one popped right out, was easily unplugged, and then the new one was put into place. Here's a comparison of the new and old:
This next repair is hard to notice. One the passenger side rear quarter panel, at the top of the panel where it meats the louvre, there is a rubber buffer. I had replaced the driver side buffer 10 years ago after an unfortunate incident necessitated the removal of the quarter panel for repairs, but I didn't bother replacing the passenger side. When I recently washed the car, I noticed that the part of the buffer that is exposed when the louvre is shut was rough like sandpaper. The rubber was deteriorating, so I decided to get a replacement. It was around $22 from DMCH. I ripped off the old one (it actually broke in half near the louvre strut during the removal, and I slid on the new one. I don't recall if I used an adhesive on the driver side buffer or not, but I didn't for the passenger. If it doesn't stay sitting flush on its own, I may go back and add some in the future.
The old buffer:
The new buffer:
In the luggage compartment, the latch cover in my car looked like it had had a rough life. It was cracked in several places, had part of it missing at the top, and had scratches all over it. Since a replacement was less than $4, I went ahead and replaced it after all of these years of ignoring it.
Back in 2013, I was ready to try and get the air conditioning working in my car for the first time since I bought it in 2011. The car was set up with an R12 system, but there was no R12 left in my system as it had all leaked out. I decided to convert it to run R-134a instead of trying to get my hands on R12.
In order to convert it from R12 to R-134a, I had a few steps that I needed to go through. First, I had to replace the o-rings that are between the compressor and the hoses with R-134a compatible ones. I also had to convert the service port adapters, which I got from NAPA:
I removed the compressor and drained what little oil remained before filling it up with the correct amount of ester oil as well as some A/C florescent dye to help see any future leak. I then did a flush of the entire system using mineral spirits. I would fill up the high pressure hose with mineral spirits, put the end of the low pressure hose into a bucket, then push it all through with compressed air until it was all blown out, then repeated until the system appeared to be clean. It has been many years since I did all this, so some of the steps involved may be overlooked. But after flushing out the system, I hooked everything back up.
I purchased an A/C manifold gauge set, a vacuum pump, and I was ready to attempt my first recharge of R-134a. I pulled a vacuum on the system for the required time, then fired up the car, put the A/C on max and the fan on speed 4, then started to put in the R-134a. It was such a good feeling to hear the compressor kick on for the first time since owning the car. I filled it up with the proper number of cans, and enjoyed the A/C for the rest of the season.
At this point, it was September, and we also were expecting the birth of our first child that month, so we didn't drive it much at all the rest of the year. The following spring, the A/C was inoperable once again and I found that all of the R-134a had leaked out. From then until now, I hadn't made the A/C a priority as our family continued to grow over the years (we now have four kids) and the car just didn't get much attention.
Fast forward to 2021 and I decided that if I was going to enjoy the car again, I absolutely had to have functioning A/C. I got out all my A/C tools and started seeing if I could figure this system out. I checked all the lines and fittings to see if I could see any dye anywhere, even though it had all leaked out 8 years prior, but I found no evidence of it anywhere. I dove right in after that and pulled a vacuum on the system. I wouldn't hold a vacuum very long, so I decided to fill up the system using my air compressor to see if I could detect a leak somewhere.
Sure enough, when I filled up the system, I could hear a hissing sound that seemed to originate from the compressor itself. There is a seal in the compressor that commonly goes bad, which I believe is the shaft seal, and I felt it was better for me to get a new compressor rather than rebuild the 40 year old original. I bought a Sanden 4708 Compressor from Auto Air Online for $239 (part # 05-4708) and it arrived within a few days. Excellent service.
The new compressor came filled with oil, so hypothetically, all I should have had to do was remove the old compressor and install the new one, pull a vacuum, then fill it with R134a, right? That's what I did, but I can't get the car to get colder than about 60 degrees Fahrenheit out of the vents on a 90 degree day. My other cars blow air closer to 40 degrees F, so something is still not quite right.
Talking with my friend that's a mechanic, he thinks that if the hoses are holding pressure, which I don't know if they are, there could be a blockage somewhere in the system, possibly something caught in the orifice tube, or somewhere else. I have much more work to do on this topic as I need to see if the system continues to hold pressure or not. If it does, that likely means that replacing the compressor solved the leak. If it doesn't, hopefully I can find where it's leaking out. I did add some more A/C dye to the compressor before I installed it, just in case there is a leak that I need to track down.
Until that happens, here's picture of the shiny new compressor. Hopefully I can get this system working better by the end of the hot season. I have a new orifice tube and dryer (accumulator), in case I dive into this further this year.
While in the process of replacing all of the coolant hoses and pipes, I noticed a bit of frame rust around the fuel tank, which I covered in a previous post. This necessitated the removal of the fuel tank for the first time, and I thought it was a great excuse to both clean the tank and replace the fuel pump with a modern solution. The fuel pump that I had in the car was only about 13 years old, but it would whine on really hot days, which I found both annoying and unsettling.
I bought a modern fuel pump kit from DeLorean Industries and was very impressed with the kit. It came with a fuel pump with an integrated sender unit, which meant that I could get rid of the existing fuel sender (tells the gauge how much fuel is in the tank), braided stainless steel feed and return lines with stainless steel fittings (other versions of this use rubber lines with hose clamps), and very nice electronic connections.
The unit uses a Delphi FG 0089 pump and sender unit. It definitely is an expensive kit at over $500 USD, but this should last the lifetime of the car.
First, I had already removed the fuel tank closing plate to access the coolant lines and hoses around the tank. Here's what the 13 year old pump and fuel send looked like before I messed with anything:
After leaving everything alone for a few days, the tank ended up dropping part way out of the car by itself, which was convenient. Here are a few reference photos I snapped after the back end of the tank dropped down:
I pulled out the fuel pump and disconnected the electrical connections and pulled the tank the rest of the way out of the car. I then peeked inside to see how the fuel looked and what else remained in the tank. Here is the Special T baffle in the tank of gas, as well as how much fuel was still in the tank:
The tank and the gas looked extremely clean, which made me happy since I hadn't touched the tank in the 10 years that I've owned the car. I then pumped out as much gas as I could with a battery operated liquid transfer pump that I got at Harbor Freight. It made quick work of the rest of the fuel and I pumped it into a gas can and subsequently put that gas in one of my other vehicles to use since the fuel was still in great shape.
Here's what the tank looked like after pumping out the gas, before starting to clean it up:
I then removed everything inside the tank and proceeded to wipe down the inside of the tank as best as I could with acetone and a rag. There really wasn't much as far as particles and grime. Here is the inside of the tank all cleaned up:
The outside of the tank was another story. After I cleaned the inside of the tank, I taped off the tank openings and went to town on the outside of the tank.
After the outside was all cleaned up, I started going through the process of getting the new parts put in the car. The kit came with new feed and return lines, so I cut the old ones off and then had to remove the barb fittings that screw onto the hard lines that run to the motor. These were a pain to break free, but I eventually got them both to come off. Here's how they looked after coming out of the car:
The new feed and return lines are beefy and with them replacing those barb fittings, they shouldn't ever have to be replaced, nor should they have any problems with leaks.
I then installed the pump in the tank, which I found was pretty easy to do with the tank out of the car. The instructions were a bit unclear as far as how far down the pump sits in the hole, but just know that the rubber gasket that goes around the pump doesn't fit all the way down into the hole of the fuel tank, but that you just get it as snug as you can, then the clamp on the outside holds everything into place. It's very important that the clamp holds both the top of the fuel tank opening and the top of the fuel pump at the same time so that it keeps those two together. Otherwise, the pump isn't in all the way and will likely leak fuel when driving or filling up. Here's how it looks once installed:
I then put new foam padding on the tank and on the frame, all of which I got from DeLoreanGo. It doesn't need to be perfect as it just keeps the tank from rubbing on metal and nobody will ever see it but you. I then put the tank back in the car. It was a snug fit with all new foam that hadn't been compressed for 40 years, but I got it in.
The most time-consuming and frustrating part of the entire installation was dealing with the electrical connections that came with the kit. It was really easy to know which colors of wires went where, but the connectors came with the pins uninstalled and installing those the right way took the better part of an evening. I was most concerned about having solid, reliable connections, but luckily everything appears to be working with the wiring. Here's everything hooked up, including the feed and return lines on the pump:
I discovered remnants of old padding under the spare tire that looked like old thin pieces of beef jerky. You can kind of see the remnants of what was left in this photo:
I scraped them off and had some extra padding from the fuel tank and laid down a few pieces in the spare tire area to avoid any scraping of the spare on the fiberglass under body:
When it came time to put back on the fuel tank inspection cover, I found that the fuel tank sat too high in the body to allow the cover to line up with the screw holes, so I had to remove the fuel tank closing plate and push down the fuel tank until I had enough space to put on the inspection cover. I literally had to climb into the trunk and use the weight of my body to push down in order to move the tank. That was the difficulty it took since I had installed new foam padding around the tank to keep it firmly in place.
Once I verified that everything was working and the car ran well, I decided to fill the tank up completely with fuel. During that first fill attempt, I noticed it was taking much more gas than I anticipated, then found a river of fuel running out from under the car. I didn't bring any tools with me to get into the fuel pump area to see what the issue was, so I had no choice but to drive the car home to inspect it there.
What I found was disturbing. The black fuel tank sender cap was just sitting on top of the tank, not installed, but just sitting there. I could look into the tank and see the full tank of gas. I put it back on and tightened it down, then called it a day. The next morning, the cap was just sitting there on top of the tank again. It had come off by itself overnight. I discovered that the o-ring gasket that came with the cap appeared to be too big and it was preventing the cap from being installed all the way, possibly causing the threads to be crossed.
When I would tighten it down, I had one of two things happen: 1) I would tighten it until it felt secure, but if I kept going to make it even more snug, it would suddenly become loose and I'd have to start over, like something was getting in the way of the threads, or 2) I would tighten it until it felt secure, then I would leave it alone and it would eventually pop off, or I could bump it and it would pop off.
Here's a video of what scenario two looked like:
I closely inspected the cap and found that the o-ring did appear to be the problem. It just didn't fit right on the cap as it seemed too large:
If I removed the o-ring, the cap would thread on correctly and wouldn't pop off, no matter how much I fiddled with it. This confirmed that the problem was the o-ring gasket. I decided it was worth a try to remove the gasket, tighten the cap down, and then see if it was enough to seal the tank. So after putting on the cap without the o-ring, I returned to the gas station and topped it off, but alas, the cap leaked without the gasket:
I don't know if the fuel sender that was in the car had any leaking issues, but I knew I couldn't keep the new cap in the car in its current state. The vendor didn't offer any solution to the problem, so I decided to order a different fuel tank sender cap from a different vendor and put in the original fuel sender back into the tank until the new cap arrives. Here's the style of the fuel sender gasket, which is a rubber ring that appears much less susceptible to leaks:
When the new sender cap arrives, I'll put it in the car and once again test for leaks. I'll report back on my findings.
The original project that spurred all of the additional projects this year was my intention to replace all of the rubber coolant lines in the car. I received a silicone coolant hose kit for Christmas from DeLoreanGo and started on this project a couple of months later. I first drained all of the coolant, and with one of the first hoses that I removed near the radiator, I found that the aluminum coolant pipe had some pretty significant corrosion.
This was the end of the pipe closest to the radiator on the passenger side:
As I continued removing more of the rubber hoses, I found more and more corrosion on the pipes. I found they were generally in very sad shape. I considered doing a restoration of the pipes, cleaning them all up with a wire wheel, coating them in some high temp aluminum paint, and fixing any holes, but decided to simply replace them with new pipes as it took an extremely long time to clean up just one of them. So I ordered a pipe kit from DeLoreanGo and started documenting the locations of the various pipes so it would be easier to put it all back together when the time came.
I had read of other people's experiences with not having pipes line up, or having a tough time remembering which pipes go where, so I took several measurements and photos to help me get everything back together properly. Here are some more pics of what the old pipes looked like:
Looking down the barrel of this pipe, you can see what the inside of the pin holes look like. Almost every pipe in the car had corrosion like this. There was only one or two pipes that I would have felt comfortable using again after I removed them from the car.
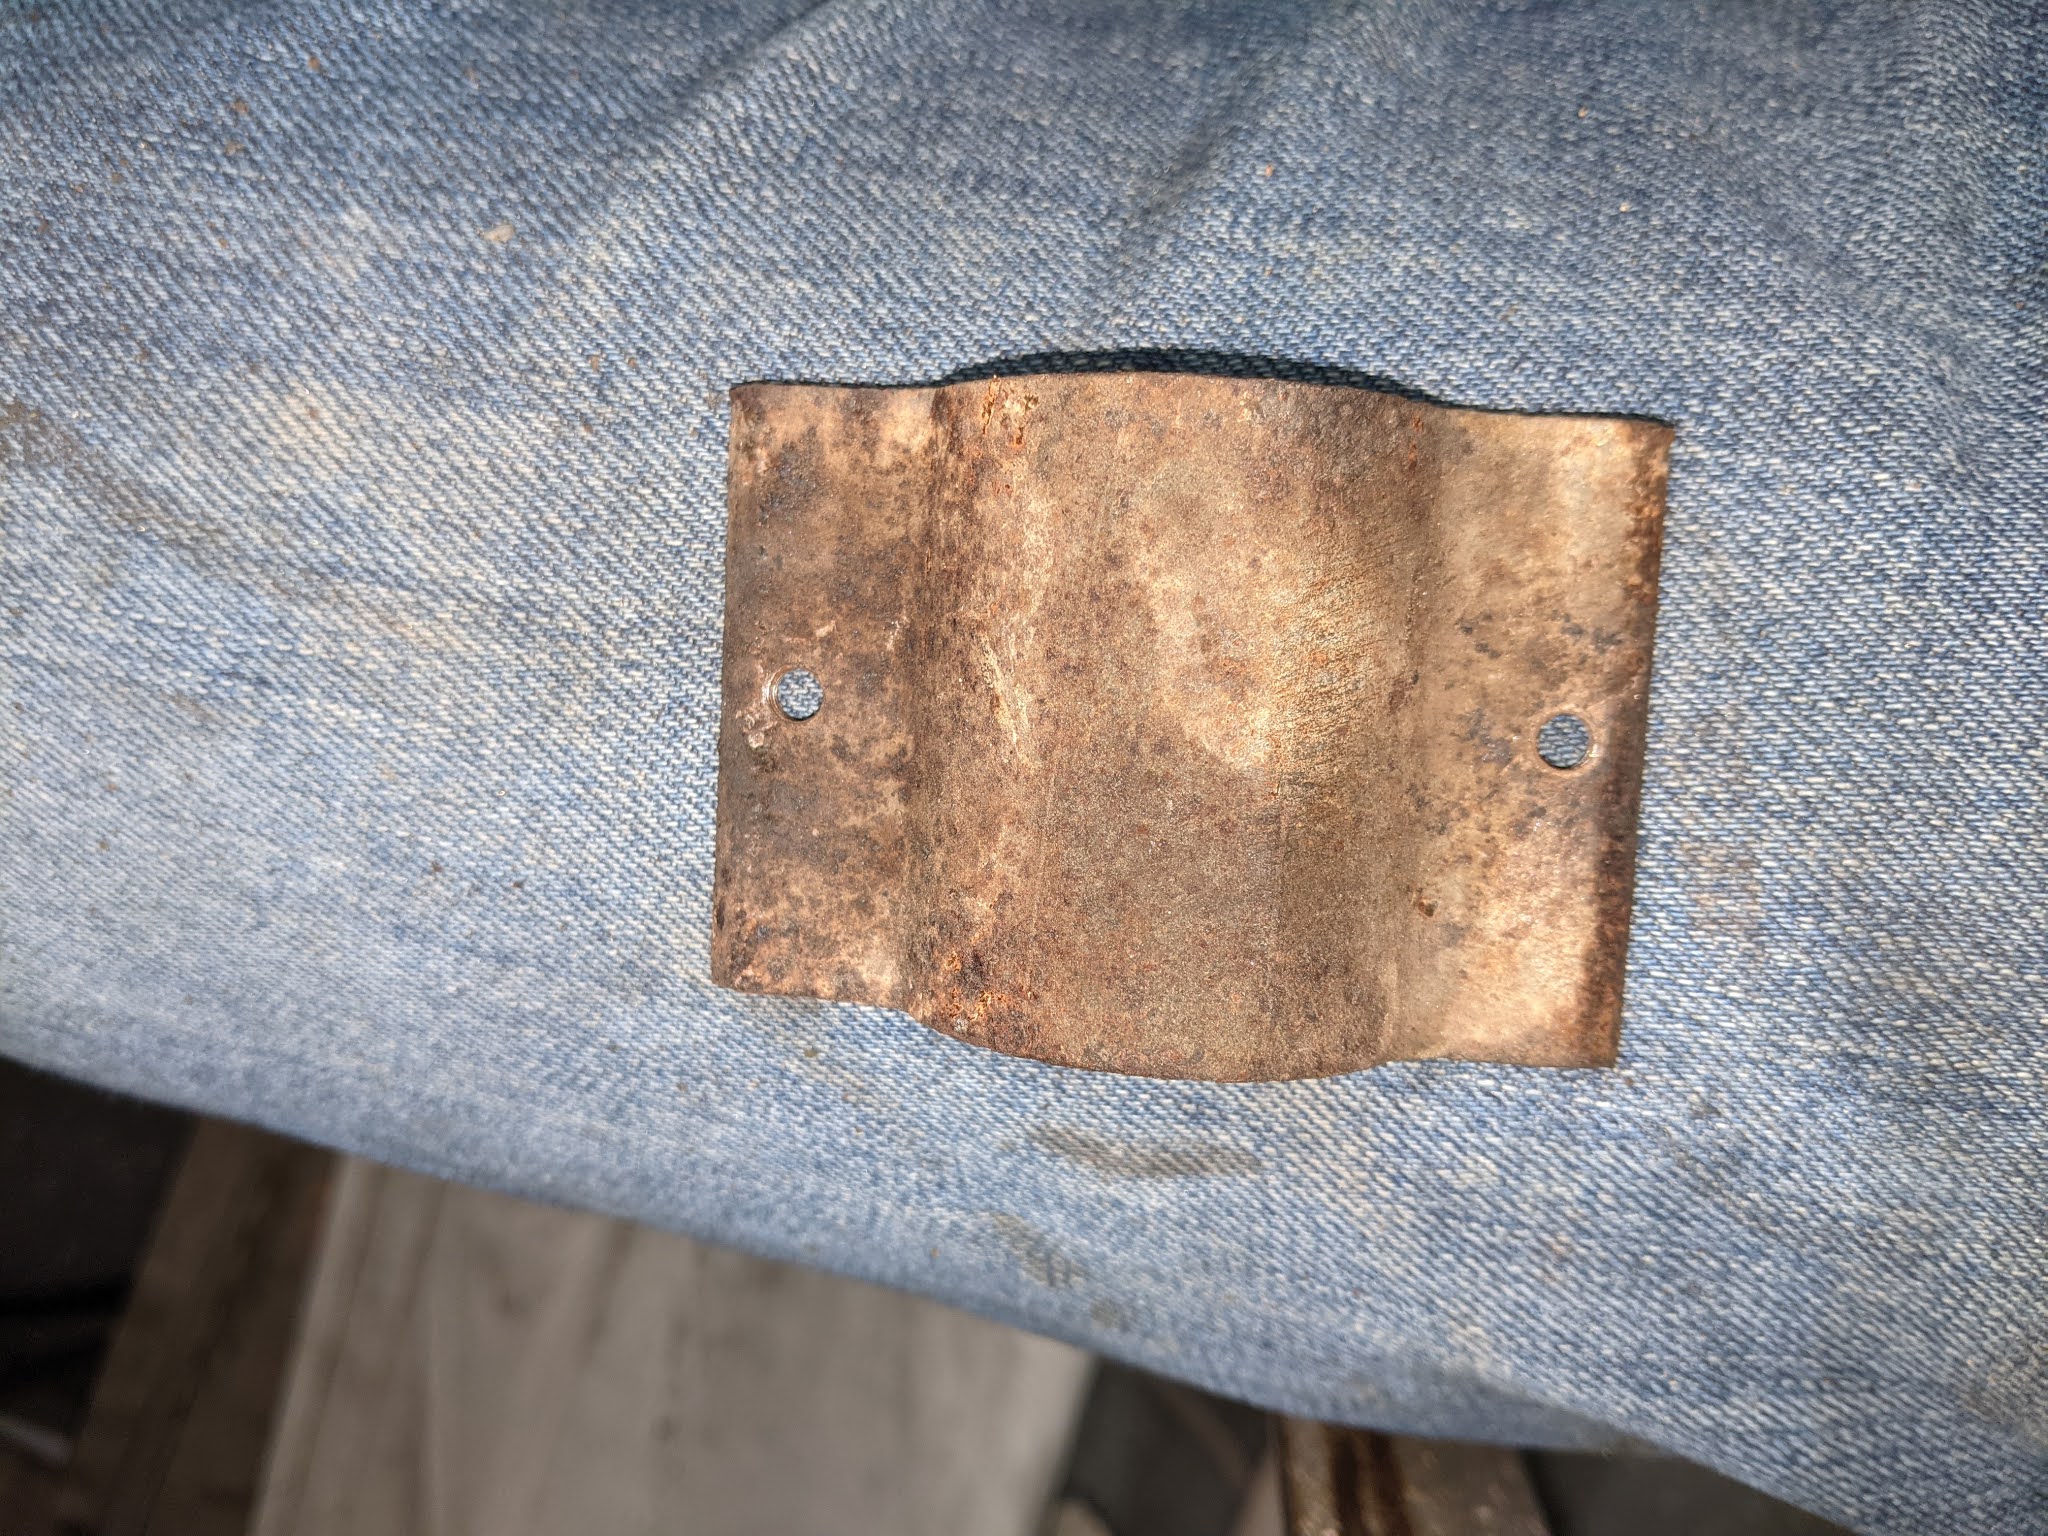
I also discovered that the supporting brackets were in terrible shape:
I spent several hours at the wire wheel cleaning up the brackets and getting down to the good metal. I also got new hardware to replace the rusted nuts, bolts, and washers. I used some high temp aluminum-colored paint to breathe new life into the brackets. Here is how they turned out:
There are a couple of support brackets in the engine bay that hold the coolant pipes in place that were in terrible shape as well. The metal was rusting and the rubber was cracked and hard. I got replacement brackets and hardware to make them look new again too. I also wanted to make sure I hooked the otterstat back up correctly, so I made sure to document how it was hooked up in the car before taking it out:
One thing about the DeLoreanGo silicon hose kit that's nice is that it includes absolutely every piece you need to replace all of the rubber lines in the cooling system, including the heater hoses and the hoses for the water pump. As I have yet to dive into the valley of death to replace the water pump and its hoses, I don't have any updates about that yet. The water pump is original and does have quite a bit of corrosion on it, which led me to buy a replacement so I can tackle that in the coming months, hopefully. Here's what the water pump looked like with the main hoses removed:
Here are the hoses that will be accessible once the intake manifold is removed and I can get to the water pump hoses:
I have read that you have to re-torque the clamps on the silicon hoses, but I have been leak-free for the past month by just making sure I had them as tight as I could, so hopefully I'll have that same experience when it comes time to replace the hoses on and around the water pump.