While working on repairing the clutch hydraulics, I tested my spare tire and discovered that it would not hold air for more than a few hours, even though the tire looked like it was in perfect shape. It felt hard as a rock to the touch, which gave the impression that it had a lot of air pressure, but when tested, it would register zero.
Thanks to the vast info available online, I discovered that you can't buy a spare tire from a regular tire shop, and that the best option is to go to a junkyard and find a newer car that has the same spare tire size and to swap the newer rubber onto the DeLorean spare rim.
I also discovered that the spare tire size of T125/70 D15 is a very common spare tire size today. I went to the pick-a-part junkyard and had a bit of trouble initially finding one, but eventually found a few. I picked one that had the most recent date stamp on the tire. I paid $10 for it and headed over to Discount Tire to have them swap rims.
I was hoping that they would just do it for free since I have bought so many tires from them in the past, but they charged me another $10 in labor to switch them out. I didn't bother taking any pictures of the newish tire, but it is holding a steady pressure of 60 psi, in case I ever need it in the future. This was a very easy thing to do, but I just had to take the time to go find a tire and pay to have them switched. More time consuming than difficult.
Monday, March 19, 2012
DeLorean CV Boot replacement
While I was under the car repairing the frame rust last month, I noticed that the CV boot on the driver side was not even attached at the lip. I also discovered that the passenger side CV boot was nearly in two pieces. That's bound to happen after 30+ years.
So I ordered a CV boot kit from John Hervey at Special T Auto. It was back ordered and took a few weeks to get, but it came with everything I needed to rebuild the CV joints. This was a relatively easy job, but just messy. Luckily I have a stash of latex gloves to help keep my hands a bit cleaner, and I used plenty for this job. There is a great write up on www.dmctalk.org on how to rebuild the joint. Since mine has been trouble free and hasn't made any noise, I decided to not completely disassemble the joint itself, but to just wipe out as much of the old grease from the joint before repacking it.
Here is the drive axle with one of the joints removed:
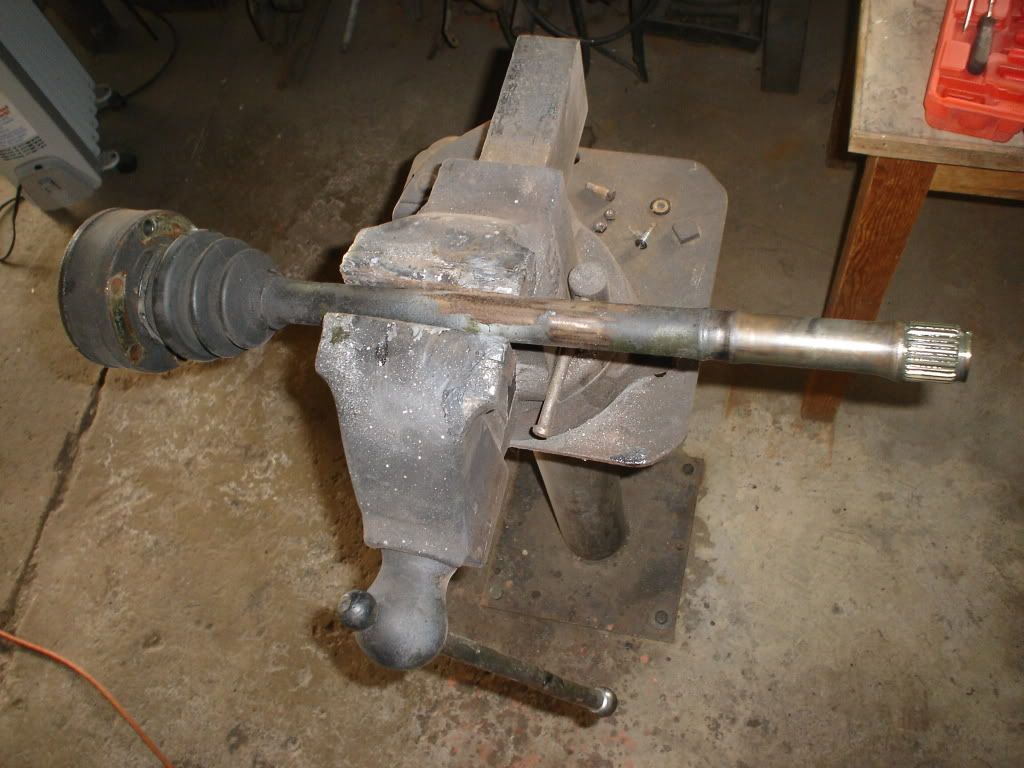
It really was as easy as the write up shows. Once the drive axles were removed from the car, and I did them one at a time so I didn't mix them up, I put them in my vice for ease of working on them and went to town. I simply removed the old boot clamps that were obviously original to the DeLorean. I then disassembled the joint. The hardest part was the old snap rings. The new kit even came with replacement snap rings, which I didn't realize until I had completed the first joint. The old one works just fine, however.
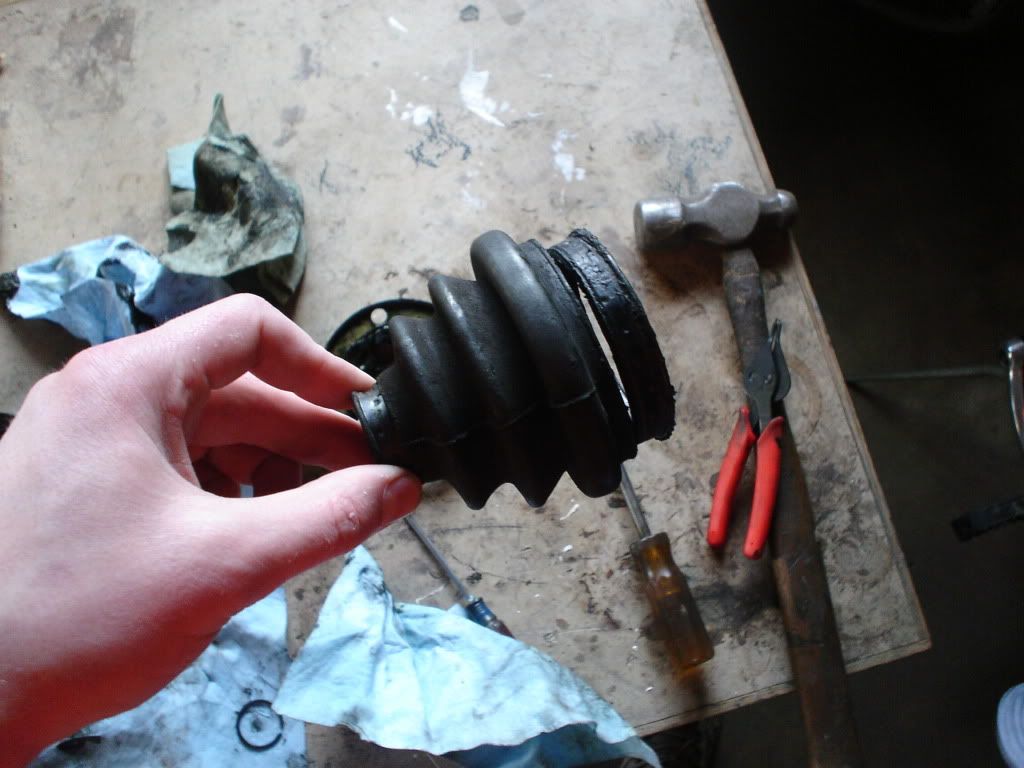
Here is the half-torn CV boot from the passenger side:
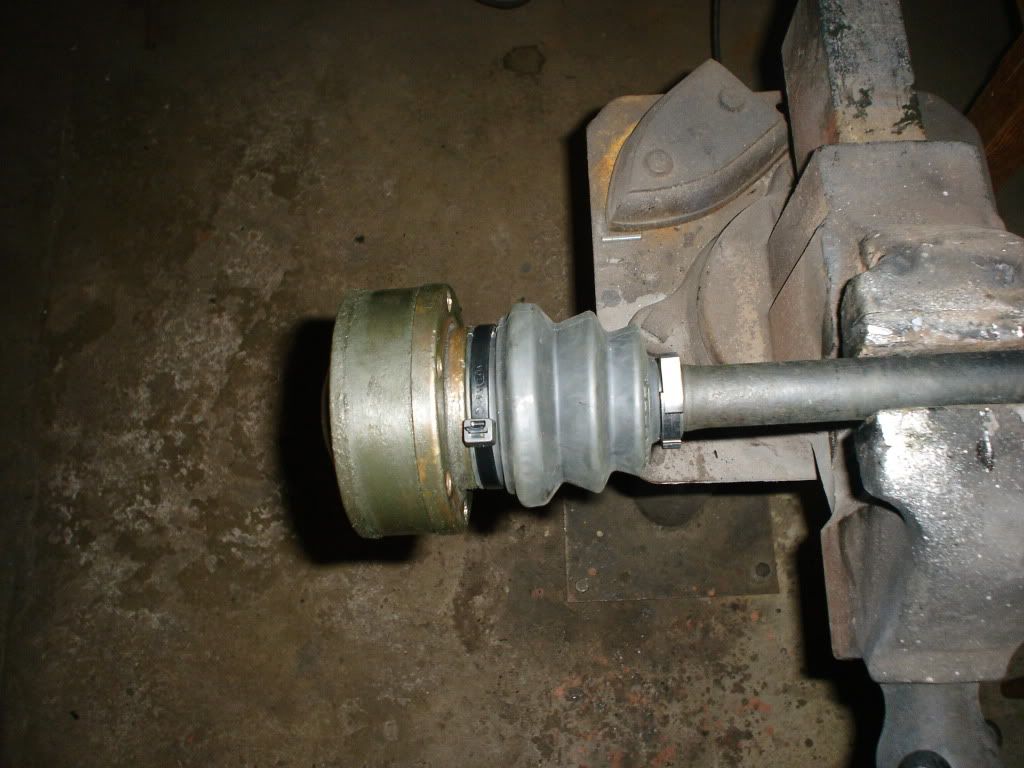
I used dozens of paper towels wiping out the old grease before putting on the new boot. I repacked the grease on both sides and worked it in before sealing everything up. The kit came with heavy duty zip ties that allowed me to tighten them really well to ensure no leaking. Here is one of the joints all put back together:
Here is a completed drive axle with two new boots:

The hardest part of the job is taking the drive axles out of the car, and then back in. The actual job of rebuilding the joints is easy if you follow the instructions. After approximately 100 miles of driving, the boots look perfect and show no leaks anywhere.
So I ordered a CV boot kit from John Hervey at Special T Auto. It was back ordered and took a few weeks to get, but it came with everything I needed to rebuild the CV joints. This was a relatively easy job, but just messy. Luckily I have a stash of latex gloves to help keep my hands a bit cleaner, and I used plenty for this job. There is a great write up on www.dmctalk.org on how to rebuild the joint. Since mine has been trouble free and hasn't made any noise, I decided to not completely disassemble the joint itself, but to just wipe out as much of the old grease from the joint before repacking it.
Here is the drive axle with one of the joints removed:

It really was as easy as the write up shows. Once the drive axles were removed from the car, and I did them one at a time so I didn't mix them up, I put them in my vice for ease of working on them and went to town. I simply removed the old boot clamps that were obviously original to the DeLorean. I then disassembled the joint. The hardest part was the old snap rings. The new kit even came with replacement snap rings, which I didn't realize until I had completed the first joint. The old one works just fine, however.
Here is the half-torn CV boot from the passenger side:

I used dozens of paper towels wiping out the old grease before putting on the new boot. I repacked the grease on both sides and worked it in before sealing everything up. The kit came with heavy duty zip ties that allowed me to tighten them really well to ensure no leaking. Here is one of the joints all put back together:

Here is a completed drive axle with two new boots:

The hardest part of the job is taking the drive axles out of the car, and then back in. The actual job of rebuilding the joints is easy if you follow the instructions. After approximately 100 miles of driving, the boots look perfect and show no leaks anywhere.
Subscribe to:
Posts (Atom)