- Repaint the fiberglass tub with SEM Trim Black
- Refinish and restore the air intake assembly, including a new DMC sticker
- Refinish the used coil cover assembly with SEM Trim Black & new sticker
- Refinish and restore the lower engine cover prop
- Restore the lower engine cover with fiberglass repair, SEM Trim Black paint. This includes painting the grills with stainless steel paint, refinishing the grill cover retaining strips, replacing any missing retaining strips, and new stickers on the lower engine cover
- Restore the metal engine bay light switch bracket and corresponding support bar
- Clean the zip-on tubing that goes around the wiring harness and the support bar
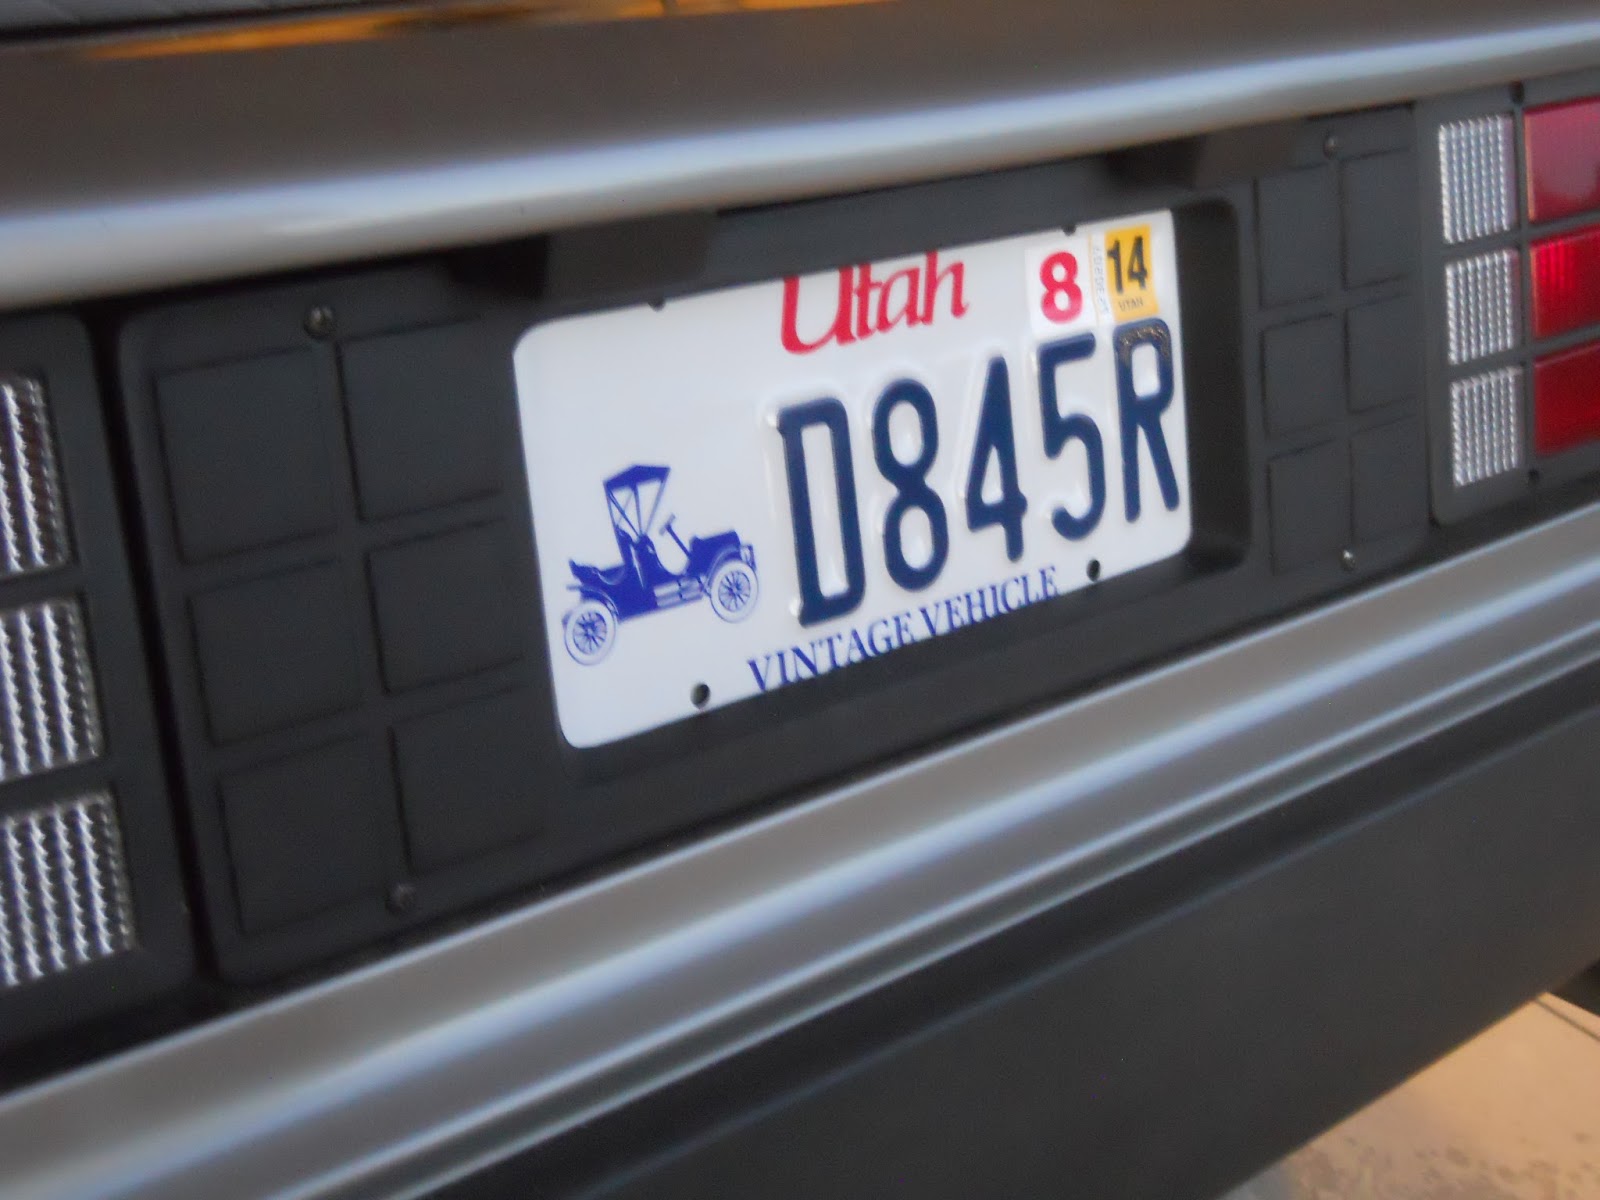
- Restore the license plate bezel with SEM Trim Black
- Restore coolant reservoir brackets using stainless steel paint
- Replace most of the rusty oil pan bolts and clean the bottom bolts on the timing cover
This is a before and after of the engine bay when nearly everything was put back together:
Before:

After:

Lower engine cover before restoration. Note the original stickers and rusty or missing grill cover retaining strips:


After the restoration. Note the grills now finished with stainless steel paint & a protective clear coat, new stickers, restored and replaced retaining strips. I also used black RTV sealant around the edge of the grills in addition to the retaining strips. Other owners have done this to eliminate the rattle of the grills. So far, so good.


Before restoring the engine bay light switch bracket. This was one of the biggest eye sores in the engine bay with the rusty bracket and rusty nuts and bolts. This was ground down to the metal, cleaned with acetone, painted with black POR15 a couple of times, and then finished with SEM Trim Black.


After restoration. Included new nuts, bolts, washers, and engine bay light switch:

The old coil cover was cracked and the sticker was turning yellow. This new cover with fresh sticker really helped clean up the engine bay:

In addition to getting vintage vehicle plates, I also painted the fading license plate bezel using SEM Trim Black, which helped improve the look a lot.
Here is a close up of the stainless steel nuts and washers on the lower engine cover hinge. They look much better than the rusting originals that were there before:

Some things that I would like to do in the near future:
- Continue replacing hardware with stainless steel replacements
- Get the air conditioning working, which will likely involve converting from R12 to R134a
- Restore the side louvres on the rear quarter panels with SEM Trim Black
- Replace the door headliners
Excellent work. Besides acetone what other solvents did you use to do general cleaning? Thank-Matt VIN4669
ReplyDeleteAlso did you use the SEM trim black to paint the firewall? Looks great.
ReplyDeleteI sanded down the fiberglass underbody with a high grit sandpaper, then wiped down with acetone before painting. I did not use any other solvents. I used the SEM trim black paint for all black items that I painted, yes.
Delete