I had removed the rear louvre when I needed to pull the engine to fix a broken engine mount bolt and I knew that I was going to refresh it and make it look brand new before putting it back on the car. The rear louvre is made of fiberglass and appears to be simply painted black, so I approached this repair that same way that I did of the pontoon tub back when I refreshed the engine bay several years ago.
I started by sanding down the louvres using 400 grit sandpaper to smooth out any imperfections and to give the pain a little more bite when it came time to paint it. I then wiped down the entire thing with acetone to make it nice and clean:

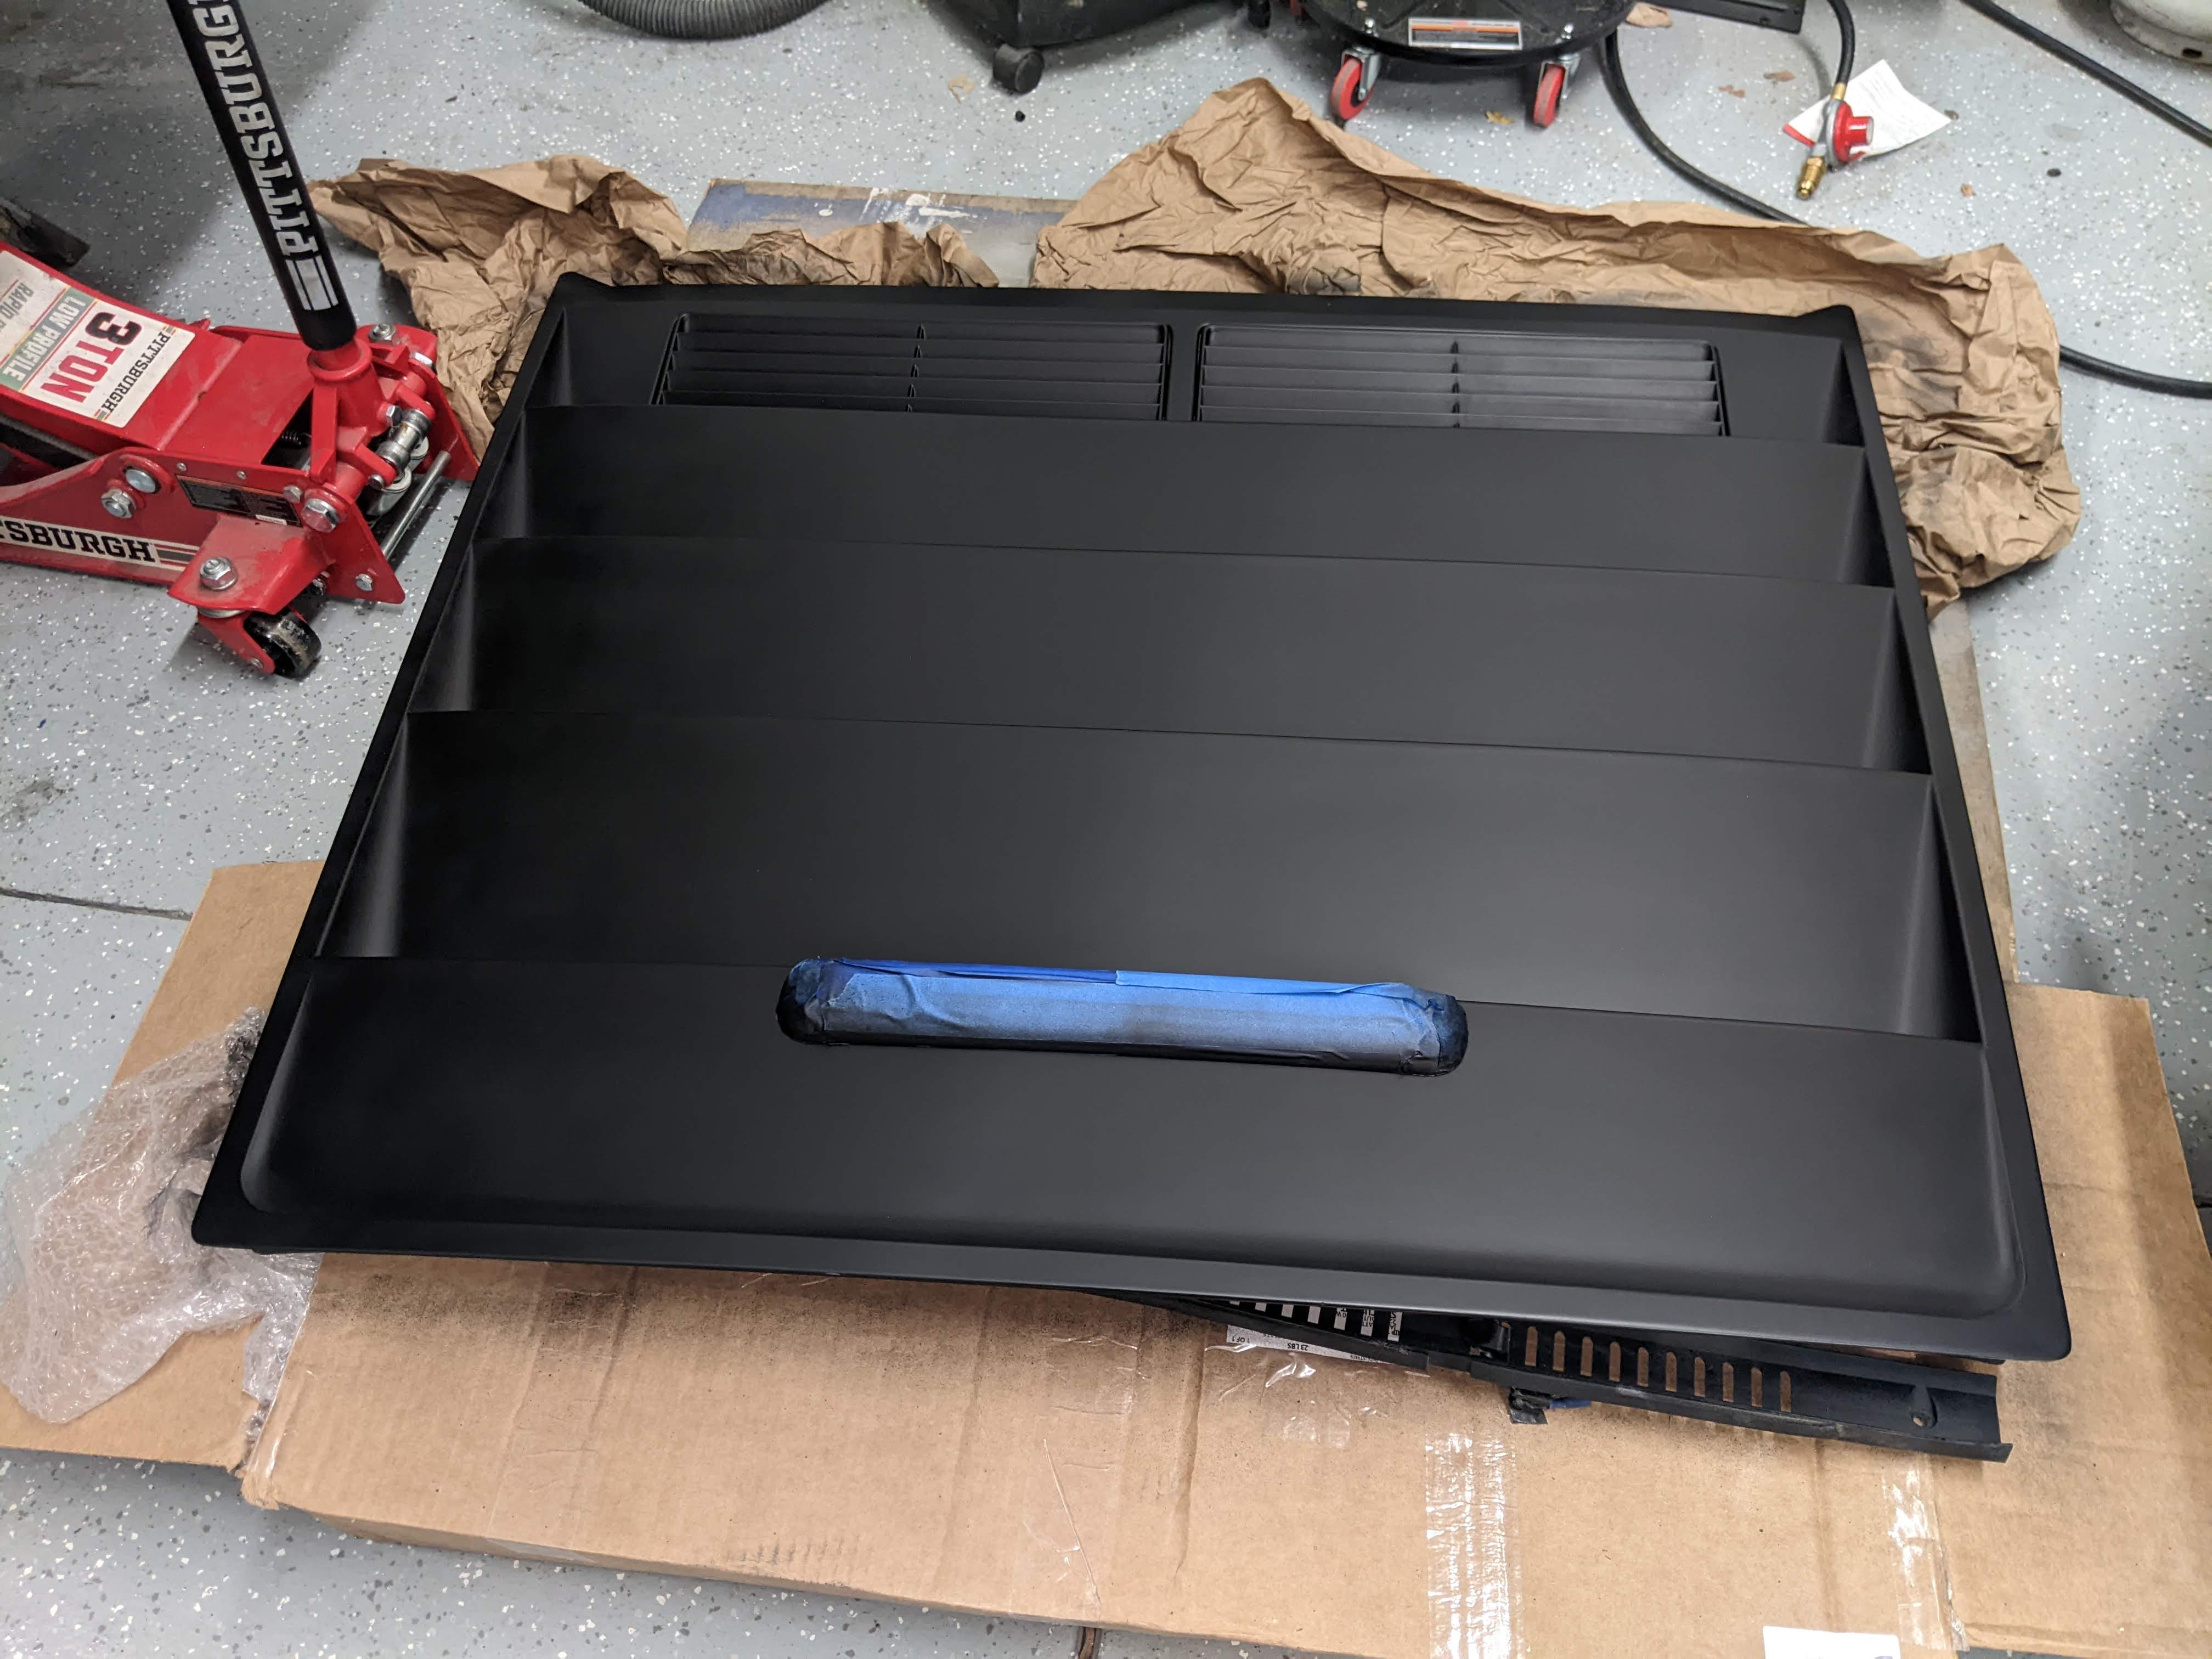
The previous owner of my DeLorean had installed a 3rd brake light that attaches to the top of the louvre and when I went to remove it, I found that it was stuck, most likely from an adhesive or gasket, so I decided to leave it on and I just taped it off for the paint job.
I then used SEM 39143 Trim Black spray paint, which does an absolute amazing job of lying flat and it looks perfect after several coats. I took my time and did very light coats over several days on every side and in all the crevices. Here it is in the process of getting painted:

After paint, I finally installed the louvre reinforcement bracket that I've had for nearly a year and a half, but hadn't gotten around to installing it yet due to other priorities on the car. It came with no instructions, so I simply test fitted it, then marked the holes by scratching the outline with a small nail.
I first tried to use a drill with a small bit, thinking I would eventually step up to a larger bit, but found it was too difficult to get the pilot hole exactly centered. I then remembered how I used a dremel to drill out several snapped bolts on the car and found that worked much better to drill out the holes that the old DeWalt drill. I even used the louvre brace to finalize the size of the holes with the dremel, the brace acting as a stencil, if you will.
Here's the test fit of the brace before drilling any holes:

Here is the brace fully installed and the louvre back on the car. The white stuff is dust from drilling the holes in the fiberglass louvre that I haven't wiped down yet. The car needs a good cleaning after I get everything back together anyway.


Here is one of my favorite features of the louvre brace: the ability to hold up the engine cover so that I no longer need to use the engine cover stay assembly. I have since removed it from my car as it's no longer needed.

No comments:
Post a Comment