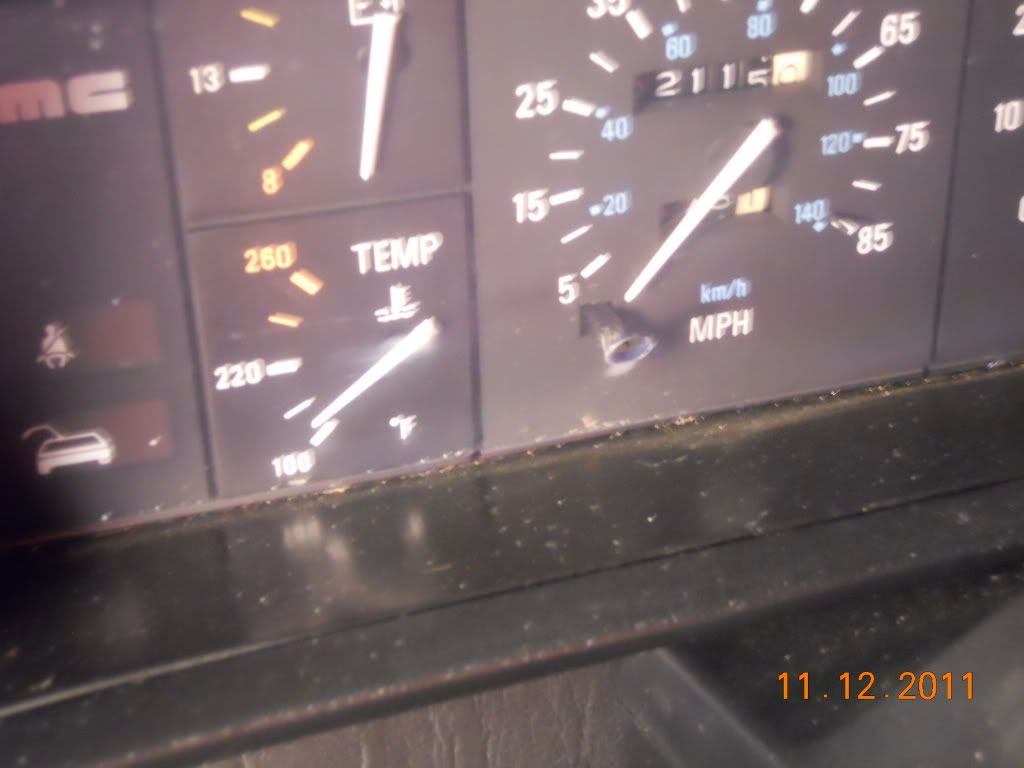
Well I decided to finally fix this once I discovered that the battery light in the dash was also burned out. In my DeLorean, the alternator wouldn't charge the car until it got up to about 2500 RPMs after it was started because that light was burned out. It is an integral part of the charging system in these cars. I also had ordered some LEDs for the dashboard lights that I had yet to install and this was a great opportunity to do that too.
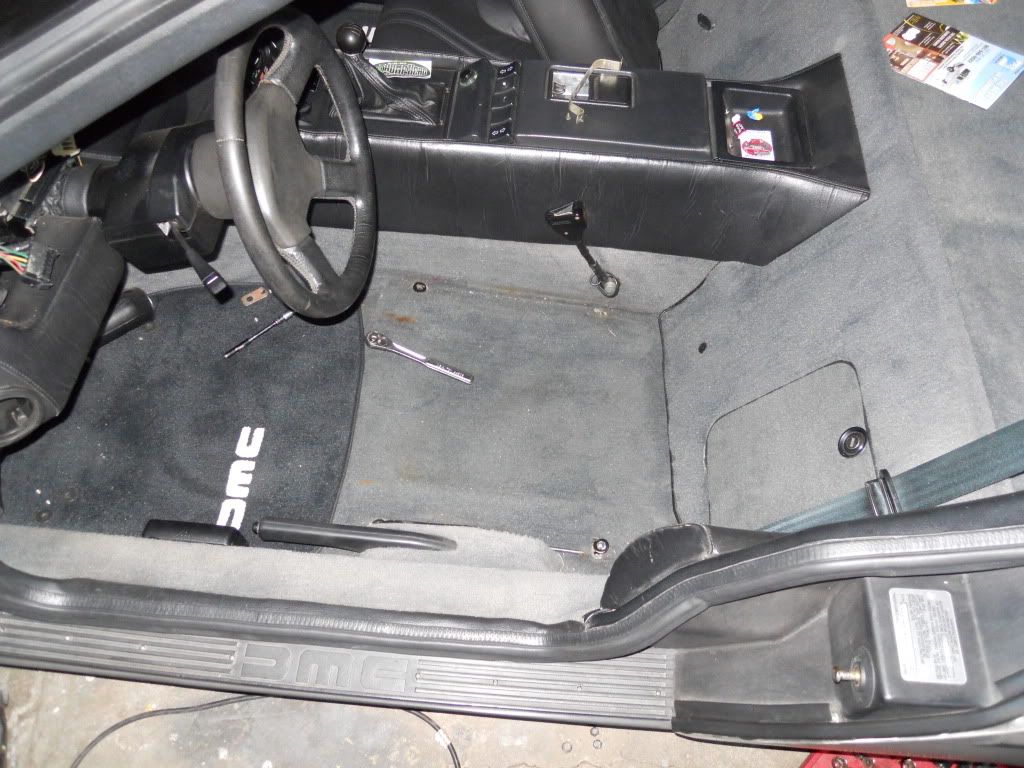
In order to remove the binnacle, you have to lay on your back so your head is by the gas pedal so you can remove all of the nuts holding the binnacle to the dashboard. Since I am 6 1/2 feet tall, I decided to remove the driver's seat completely to give me room to work and lay down:
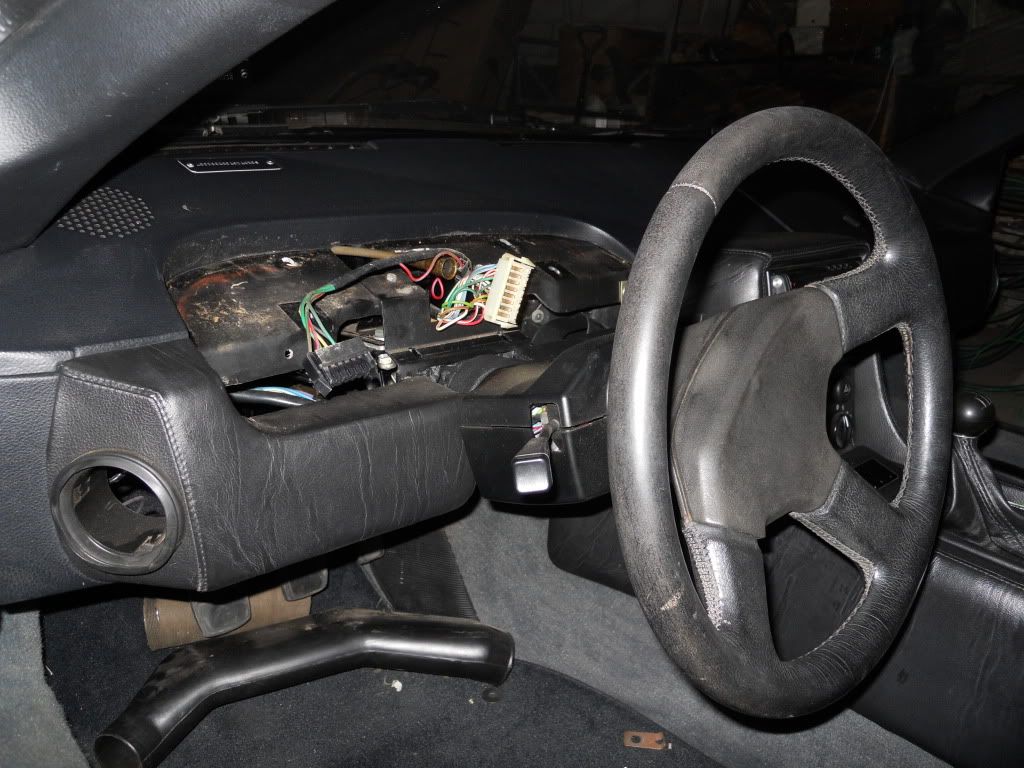
I won't give detailed instructions on the removal process since there are plenty of write-ups on that elsewhere on the web. I will say that it's much easier to remove all the connections on the back (speedo cable, electric connections) than it is to put them back together. This is what it looks like after the binnacle has been removed:
To work on the binnacle, I laid a towel on a table and went to work. This is what the back of the binnacle looks like:
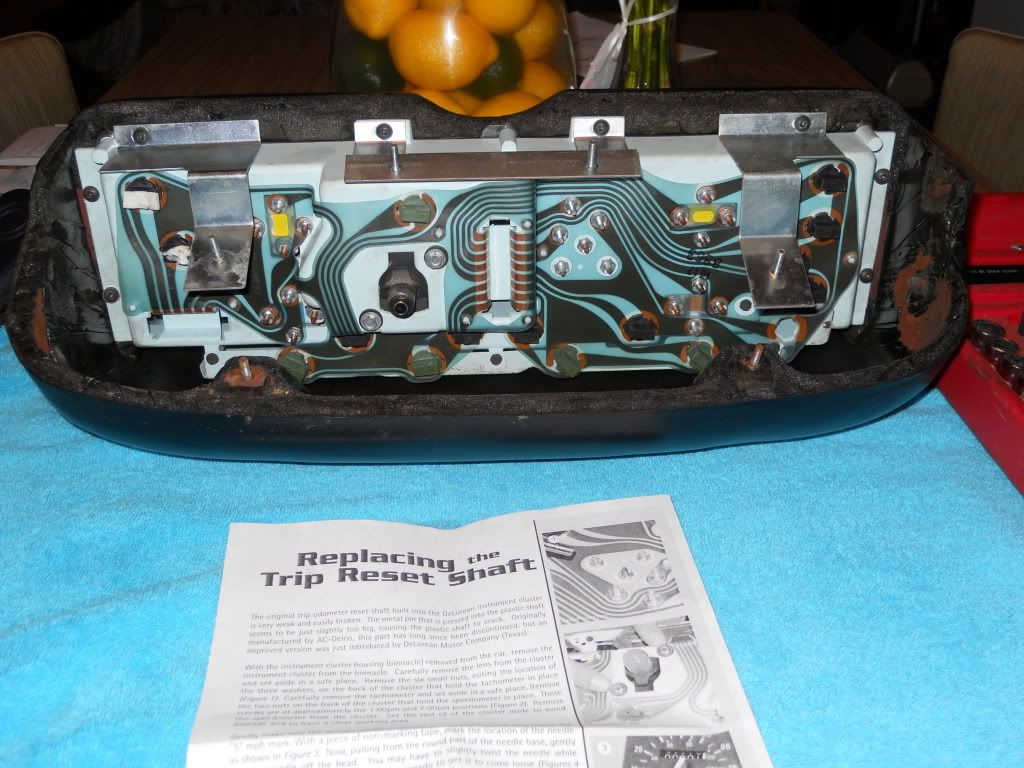
To replace the trip reset shaft, I just followed the provided instructions and completed the job without any problems. I also replaced the battery light with a #161 incandescent bulb from Autozone and replaced the other lights with LEDs from Super Bright LEDS. I decided to use WLED-WH5 "warm white" lights for the backlight of the instrument cluster because I didn't want the blue hue that the other color appeared to have. For a complete list of lights that I used, you can visit this blog for a comprehensive list with before and after pictures as well.
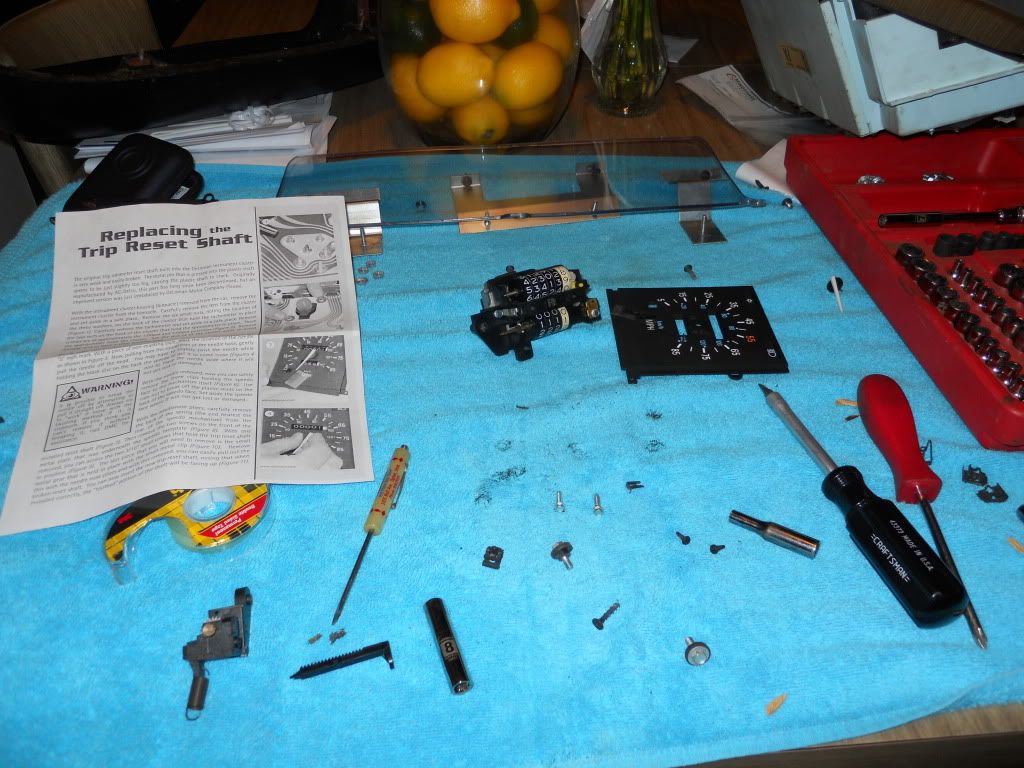
In the middle of the job of replacing the trip reset shaft, things looked a little hairy:
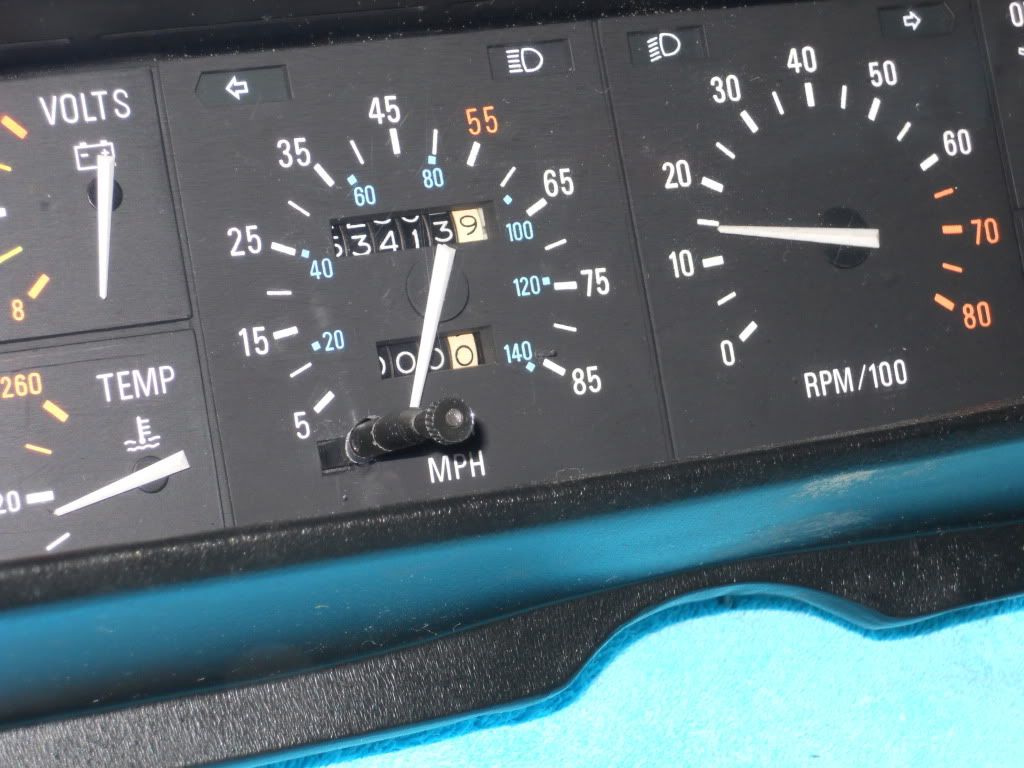
Everything went back together fine and the initial test found that everything works and looks great. I still haven't bolted everything back down in the car, but I'll take care of that this weekend. This is what the final product looks like with the new trip reset shaft:
No comments:
Post a Comment