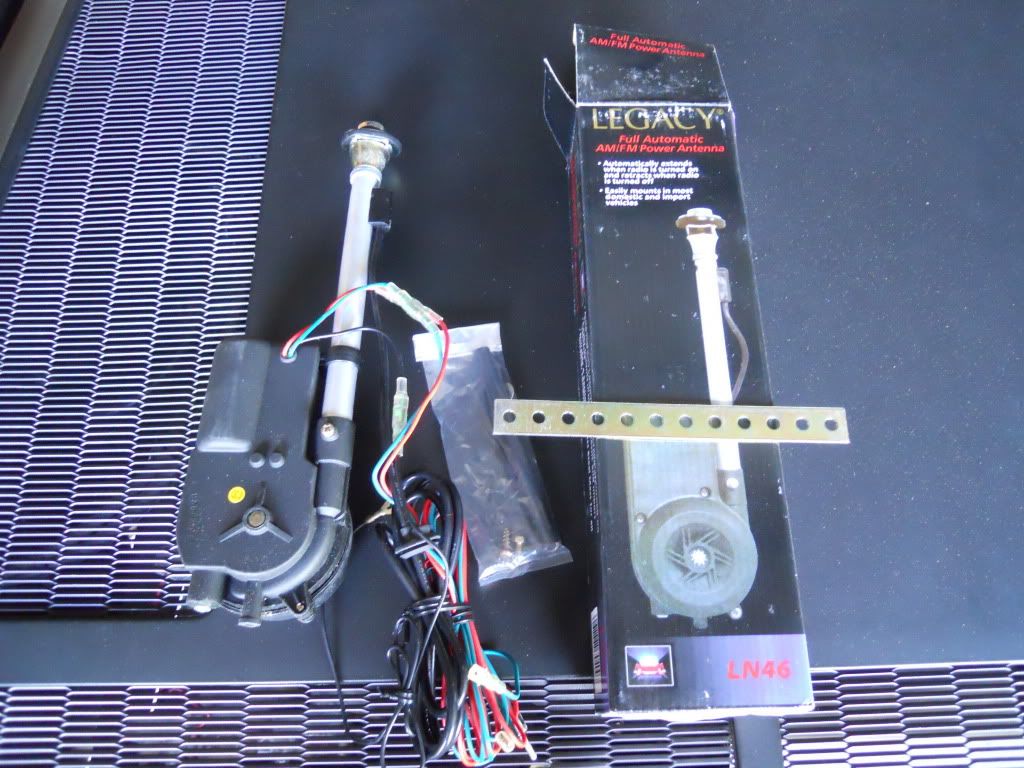
I felt very confident in my abilities to tackle this replacement, especially after readying some how-to threads online. For those that don't know, the automatic antenna is located in the rear driver's side pontoon and is supposed to go up when the radio is turned on and go down when the radio or car is turned off.
Replacement of the antenna first requires gaining access to the antenna, which is done by removing the bolts holding the charcoal canister cover inside the engine compartment. I took it out and set it on top of the engine:
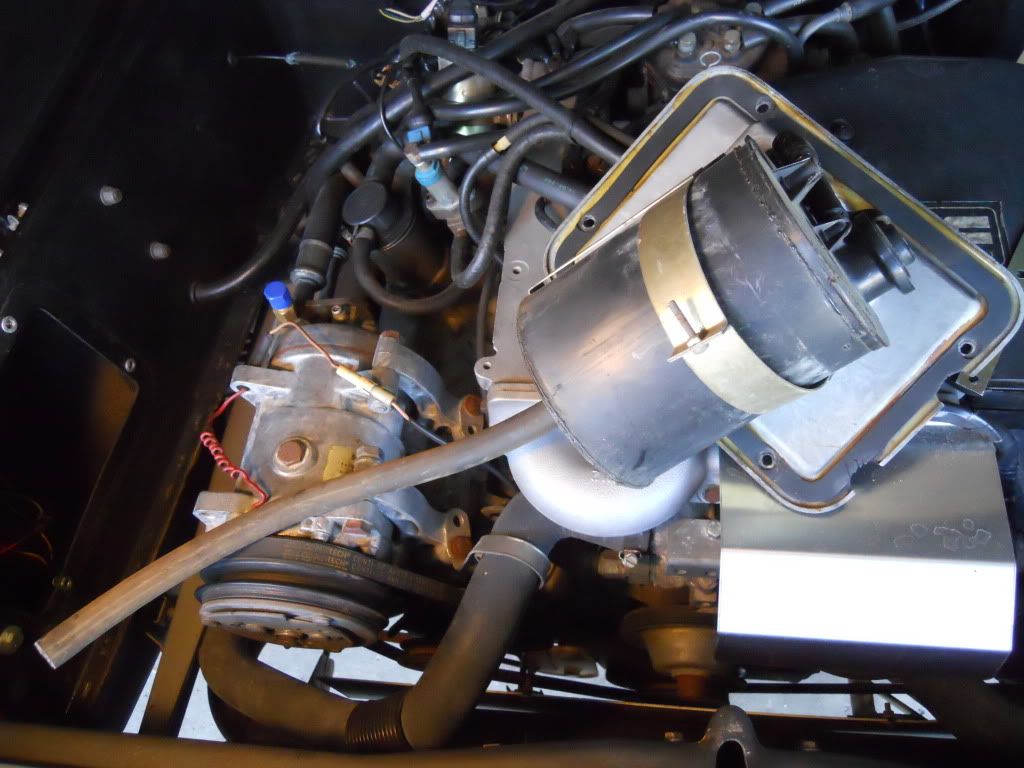
This is what the old antenna looked like inside the pontoon:

It was secured to a metal bracket that was secured to the inside of the pontoon. After undoing a couple of nuts, it came out attached to the bracket. This is what it looked like when it was removed:
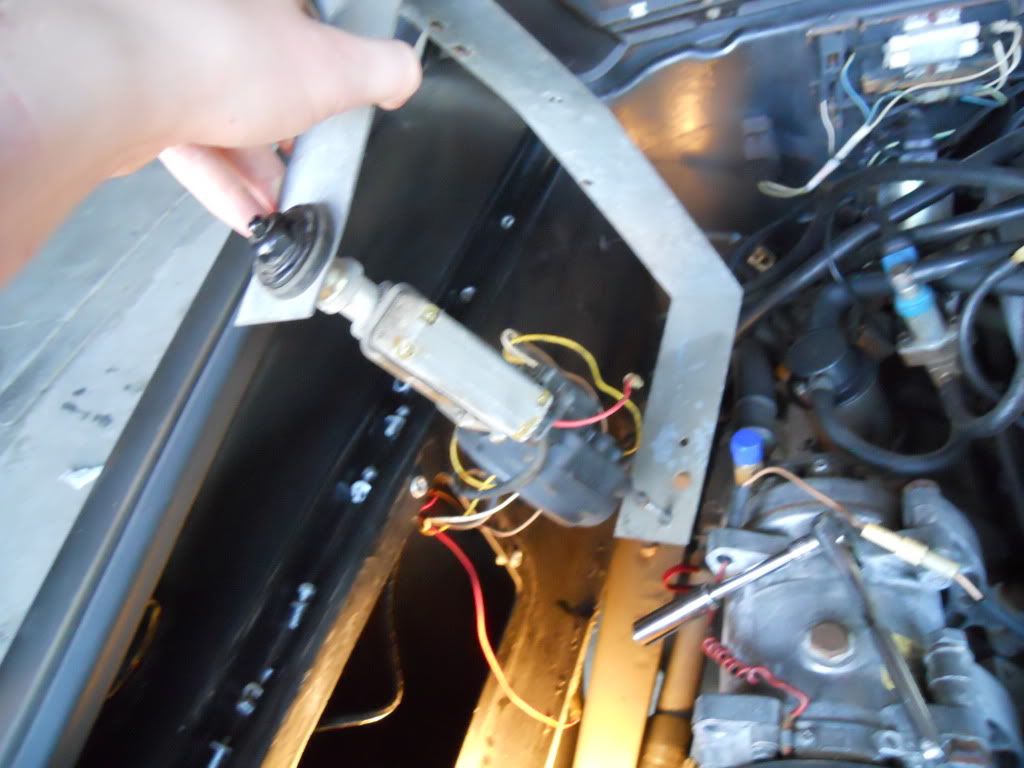
The not-so-fun part came next. I wasn't sure how the new antenna was supposed to be wired into the car because a) there were more wires on the old antenna than the new antenna and b) the wires were different colors. Here are the wires on the old antenna:
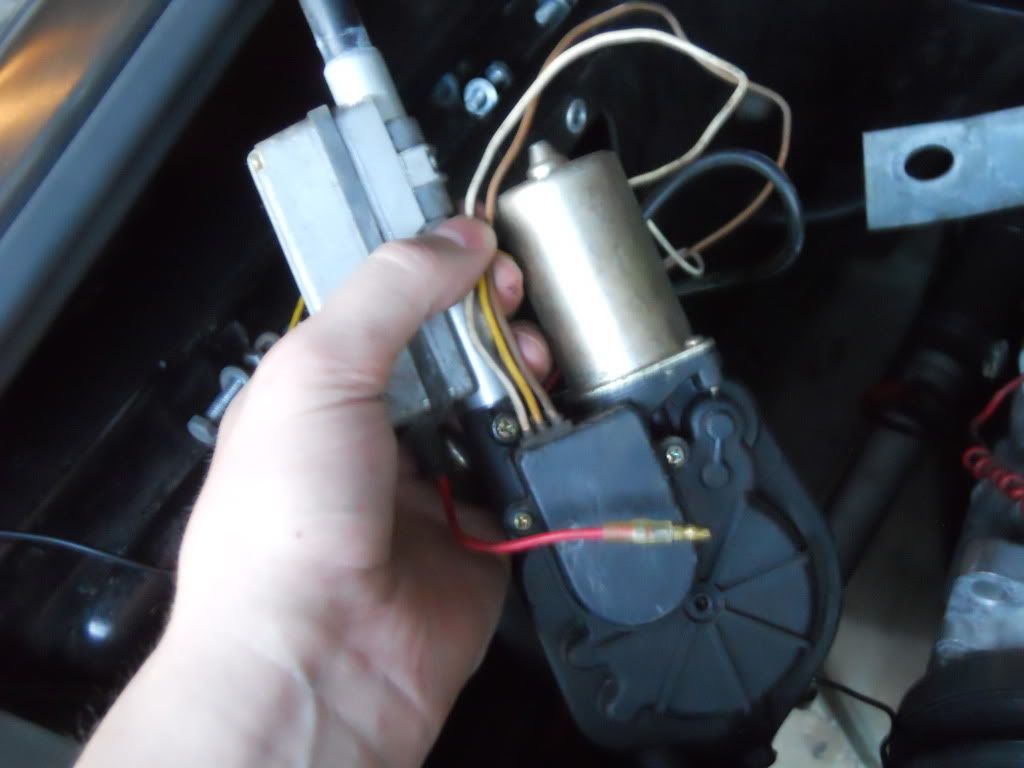
Here are the wires that came on the new antenna:
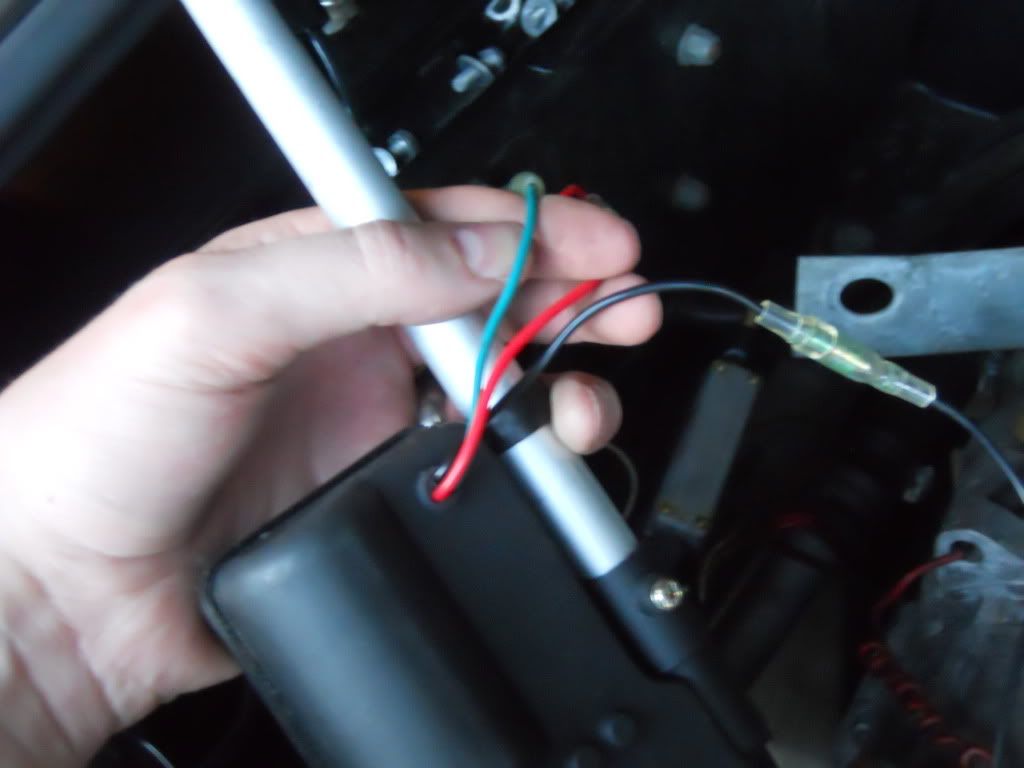
On the new antenna, I assumed that the black wire was the ground, the red wire the power, and the green wire the one that need to get hooked up to the radio deck. I tested this theory by using a car battery to activate the antenna and confirmed my suspicion. The problem is, on the original antenna, it had a relay in a small compartment on the shelf behind in the driver's side seat. The new antenna has a relay built into it, so you need to bypass the old relay completely.
Below is a picture of the old relay that needs to be removed completely:
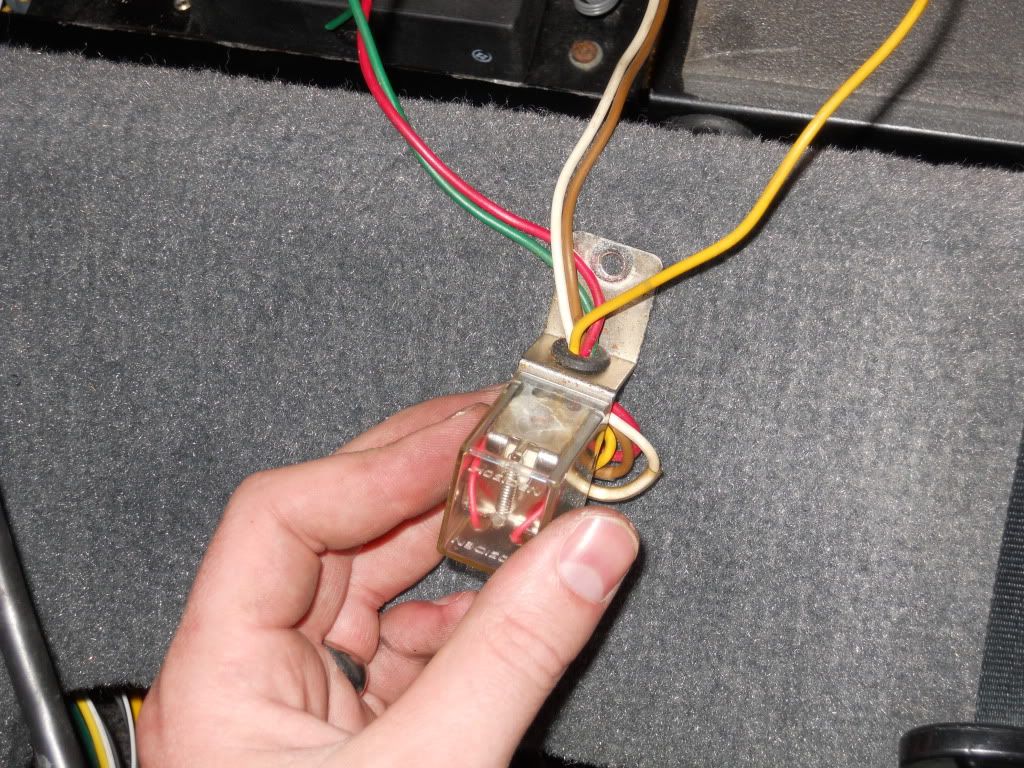
I hooked the red power wire from the new antenna to the red power wire that used to go to the old relay. The confusion on my particular setup was where to hook up the green wire coming from the new antenna. I first tried hooking it up to the white wire that used to go to the relay, as see in the picture below:
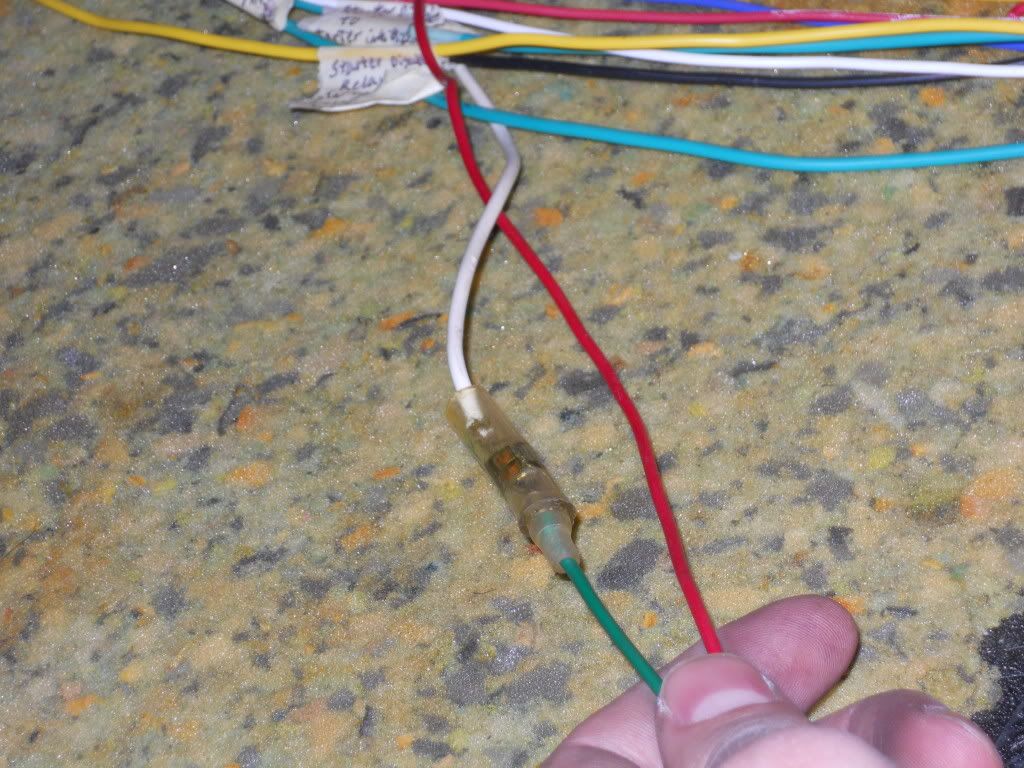
The antenna did not work when it was hooked up like this. I then went to the internet forums to get help in figuring out what I was doing wrong. My particular setup is unique because instead of having a blue signal wire coming from the back of the radio deck, I have one group of cables that go to a receiver unit that the previous owner put in the cubby behind the driver's seat.
I dug up the installation manual for the radio and found that one of the wires coming off of the receiver unit was labeled as ANT CONT, which I figured might be the antenna signal wire that tells the antenna when to go up or down.
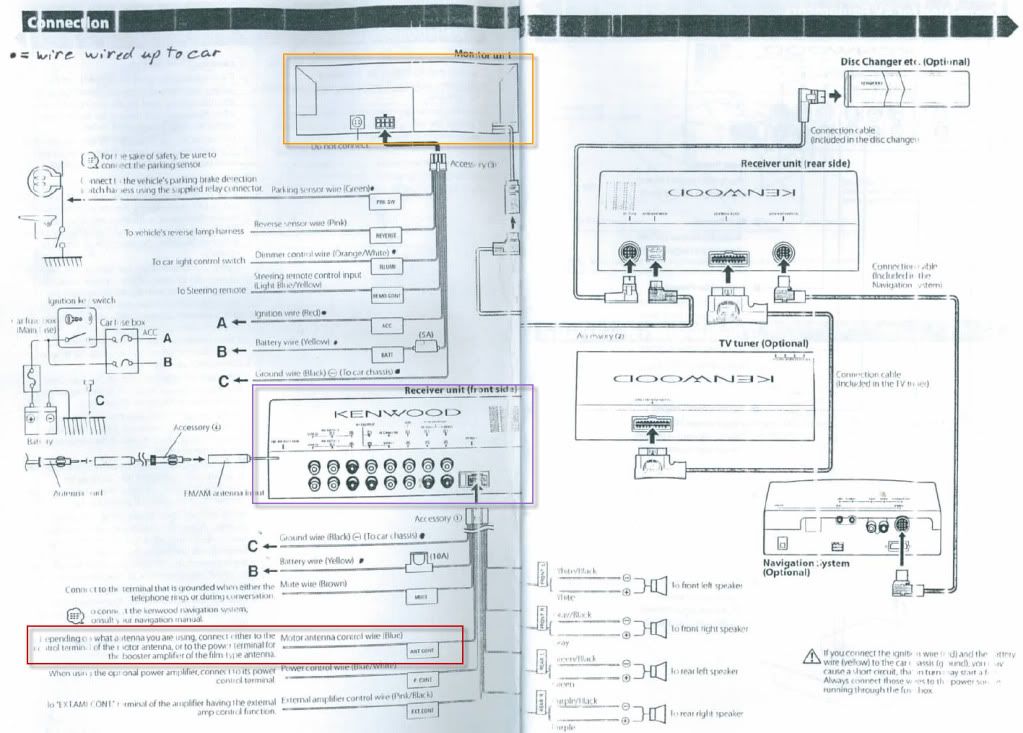
I hooked up the green wire from the antenna to that, hooked up the radio antenna reception cable, and made sure the ground wire was in a good known ground at the back of the car and I was ready to test. The antenna worked, but I think that the antenna that I ordered is faulty because it doesn't go up or down very well at all. It's like the motor isn't working like it should. It won't come up all the way on its own, and it won't go down unless I help push it down when the motor is trying to pull it down. I am not going to worry about it for now because I mostly always listen to MP3 CDs when driving it anyway.
The antenna was really hard to get to line up correctly so it came out where it was supposed to. The charcoal canister doesn't leave much room for the antenna inside the pontoon. It was a much more frustrating and time consuming install than I originally anticipated, so hopefully this post will help you avoid the same pitfalls that I encountered.
No comments:
Post a Comment