When taking out the engine and transmission, I took lots of photos to help me remember how everything went back together. I ended up restoring many little things and put together those before and after photos here.


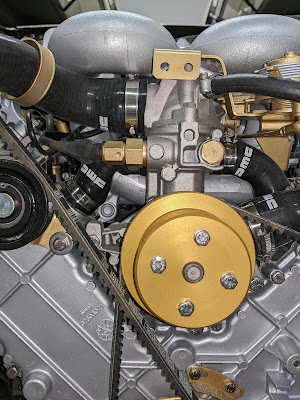
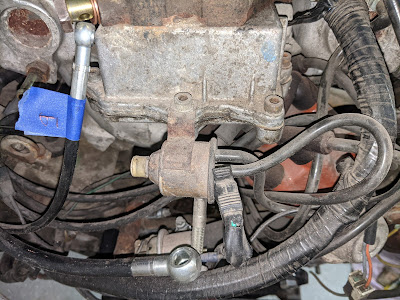


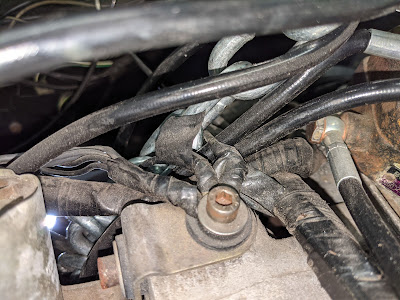


When taking out the engine and transmission, I took lots of photos to help me remember how everything went back together. I ended up restoring many little things and put together those before and after photos here.
Almost exactly 10 years ago, I replaced the boots on the drive axles, as documented on this post. After I removed the engine and transmission from my DeLorean, I saw that the boots were still in great shape, but that the drive axles were caked in grease. They likely were seeping grease juice, causing them to look pretty nasty. Even though the boots were fine, I decided now would be as good of a time as any to restore the drive axles to as good of condition as I could.
They looked good from far, but far from good after taking them out of the car:

Again, the boots were fine, but grease juice had been escaping from somewhere. I thought I could do a better job of restoring these the second time around.


I knocked off the cap ends, cut the zip ties holding on the boots, and dove into the greasy mess.

On the end of the shaft, there is a c-clip that holds on the cup end. It's buried under the black grease in this picture:

I was much more careful in working on the axles this time by trying to keep surfaces clean with paper towels, wearing gloves, and not holding back on trying to get everything as clean as possible as I completely disassembled each drive axle.

Unlike last time, this go around I removed and cleaned everything. Last time, I cleaned things with the bearings still in the cup assembly, leaving a lot of the old grease in place. I wanted a completely fresh start this time.

I took it a step further and sandblasted all of the external components down to the bare metal. I then wiped them down with acetone before applying paint. For the shaft, I used black POR-15, which is some of the most durable paint that I have had experience with. For the other pieces, I either used black POR-15, or I used primer, gold engine paint, followed by an engine clear coat.
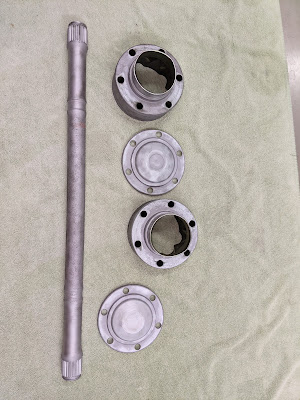
Before reassembling, it's important to know how the pieces fit together. You have the inner "star" inside the smaller circle that have wide and sharper points. The wide points need to align to the skinny sections on the outer circle and the skinny points need to align to the wider section, as shown in the photo below:

After several days of painting various coats, here are the pieces getting ready to be reassembled:


Here is the proper alignment of the outer section. It's important to not mess this up:


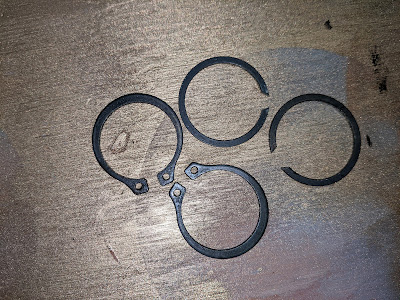
One curious thing I found when I disassembled my axles is that the c-clips were different from one shaft to the other. I much preferred those with the holes as it made it much easier to remove. I reused these as the new boot kit did not come with replacements:
After installing the c-clips, I then repacked the joints with new grease, starting with the outside.
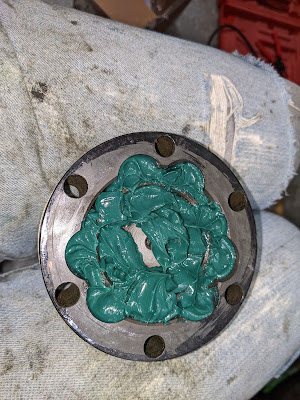
I then put the outside cover on, using some sealant to prevent future seeping. Time will tell if this works.
I then packed the joint with grease on the shaft side:


Both axles went back together nicely, after which I installed them in the car and torqued the new bolts down to 30 ft-lbs.


After successfully mating the engine and transmission back together after several months apart and all the other prep work had been completed (frame cleanup, new motor mounts, restored transmission mounts, etc.), the time had arrived to put them back into the car.
The process to reinstall them was much more delicate, deliberate, and slow than taking them out of the car. It took a lot of adjusting with the load leveler to get the angles right, getting the transmission under the body of the car without having the engine hit the back of the frame.

In addition to using the engine hoist and load leveler, I also had a jack under the frame to raise and lower the car when necessary. This turned out to be very helpful to be able to adjust the height of the car in addition to height of the engine and transmission.

The last hurdle to cross is to get all of the mounts to line up correctly. I was able to get the transmission mounts close enough to be able to put the bolts through the mount holes which allowed me to then focus on getting the motor mounts to line up. It took a bit of wiggling of the motor, but eventually I was able to get it to fall into place into the mounts.

Next up will be to hook up the transmission linkages, electrical connections, fuel lines, cooling lines, and anything else required for the motor to run before firing it up again.