As part of my DeLorean's interior overhaul, I chose to replace my car's headliner. I had replaced the headliner on the doors back in 2013, which I briefly mentioned in this post. At the time, the front and rear headliner in between the doors was still holding up fine and didn't need to be replaced. But both of those pieces had started to show their age and were starting to come loose in a couple of places. Also, the original backing material had started to lose its correct shape, so rather than messing with that fiber board material again, I bit the bullet and bought a new headliner set with fiberglass backing material.
I wasn't sure which color to go with on my car, but I contacted DMCH and they willingly sent me a swatch with color samples. I ordered the dark gray set and it soon arrived.
When I opened the package, I discovered that the color I was sent was much darker than what I had in the swatch, and sent the vendor an email with a picture of the new headliner with the two swatch colors I still had:

I was super bummed as I was hoping to keep the original dark gray color I had, but I didn't love the lighter gray color either. I also didn't want to go through the hassle of a return, especially with such a large box that it came in. They tried to make it right and provided a 20% discount refunded back to me, which was good of them.
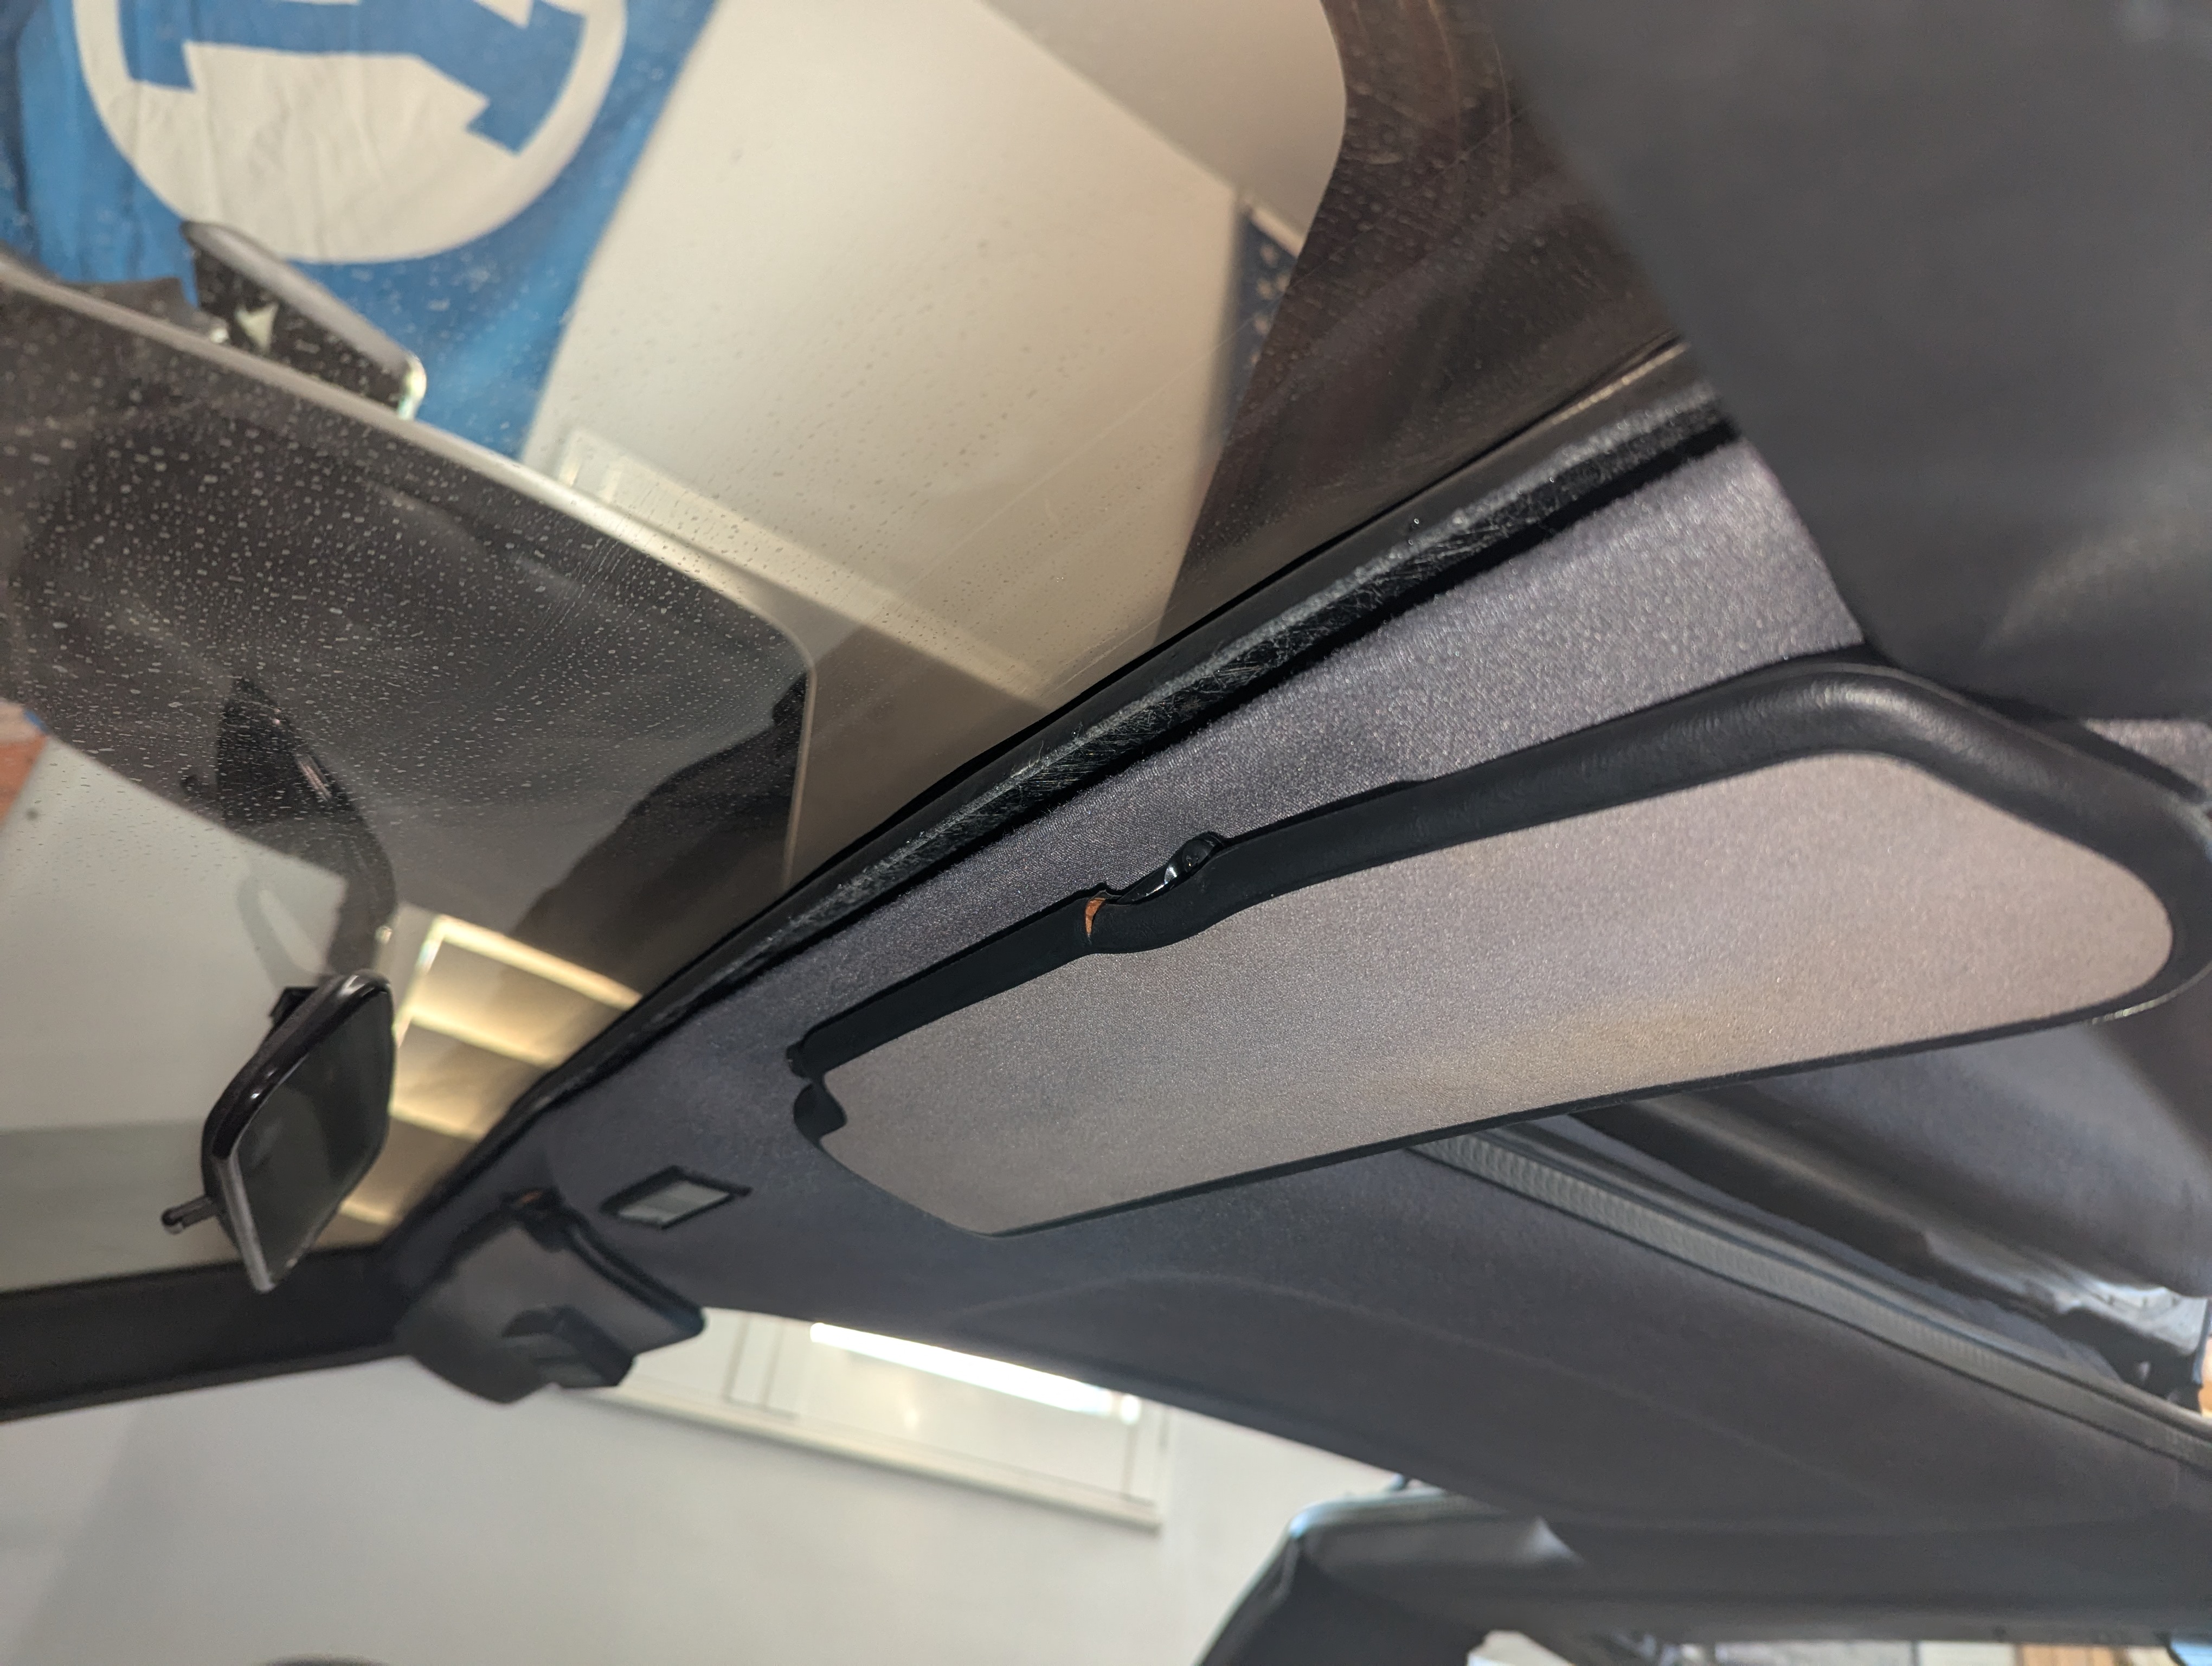
Removing the old headliner is pretty straightforward. The door headliners pop right out when you pry or pull on them. The center headliners require a bit more finesse. You have to remove the sun visors, held in by a couple of screws, remove the front interior courtesy light, remove the door weatherstripping where it holds on the headliner material, and then slide the whole headliner so that they are released from the bracket holding them in place. I made sure to document the correct wiring of the courtesy light so I'd be sure to hook it back up correctly:

My headliner left behind a bunch of glue residue where it meets the weatherstripping that I ended up scraping off with a razor blade. Here's what it looked like after I took out the headliner:

Once I got my headliner removed from inside the car, I was happy I chose to replace instead of simply recover them due to the state of the old backing material. Here's a look at the original backing material that is made of a type of fiber board:

The headliner was out of my car for nearly a year while I worked on various things inside the car, including bolting down the roof box, restoring the original dashboard, restoring the fuse box area, installing a new radio head unit, fixing the bottom of one of the seats, and restoring the AC unit and heater box assembly. The headliner was one of the last things that I put back in after reassembling the interior.
Before I installed the new headliner, I found that one of the headliner screw brackets was extremely rusty, so I decided to drill out the rivets and refinish it by sandblasting and paint. Here is what I discovered it looked like before I removed it:


The new fiberglass headliner comes with plenty of extra material around all of the edges, which allows you to make sure to get them installed just the right way. Here's a look at some of the extra material that I had poking around the weatherstripping as I was installing them:


No comments:
Post a Comment