A few weeks ago, I took my DeLorean for its first drive of the year and I had a strange issue. When I would try to accelerate too quickly, the engine would bog down and just stutter instead of having a clean acceleration. I parked it for a few weeks thinking I'd look into it later.
I hosted a few local DeLorean owners at my place a few weeks later for a tech session, and this time I couldn't even get the car to start. It would crank, fire for a second or two, but would die every time. It would die immediately if I tried to give it any throttle. My suspicion was that it was doing the same thing as a couple of years ago and only running off of the cold start valve and none of the injectors were letting any gas through due to too low of fuel pressure from the pump.
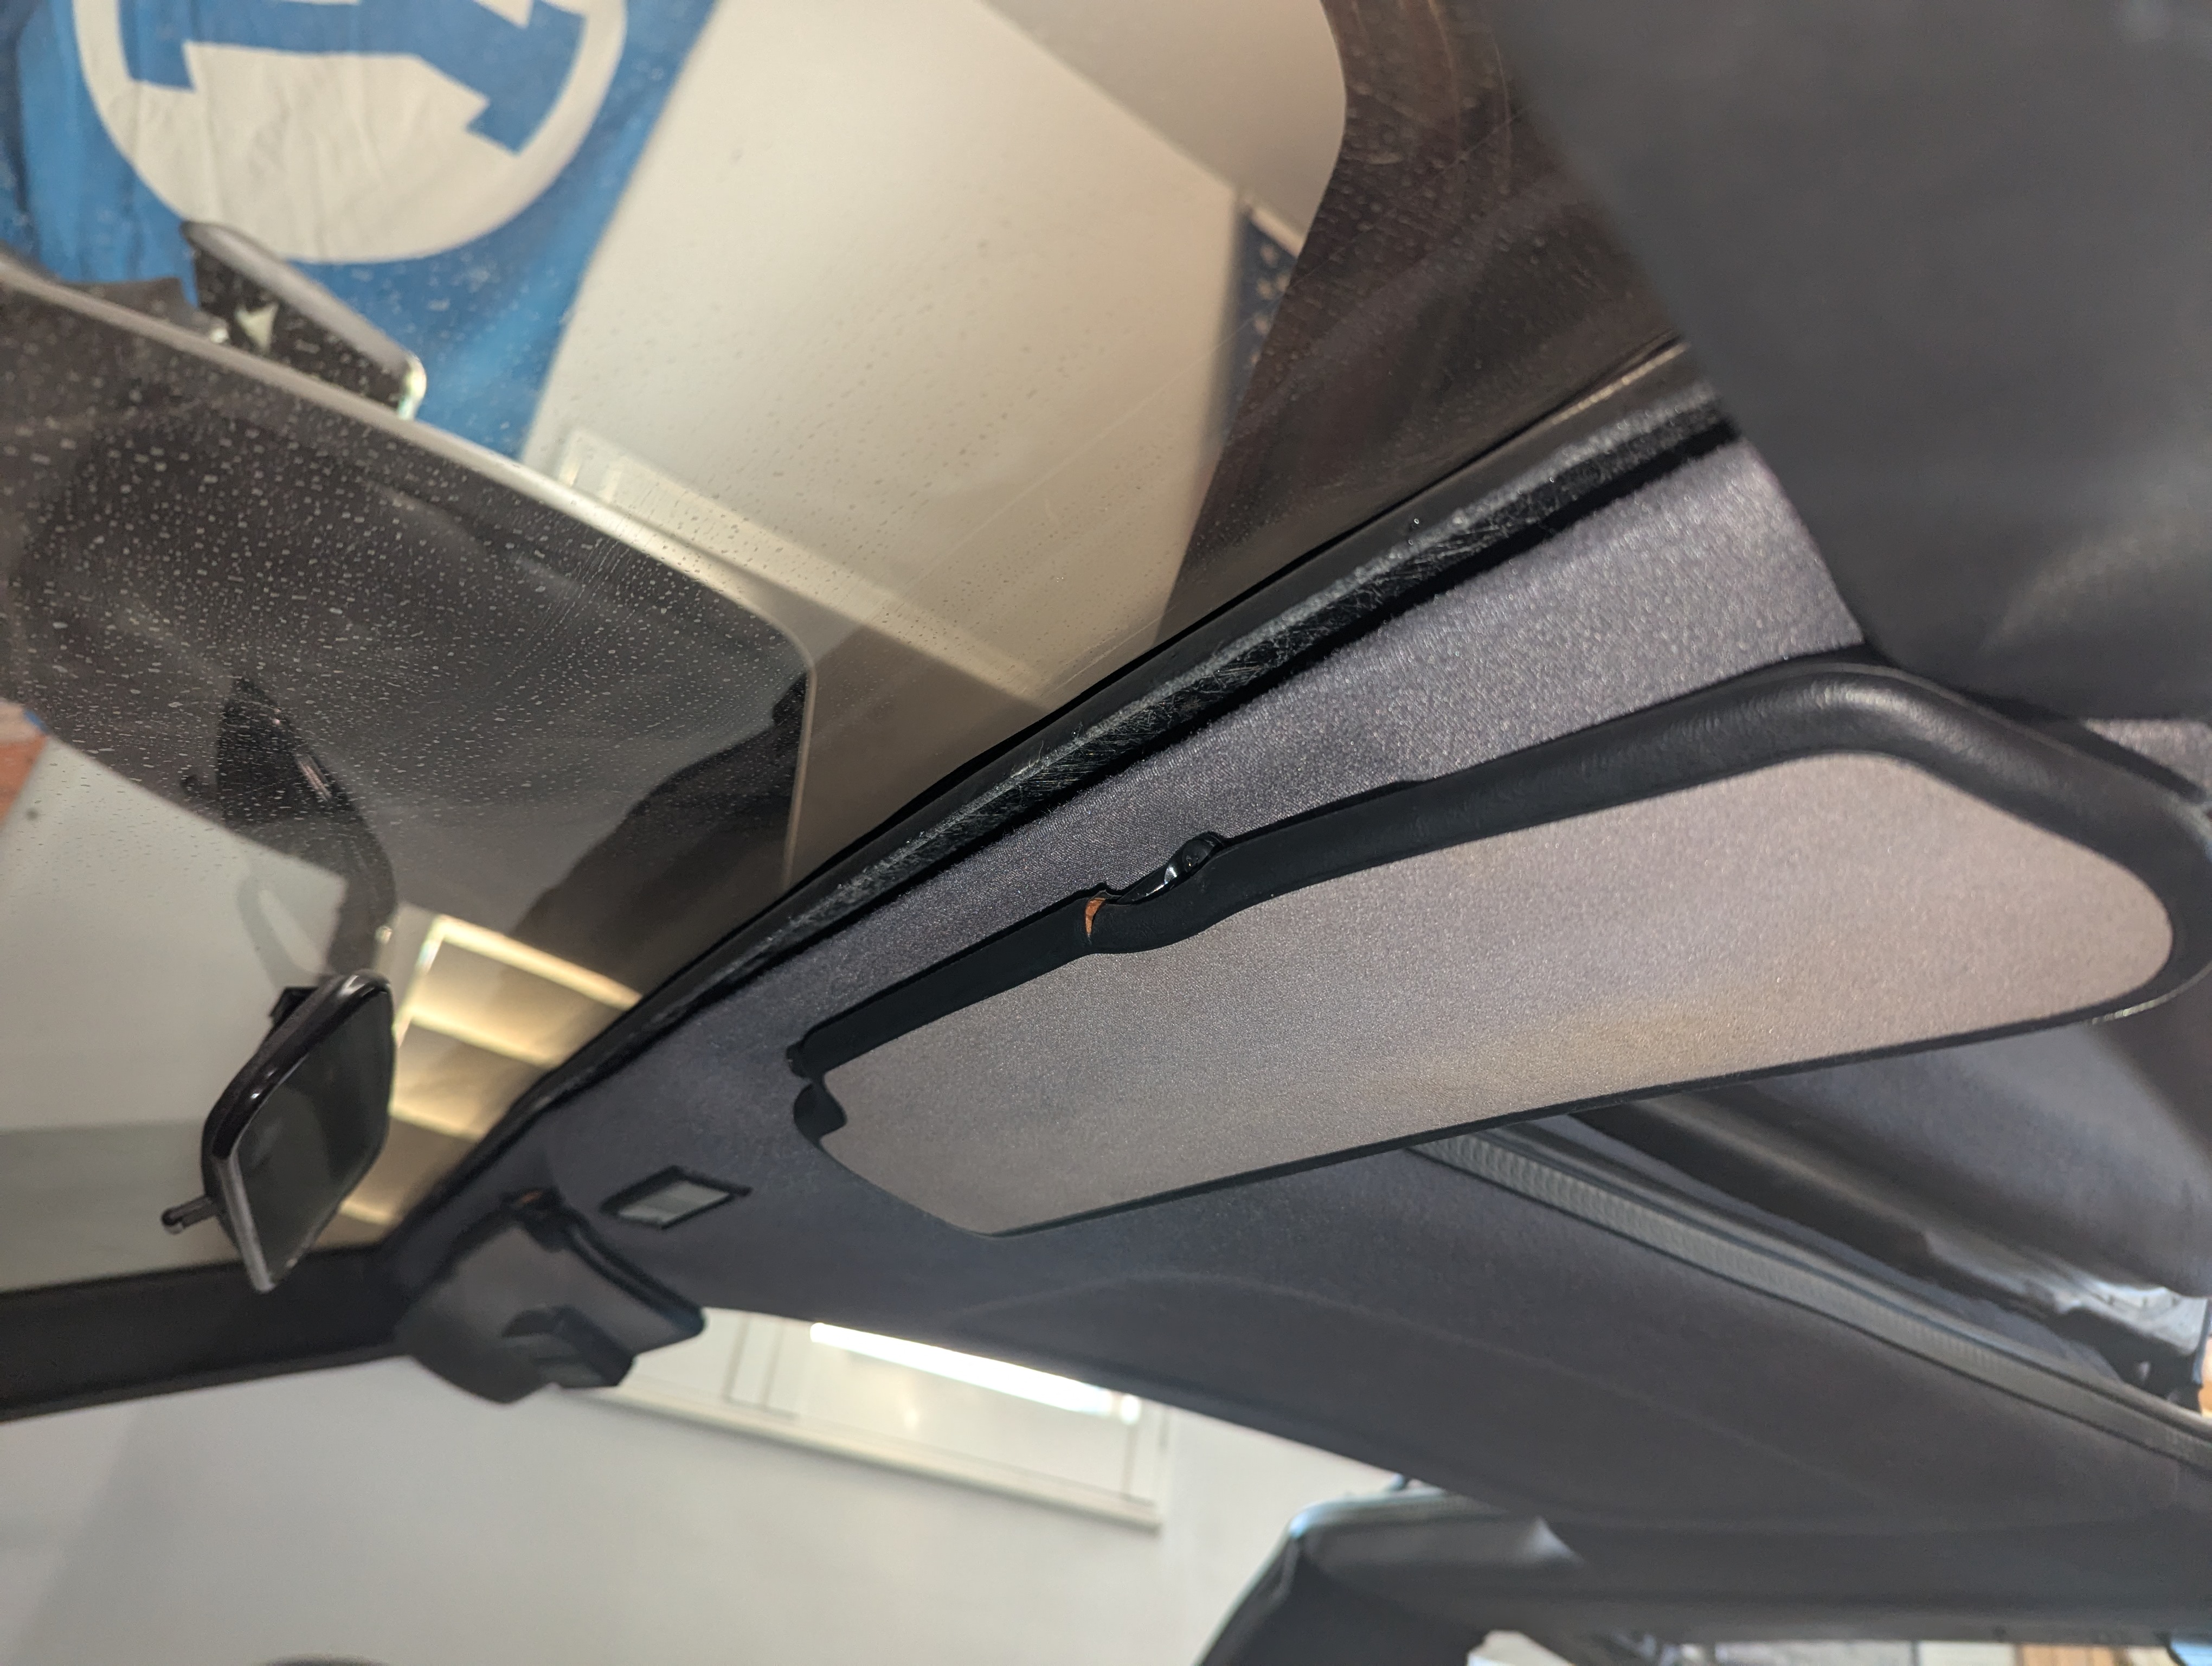
I confirmed this by pulling one of the injectors and taking advantage of another set of eyes on the engine while I tried starting the car. To be sure, I jumpered the RMP relay and pressed down on the fuel meter and nothing came out of the injector. I suspected that the new ground for the inertia switch that I chose a couple of years ago to fix my fuel pressure issue wasn't good enough. At the time, a fellow owner had let me know that the placement of the ground I chose was not the best, which was a body mount bolt not too far from the gas pedal.
He recommended at the time that I instead run the ground wires to these bolts on the shifter:

During the tech session at my place, we worked on the other cars too and adjusted the mixture on 3 of the cars, including the idle on one car, and we troubleshooted my car. It was super helpful and fun to have 5 owners and 4 cars represented:

The next day, I ran new wires to the suggested grounds on the shifter and my car came to life again! It would bog down a little when I would push the throttle, so I also took a look at my mixture using a dwell meter. The diagnostic plug on my car was removed by a previous owner, so I had to hook up the lead wire on the dwell meter to this wire in the wiring panel on the right side of the engine bay:

I was getting just a steady reading of ~45 degrees on the dwell meter, which is what I was getting a while back when I tried setting the dwell, and I remembered that I bought a new O2 sensor a while back as that is the most common reason that the dwell doesn't swing when the car is up to temperature. The O2 sensor that I had in the car came with the new exhaust from DeLorean Industries. It didn't have any branding on it, but must have been bad from day one. I bought a new Bosch Oxygen Sensor 11051 from ebay for around $33 and I had it sitting around waiting to get installed for the last few months.
I swapped in the new Bosch O2 sensor and the dwell meter came to life once the car got up to temp again. My mixture was off, but I was able to get it to swing nicely in the right range after some adjustment. My throttle response returned without bogging down, and the first couple of drives I went on were flawless.
So if you ever have an issue where your car will fire for only a couple of seconds, you may have a fuel pressure problem like me, fixed by a better ground.