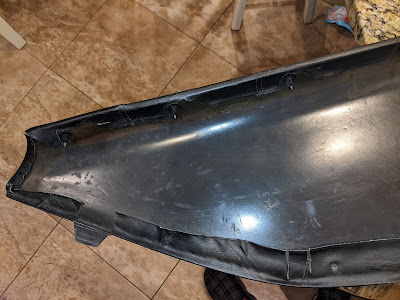
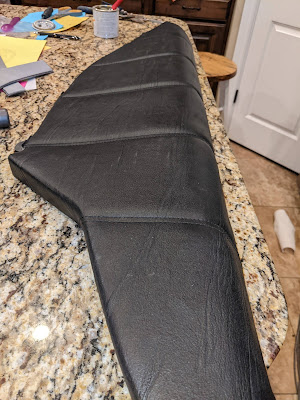
After seeing the great results others had shown after replacing the door card foam in their DeLoreans, I decided to give it a shot. I used this walk through to help me in the process, so I won't bother repeating all of the steps as it's documented in great detail in that post.
I bought the door card foam repair kit from DeLorean Go as it was super convenient and I wasn't having any luck finding the scrim foam I needed locally in the thickness I wanted. After over 40 years, the foam in my door cards was extremely flat, as shown in the before photo below:
I took lots of pictures of the backside so that I would be sure to put it back together as closely to original as I could.
The covering peeled off with not much effort. Here's what it looked like during that process:
For the rest of the driver side restoration, I was in such a hurry with the glue and getting it back together that I didn't document the rest of the process. Next came the passenger side several months later. Here's the flat door card look before I removed it from the car:
I used paper cut to the right size to create patterns in the new foam in order to cut them to the right size and shape:
Here are the new pieces before I cut the length down to size:
All trimmed down and ready to glue everything back together:
I used even more glue on the passenger door card than I did on the driver and it turned out great. On the back side of the door card, I did use several clothes pins overnight to hold everything in place as it dried. I am extremely happy with how it turned out:
Here it is installed back in the car:


No comments:
Post a Comment