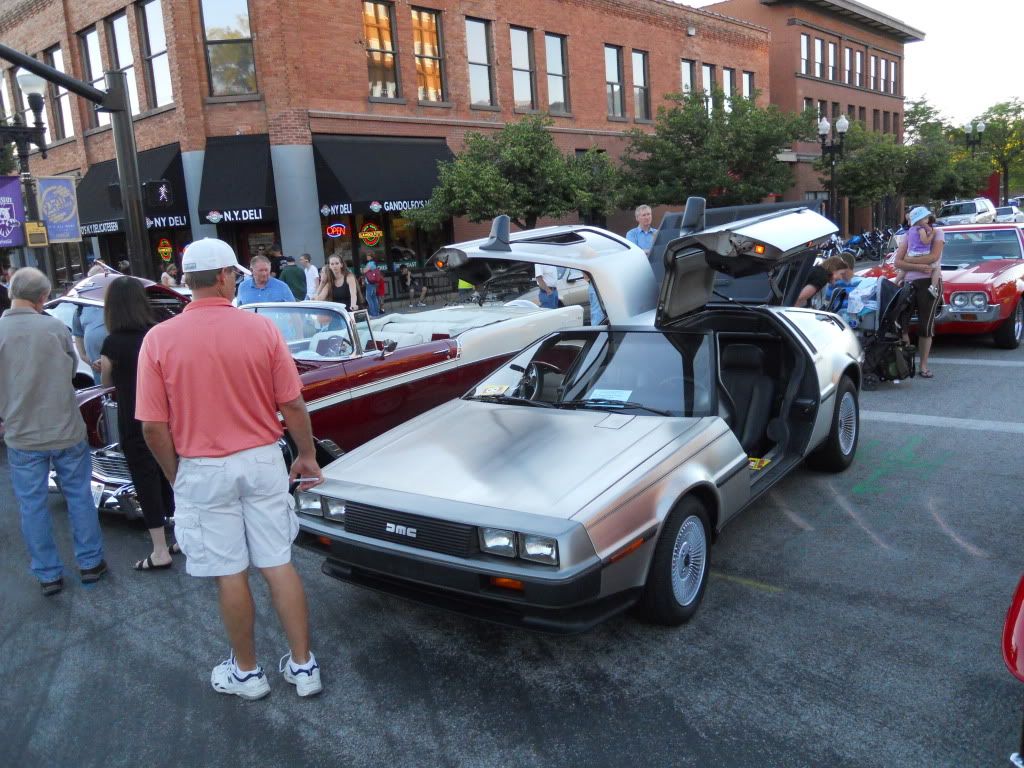
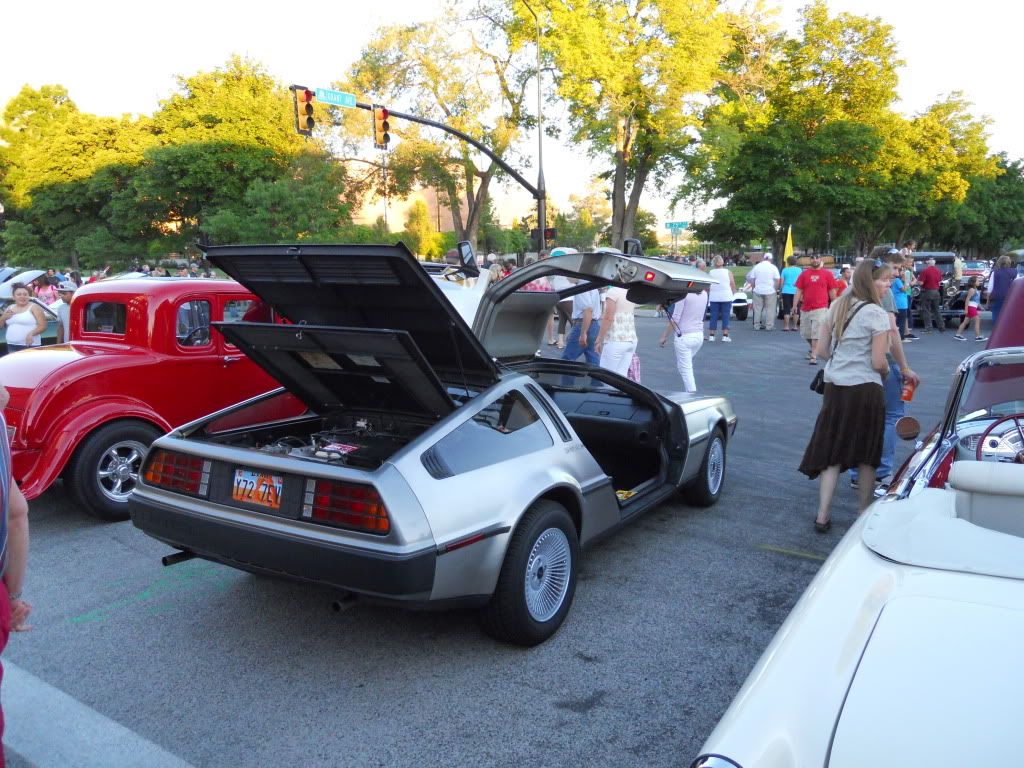
Each year in my home town, on the first Friday of June, a historic street in my city is closed off for three city blocks for the annual car show. This was the first time that I had the DeLorean in road worthy condition when it came time for the show, and I was very excited to be able to go. This car show attracts thousands of local citizens and over 300 cars.
Overall, it was a very nice experience. Despite the four "look, but don't touch" signs on all four sides of the
car, the DeLorean came away with way too many fingerprints during the show. When the show started, it was really hot outside, and with the sun shining hard on the passenger side, I decided to start the show with that door closed to block the sun from the interior.
I was
sitting a good 30 feet away in the shade. I didn't see this incident
happen, but my wife said some guy was looking at the car, then proceeded
to open the passenger door, and then close it with the greasiest
hand I have ever seen. You could have cooked fries with the grease that
he left on the door. It was disgusting.
First, "look, but don't touch" includes not opening and closing my car's door.
Second, wash your dang hands once in a while, Mr. Pepperoni Pizza Hands.
I decided to simply open the door to hide the massive grease mark on the
door. It looked a lot better open anyway, but I would have preferred to
have done it on my own time. I need to wash it again anyways as I parked
under a shade tree the next day and got 15 bird poo splatters on my car
in a 3.5 hour period. I still didn't appreciate Mr. Greasy Hands.
Here are a few pictures that I snapped of the DeLorean as the show was winding down:
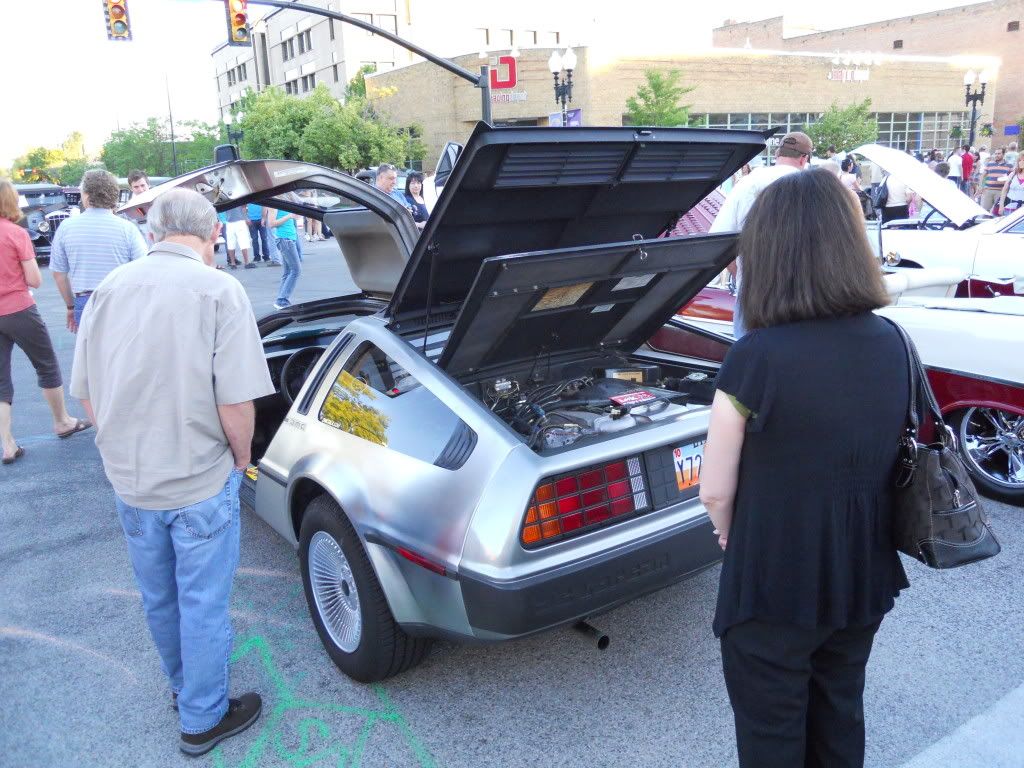
There was a steady stream of people the entire show and I really enjoyed the reactions of the people that we excited to be able to see a DeLorean in person. There were quite a few Back to the Future references, but luckily not enough to make me hate the show.
I was even interviewed by a no-name car show that is trying to get on the air. That was the first time that I had ever been in front of a television camera, and it was pretty fun. I got to talk about the car's history and tell about some of the things that make it unique and fun to own. They gave me their business card with their web site, so we'll see if I ever show up on there. The web site was www.exoticcarmagazine.com. As of today, it doesn't appear to have been updated in a long time.
Other unique cars at the show included a 1975 Bricklin and a 2005 Ford GT.
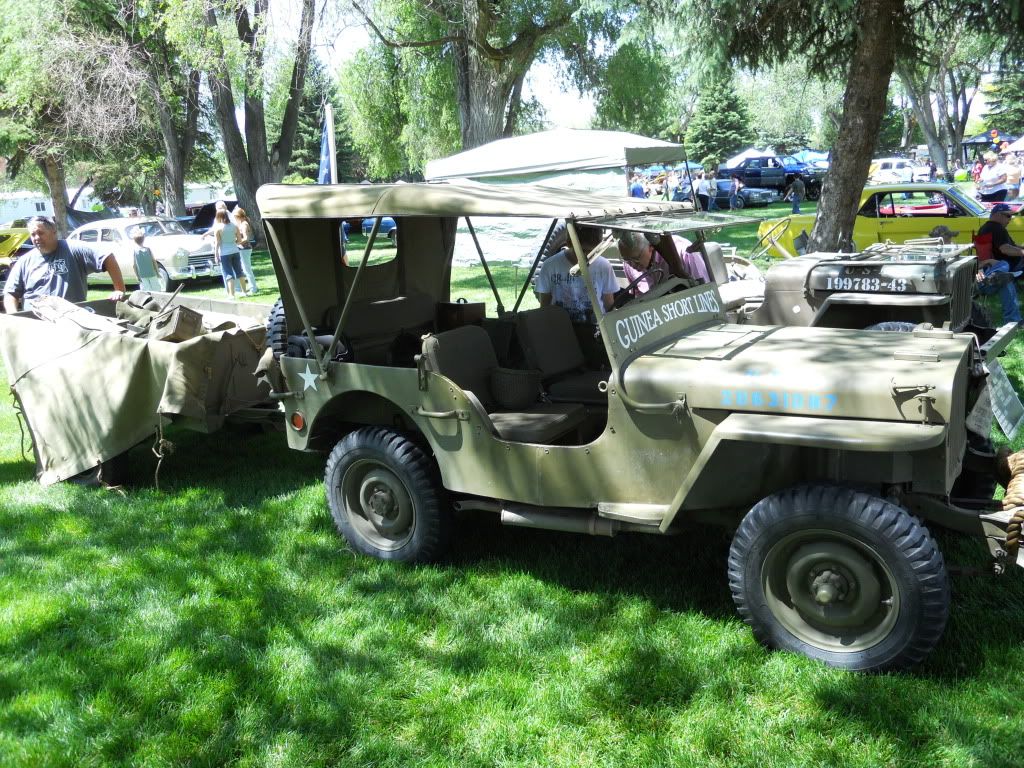
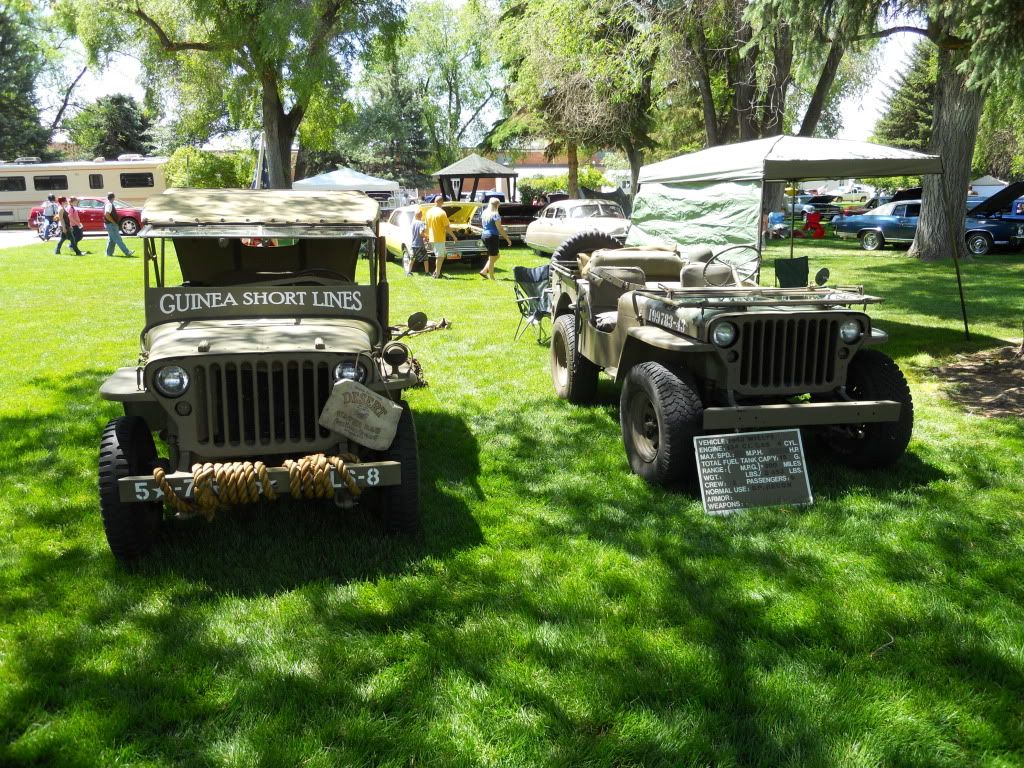
The next day was another car show, but we were in the process of house hunting and decided that we would just stop by and look and not stay with our DeLorean. We saw a lot of the same cars there that we had seen the day before, including the Bricklin. I am also a Jeep fan, and there were two awesome Willy's Jeeps from the 1940s at the show. I snapped a couple of pictures:
We noticed that when we were walking back to the DeLorean, it was attracting quite the crowd just parked there. It was kind of fun to drive away with a bunch of people staring at us. I am looking forward to some other shows coming up later this year. I just need to get the A/C working first.
Friday, June 8, 2012
DeLorean's Automatic Antenna Replacement
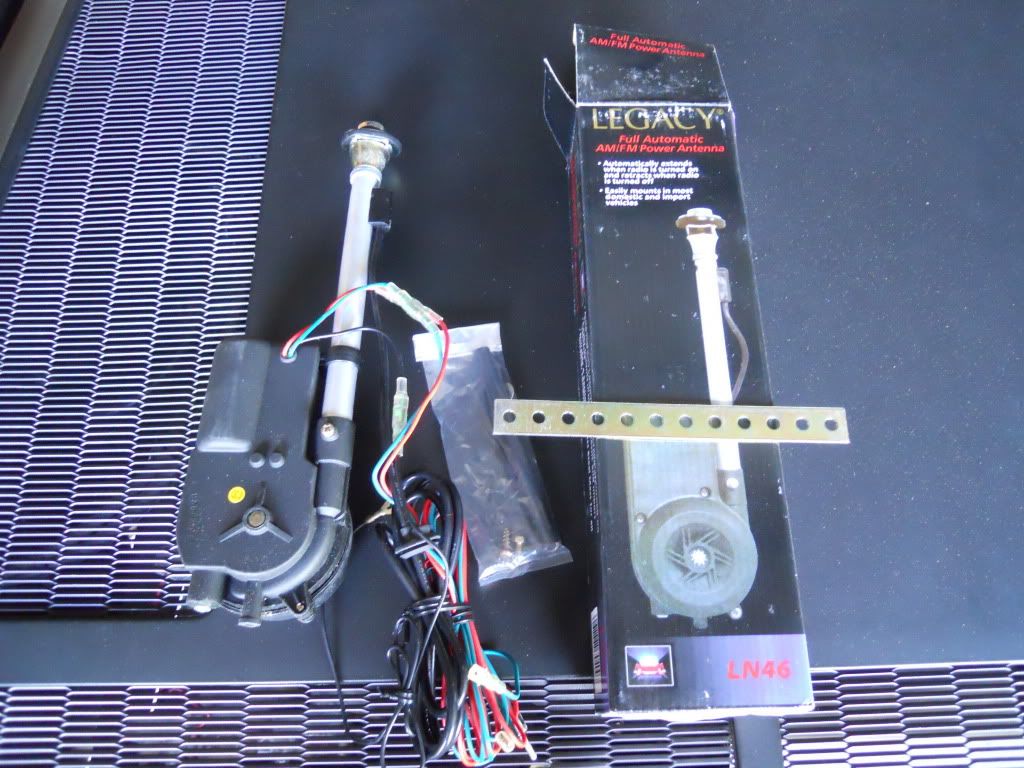
Using a DeLorean parts crossover list that I ran across on the DeLorean forum, I decided to purchase a replacement automatic radio antenna for my DeLorean since it has never worked since I have owned the car. The parts crossover list recommended the Legacy LN46 antenna, and I was able to find an purchase a new one on ebay for a little over $30. Here are the parts that it came with:
I felt very confident in my abilities to tackle this replacement, especially after readying some how-to threads online. For those that don't know, the automatic antenna is located in the rear driver's side pontoon and is supposed to go up when the radio is turned on and go down when the radio or car is turned off.
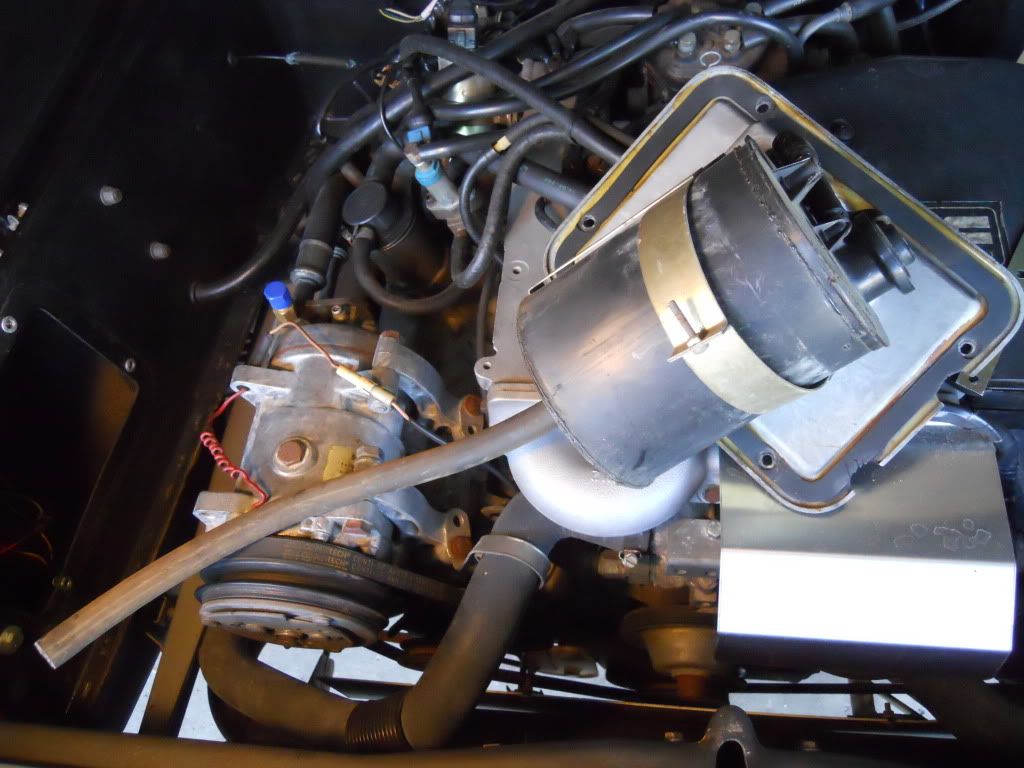
Replacement of the antenna first requires gaining access to the antenna, which is done by removing the bolts holding the charcoal canister cover inside the engine compartment. I took it out and set it on top of the engine:
This is what the old antenna looked like inside the pontoon:
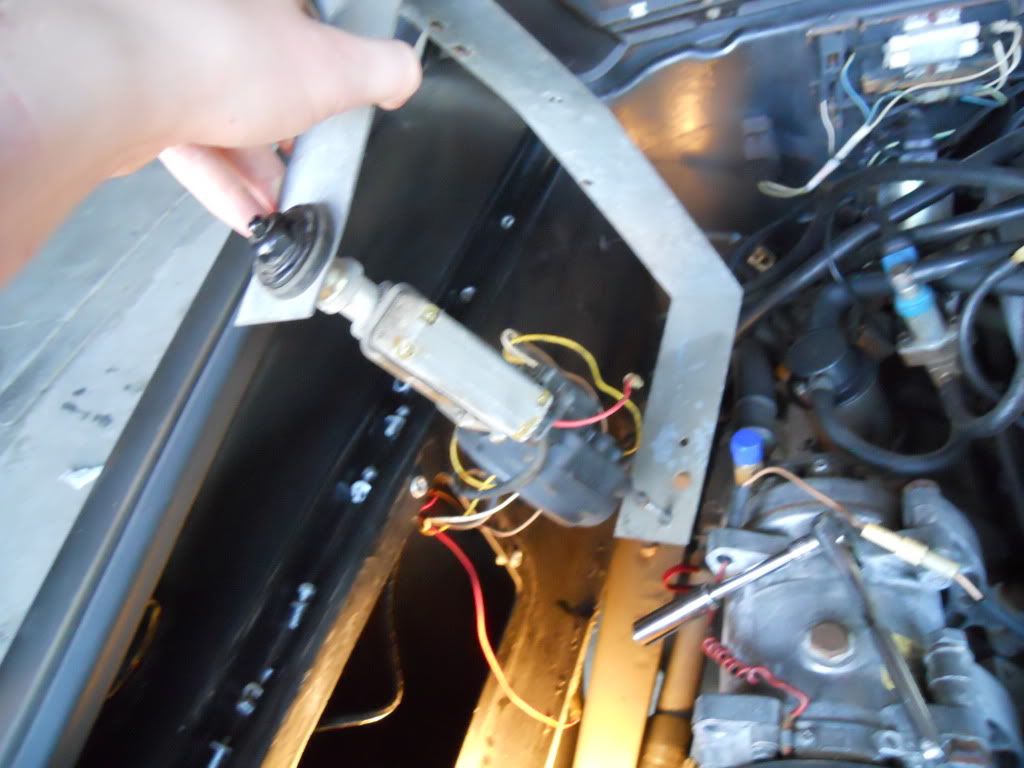
It was secured to a metal bracket that was secured to the inside of the pontoon. After undoing a couple of nuts, it came out attached to the bracket. This is what it looked like when it was removed:
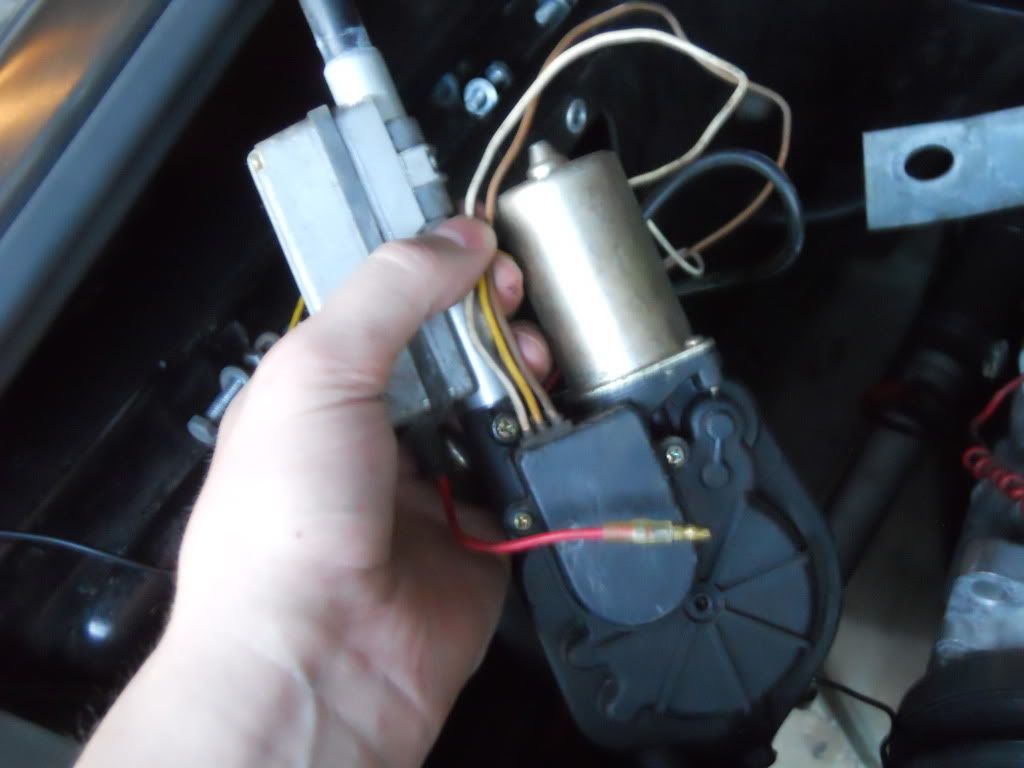
The not-so-fun part came next. I wasn't sure how the new antenna was supposed to be wired into the car because a) there were more wires on the old antenna than the new antenna and b) the wires were different colors. Here are the wires on the old antenna:
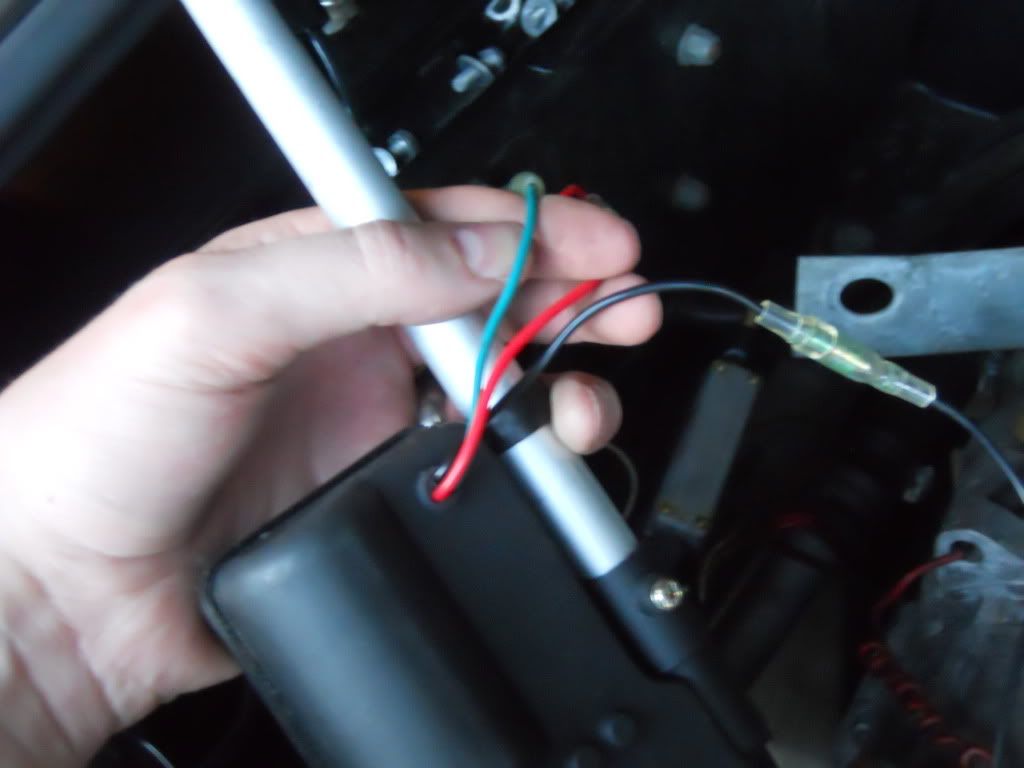
Here are the wires that came on the new antenna:
On the new antenna, I assumed that the black wire was the ground, the red wire the power, and the green wire the one that need to get hooked up to the radio deck. I tested this theory by using a car battery to activate the antenna and confirmed my suspicion. The problem is, on the original antenna, it had a relay in a small compartment on the shelf behind in the driver's side seat. The new antenna has a relay built into it, so you need to bypass the old relay completely.
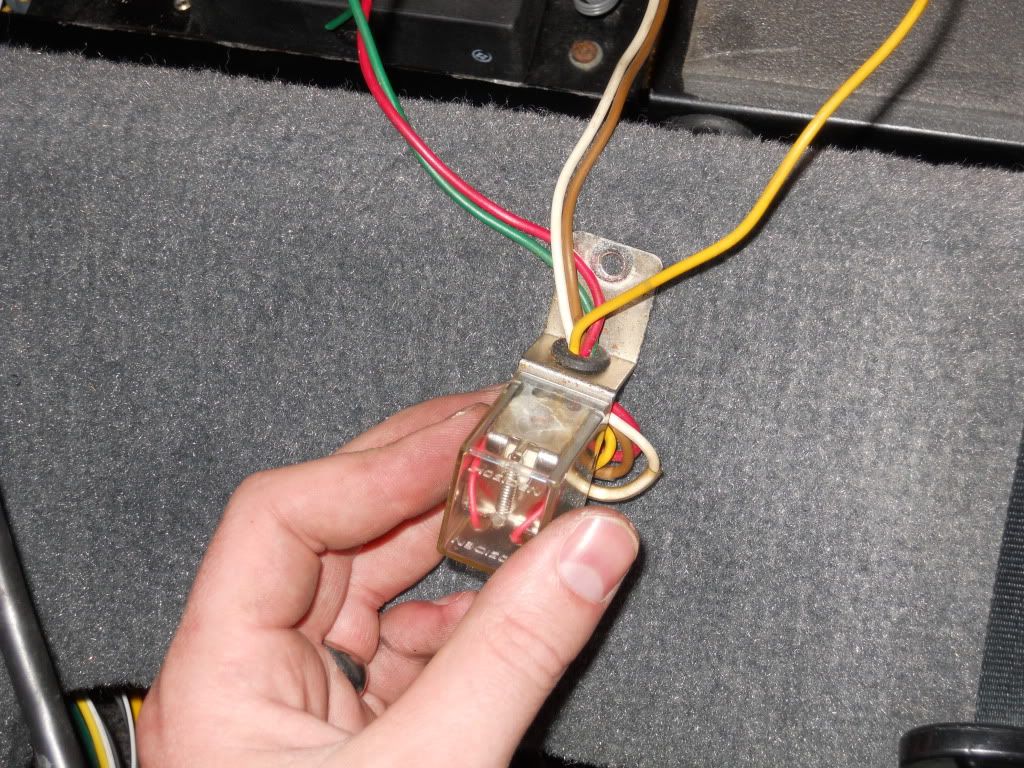
Below is a picture of the old relay that needs to be removed completely:
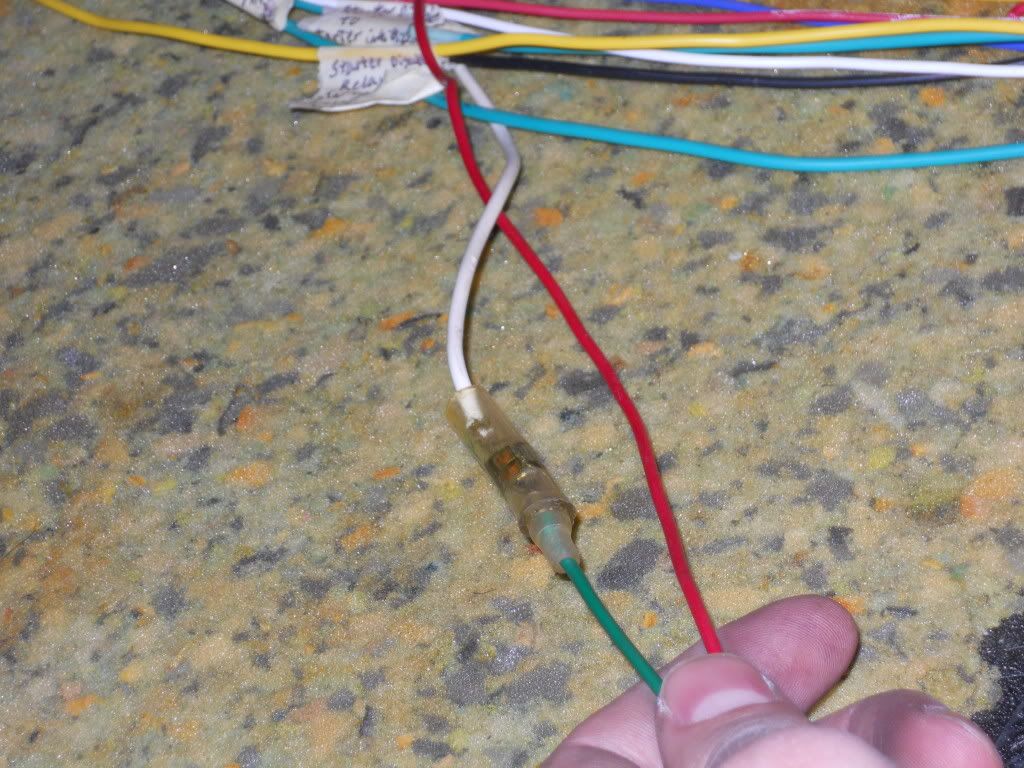
I hooked the red power wire from the new antenna to the red power wire that used to go to the old relay. The confusion on my particular setup was where to hook up the green wire coming from the new antenna. I first tried hooking it up to the white wire that used to go to the relay, as see in the picture below:
The antenna did not work when it was hooked up like this. I then went to the internet forums to get help in figuring out what I was doing wrong. My particular setup is unique because instead of having a blue signal wire coming from the back of the radio deck, I have one group of cables that go to a receiver unit that the previous owner put in the cubby behind the driver's seat.
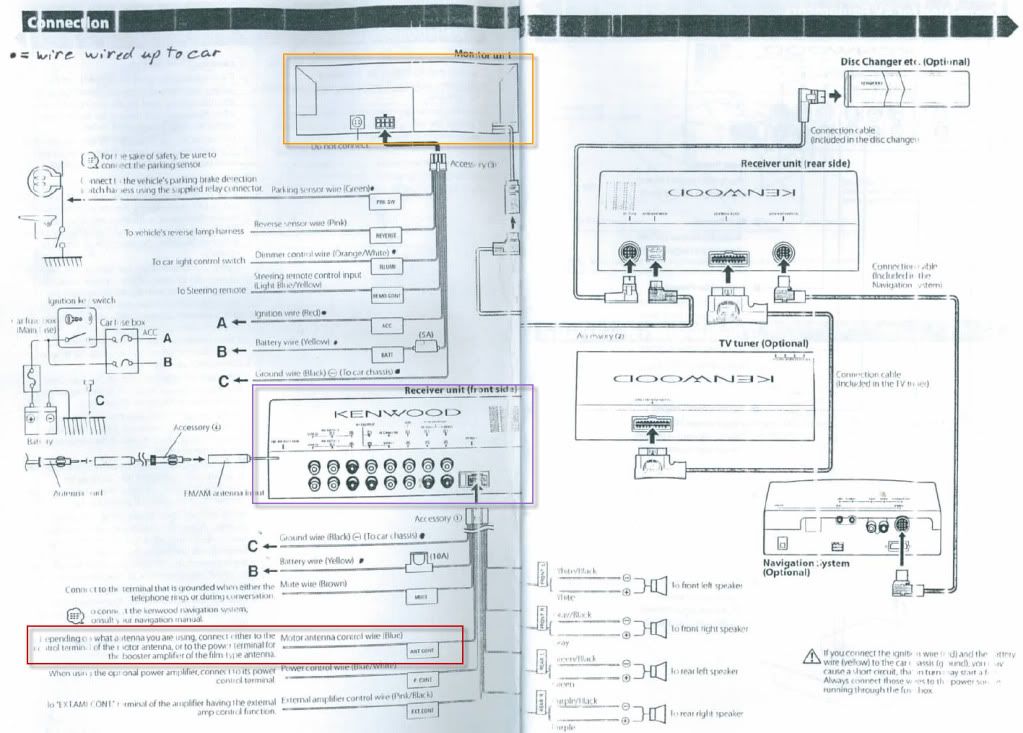
I dug up the installation manual for the radio and found that one of the wires coming off of the receiver unit was labeled as ANT CONT, which I figured might be the antenna signal wire that tells the antenna when to go up or down.
I hooked up the green wire from the antenna to that, hooked up the radio antenna reception cable, and made sure the ground wire was in a good known ground at the back of the car and I was ready to test. The antenna worked, but I think that the antenna that I ordered is faulty because it doesn't go up or down very well at all. It's like the motor isn't working like it should. It won't come up all the way on its own, and it won't go down unless I help push it down when the motor is trying to pull it down. I am not going to worry about it for now because I mostly always listen to MP3 CDs when driving it anyway.
The antenna was really hard to get to line up correctly so it came out where it was supposed to. The charcoal canister doesn't leave much room for the antenna inside the pontoon. It was a much more frustrating and time consuming install than I originally anticipated, so hopefully this post will help you avoid the same pitfalls that I encountered.
Subscribe to:
Posts (Atom)